Overview
The Mk4 Golf and its platform-mates (the Bora, the Mk1 Audi TT, the same-era Seat Leon and Skoda Octavia) are getting old now, and the front lower arm bushes are one of the places their age shows first. The rubber in the rear bush perishes, the arm starts to move where it should not, and you get the classic knock from the front end every time you brake. The car in this guide came in as an MOT failure for exactly that: knocking lower arms and enough play in the rear bush that the inserts had started coming out of the housing.
The good news is that this is one of the most worthwhile suspension jobs to do yourself. Replacement arms come complete with new bushes and a new ball joint already fitted, so there is no pressing and no separate joint to buy - the whole repair is unbolting the old arm and bolting the new one in. The two things that separate a lasting repair from a comeback are knowing the driveshaft clearance trick that gets the old arm out, and tightening the new bushes at ride height rather than at full droop. Both are covered below, exactly as done in the workshop.
Symptoms of Worn Lower Arm Bushes
- Knocking or clonking from the front when braking
- Rattles over potholes and speed bumps
- Visible play or perished rubber in the rear bush
- Rubber inserts working their way out of the bush housing
- Vague, wandering steering feel under braking
- MOT failure or advisory for lower arm bush deterioration
What You Need
DIY Car Service Guide
- Full service at home: oil, filters, plugs, fluids
- Which jobs are safe to DIY and which are not
- What a garage charges for each item, so you know the saving
Instant PDF download · works on phone, tablet or PC · 7-day money-back guarantee
Step-by-Step Guide
Get the wheel off and identify the four fixings
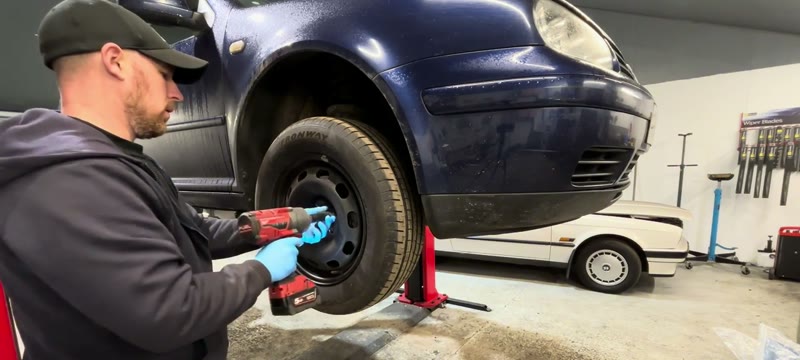
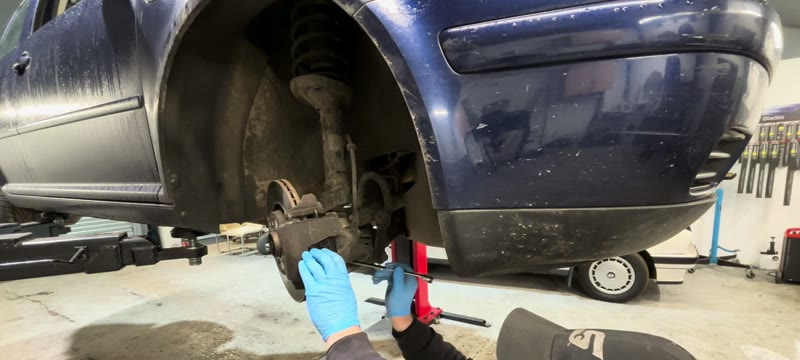
Jack the front of the car up, support it properly on stands or a ramp, and remove the front wheel. With the wheel off you can see everything that holds the lower arm: the ball joint pinch nut going up into the hub, one bolt through the rear bush, one bolt at the front of the arm with a nut on top, and the anti-roll bar link connected to the arm. All four have to come off - have a look at each one before you start swinging spanners so you know what you are working towards.
Loosen the ball joint nut as far as the driveshaft allows
The nut on top of the ball joint stud is 18mm and it sits directly under the driveshaft, so it will not come all the way off yet - loosen it as far as it will go before it touches the shaft. That is fine for now: the joint stays captive while you undo everything else, and the nut comes off completely once the joint is separated later. Do not be tempted to skip ahead with a pry bar at this stage.
Undo the two 18mm arm bolts - and keep that top nut
The rear bush bolt is an 18mm and comes straight out. The front bolt is also 18mm but has a nut on the top of it - get a spanner on the nut to hold it while you undo the bolt from below, then pull the bolt out and leave the nut sitting where it is. You will need it in exactly that spot when the new arm goes back in, and it is a miserable thing to refit if it drops out.
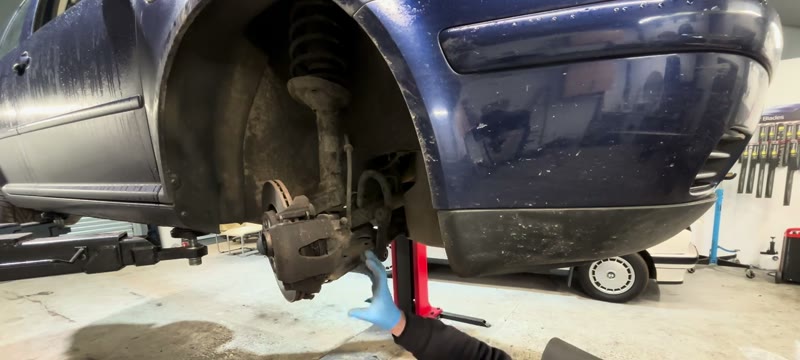
Disconnect the anti-roll bar link and the three ball joint nuts
Undo the anti-roll bar link where it meets the arm. Then take out the three 13mm nuts that hold the lower ball joint to the arm - they screw into a retaining plate behind, so once all three are out, catch the plate and put it somewhere safe with its nuts. The new arm comes with a new ball joint already fitted, so this old joint is only coming off to free the hub.
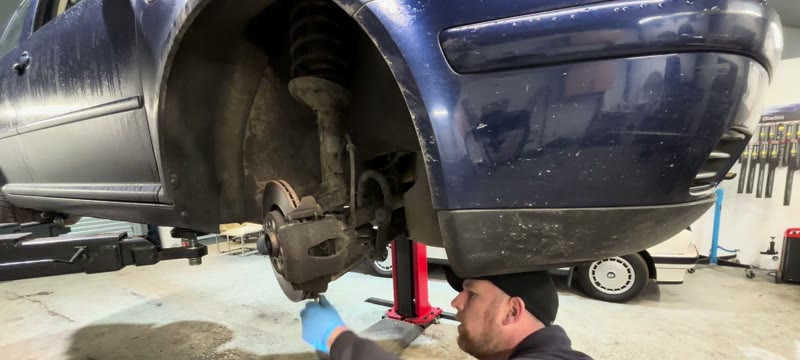
Loosen the hub nut and push the driveshaft back for clearance
With everything undone the old arm is loose but trapped - there is not quite enough room to wiggle it out past the driveshaft. The fix is to loosen the hub nut and push the driveshaft inwards through the hub a little. That small amount of movement opens up all the clearance you need. The hub nut is very tight, so a breaker bar and having the car solidly supported matter here.
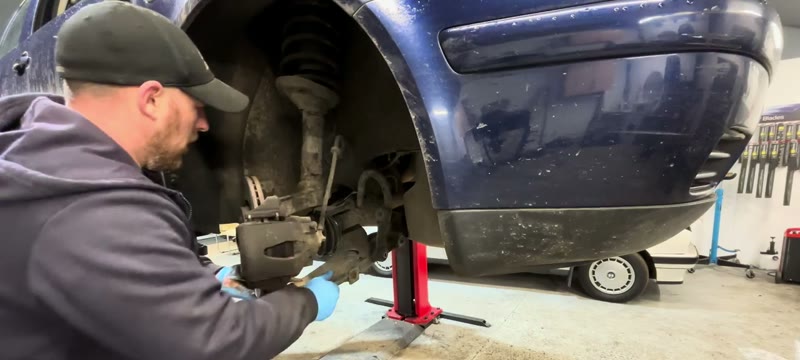
Wiggle out the old arm and inspect the damage
Work the old arm down and out of the car. On this Golf the rear bush was completely shot - the rubber inserts had come right out of the housing, which was every bit of the knocking the owner could feel under braking. It failed its MOT on exactly this. Compare the old arm with the new one and you will see how much movement the worn bush was allowing.
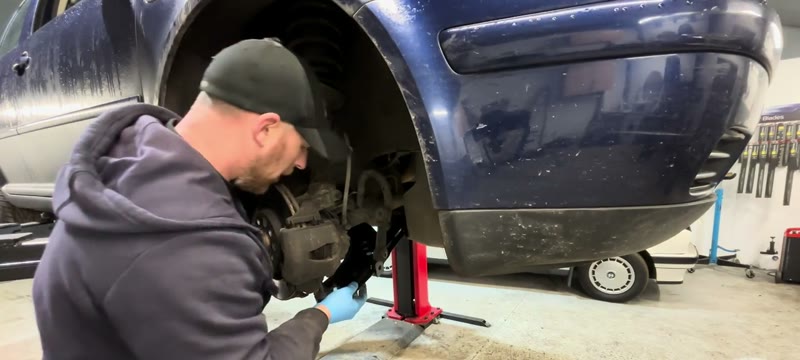
Separate the old ball joint and offer up the new arm
The old ball joint is still in the hub - put a fork-type splitter under the joint and give it a sharp hit to crack the taper free, then spin the loosened nut off. If the stud turns with the nut, hold the shaft with a pair of grips. The new arm comes complete: fresh bushes and a new ball joint already fitted, nothing to press or transfer. Offer it up into position.
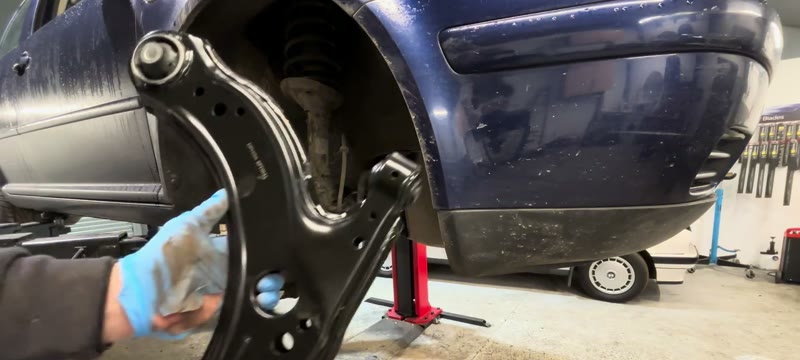
Fit the arm and tighten the bushes at ride height
Slide the rear of the arm in first and start the back bolt - if the holes will not quite line up, put a punch through the bolt hole and lever gently and the bolt will follow it straight in. Now the single most important part of the job: before you tighten either arm bolt, push the arm up as high as it will go so it sits where it would be with the car on its wheels. Tightening the bushes at ride height means the rubber is not twisted at rest - bushes nipped up at full droop are pre-loaded the moment the car touches the ground and fail in a fraction of the time.
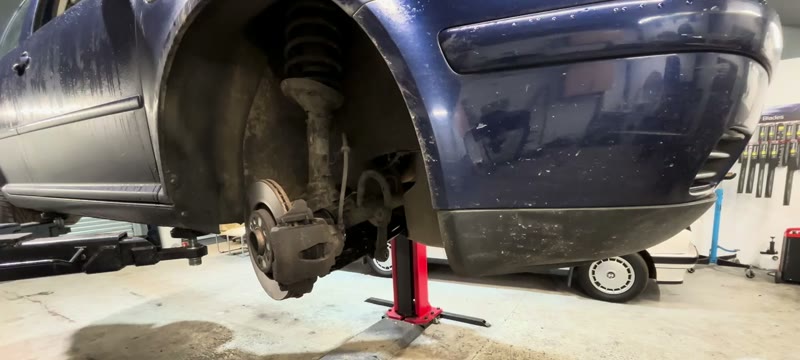
Reconnect the ball joint, anti-roll bar link and hub nut
Pull the arm down, guide the new ball joint stud into the hub and start the new nut - it is a 19mm on the new joint. Tighten it up as you push the stud up to keep it clear of the driveshaft. Refit the three 13mm nuts and retaining plate logic in reverse if your arm design uses them, reconnect the anti-roll bar link, and finally tighten the hub nut properly to the manufacturer's specification - check whether your hub nut is single-use before you start the job and have a new one ready if it is. Wheel on, then repeat the whole job on the other side: these arms wear as a pair.
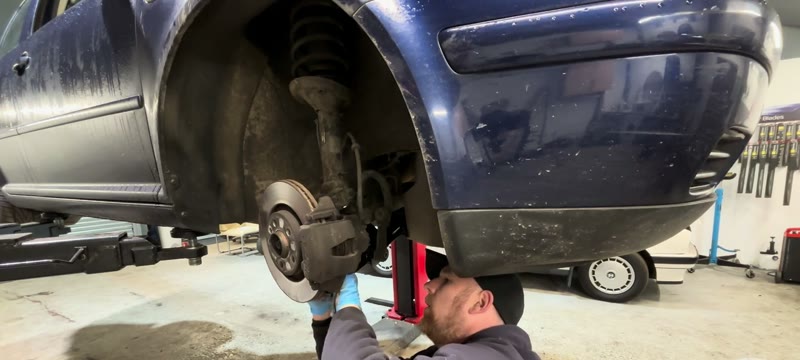
Why These Bushes Fail on Every Mk4
The rear bush on the Mk4 lower arm is a big soft rubber unit chosen for ride comfort, and it leads a hard life: every brake application tries to fold the arm backwards through it, every pothole hammers it, and twenty-plus years of British weather perishes the rubber in between. The failure pattern is always the same - the rubber cracks, the bush starts to move in its housing, and eventually the inserts squeeze out altogether. By that point the arm is physically shifting under braking, which is the knock you hear and the vagueness you feel. There is no repairing a bush that far gone, and polybush kits are a debate for another day - for a road car, a quality complete arm is the straightforward fix.
What the Job Costs
| Route | Typical price | What you get |
|---|---|---|
| Independent garage | £180–£320 | Both arms supplied and fitted, usually including alignment |
| DIY, both sides | £60–£140 | Pair of quality complete arms, plus £30–£50 for the alignment after |
Typical UK prices for a Mk4 Golf. Arms are cheap for this platform because so many were made - which is also why quality varies so much between brands.
Always do both sides: if one side's bushes have failed, the other side's are the same age and the same rubber. See our repair cost guides for how suspension work is priced across the UK.
Choosing the Arms
For a twenty-year-old Golf the sensible buy is a complete aftermarket arm from an established brand - Lemforder, TRW, Febi and Meyle all make them, frequently for £30–£70 a side, with the bushes and ball joint fitted. The very cheapest no-name arms use rubber that can be knocking again within a couple of winters, which turns a good-value job into an annual event. Check the box includes the new ball joint nut, and give the new arm a quick visual once-over before fitting - a bent flange or a dry, cracked bush surface goes straight back to the seller.
Common Mistakes on the Lower Arm Job
- Tightening the bushes at full droop. The bush clamps solid to the bolt, so tightening with the arm hanging pre-loads the rubber and destroys the new bush in months. Arm up to ride height first, then torque.
- Losing the front bolt's top nut. It sits captive above the arm mounting and has to be there when you rebuild. Leave it in place, exactly as the guide says.
- Fighting the arm out without moving the driveshaft. The old arm will not clear the shaft. Loosen the hub nut, push the shaft back, and it wiggles straight out - no pry bars, no bent shields.
- Reusing a single-use hub nut. Many VW hub fasteners are stretch-type. Check the specification for your exact year before the job and have the replacement in hand.
- Doing one side only. The other arm is the same age with the same miles. It will be knocking by winter, and you will be paying for a second alignment.
- Skipping the alignment. New bushes and a new ball joint sit the geometry differently. Unchecked tracking eats a front tyre edge quicker than the arms wore out.
While You Are In There
With the wheel off and the arm out, you have the best view you will ever get of the rest of the corner. Check the anti-roll bar link for play while it is disconnected - they are cheap and they knock in exactly the same register as arm bushes, so this is the moment to rule them out. Look at the CV boot for splits while the driveshaft is loose, check the brake hose for cracking, and if the car is anywhere near brake time, our Golf brake guide shows the full job while everything is already in bits. Five minutes of looking now saves another afternoon with the wheel off next month.
Verdict
The Mk4 Golf lower arm job is honest spanner work with two genuine gotchas, both of which cost nothing to avoid once you know them: push the driveshaft back for clearance instead of fighting the old arm out, and tighten the new bushes at ride height so the rubber lives its full life. Complete arms with joints fitted make the parts side simple, and with the alignment done after, the transformation in how the front end feels under braking is immediate. A very satisfying fix for what is usually an MOT-failure panic.