
This 2013 VW Polo came in with the customer describing a constant rumble and drone whilst driving - like the sound of an aeroplane engine. One rear wheel bearing had excessive play and was making a lot of noise at speed. This guide shows how to diagnose the faulty side and replace the complete wheel bearing unit.
On this Polo the rear wheel bearing is a complete bolt-on assembly - it comes off as one unit including the ABS magnetic ring. There is no pressing involved, which makes the job very accessible. The key tool is a 30mm spline socket (M-spline) to remove the central axle nut.
Symptoms of a Worn Rear Wheel Bearing
- Constant droning or rumbling noise whilst driving - often described as sounding like an aeroplane
- Noise gets louder as speed increases
- Excessive side-to-side play when the wheel is grabbed at 3 and 9 o’clock and shaken
- Noise may change slightly when steering left or right (loading the bearing differently)
- ABS warning light if the magnetic ring on the bearing is damaged
Tools & Parts Needed
How to Diagnose Which Side is Faulty
Check both sides before ordering parts. Grab each rear wheel at the 3 and 9 o’clock positions and try to rock it side to side. A good bearing should have zero play. On this Polo the faulty side had obvious wobble and could be felt immediately. Then grab at 12 and 6 o’clock and try again - this checks for different types of play. Any movement at all is a failed bearing.
Step-by-Step Guide
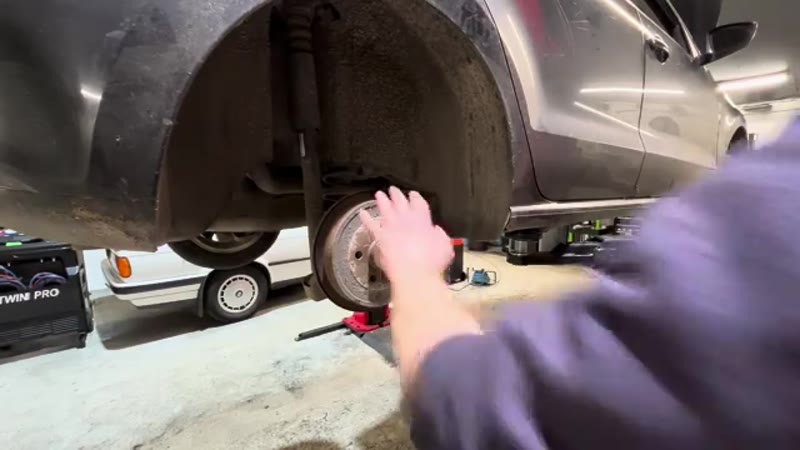
Remove the Wheel & Drum Retaining Screw
Jack up the vehicle safely and remove the rear wheel (5x 19mm bolts). With the wheel off, locate the T30 Torx retaining screw on the face of the drum. This small screw just holds the drum in place for assembly - undo it, give the drum a couple of taps with a hammer if it’s stuck, and it will pull straight off.
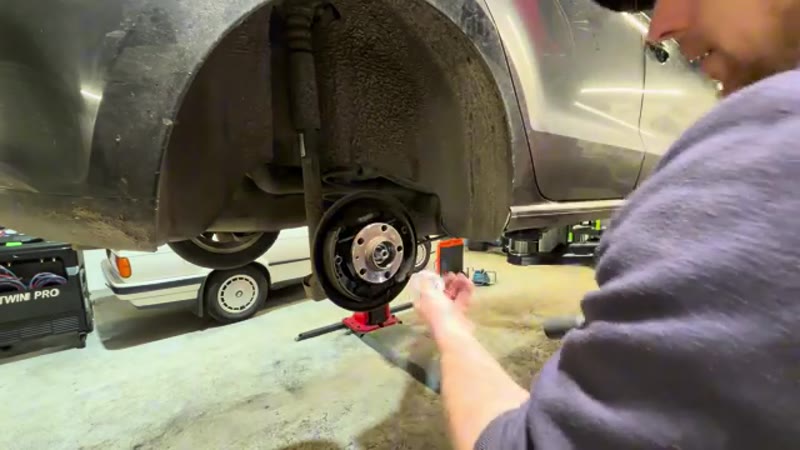
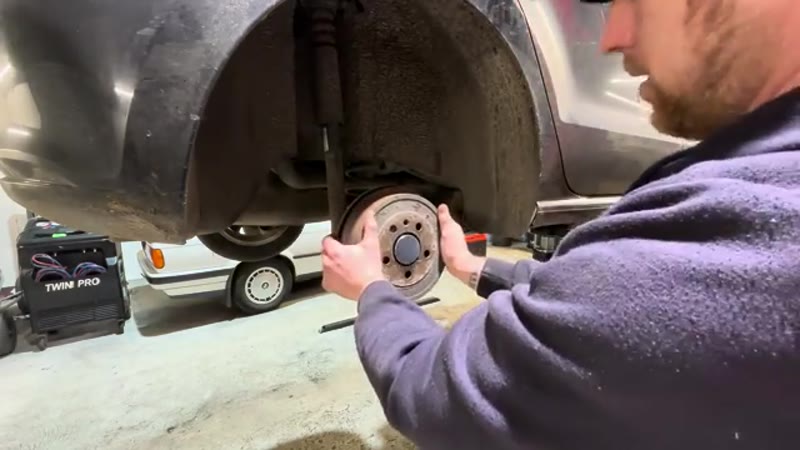
Remove the Dust Cap & Central Nut
With the drum off you can see the central hub. Prise off the small dust cap to expose the axle nut. Fit the 30mm M-spline socket - this is the correct tool for these VW/Audi group axle nuts. Use an impact gun or a breaker bar to undo the nut. It will be tight. Once off, the whole wheel bearing hub assembly will pull straight off the stub axle.
Inspect the ABS Sensor & Magnetic Ring
With the old bearing off, inspect the ABS sensor in the hub recess and the magnetic ring around the outside of the old bearing. Clean up the sensor face and check there is no damage and no ABS warning on the dash. If the bearing has been running very badly it can damage the sensor - worth checking before fitting the new unit.
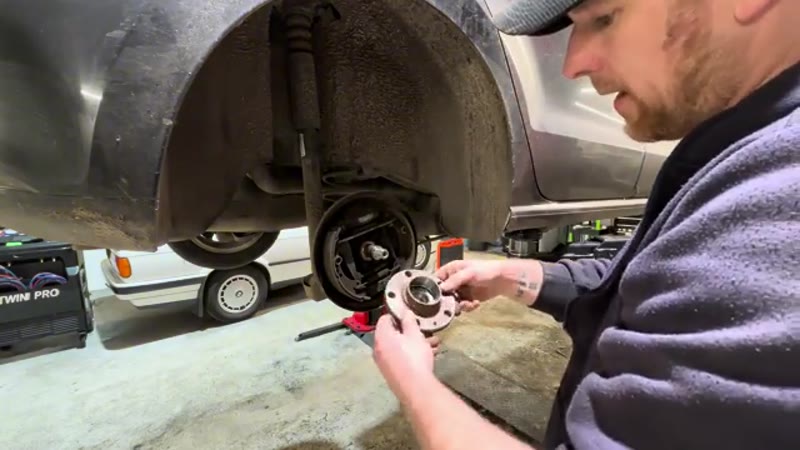
Fit the New Wheel Bearing
Unwrap the new bearing unit and check it matches the old one. Slide it onto the stub axle - it should go on smoothly and spin freely once seated. Fit the new axle nut and tighten it down. The nut torques up to spec and then the dust cap goes back on.
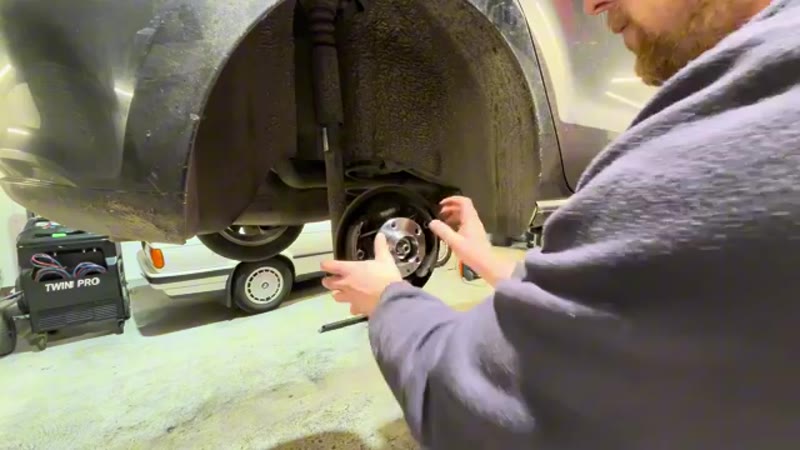
Refit the Drum & Test
Line up the T30 retaining screw hole on the drum with the corresponding hole in the hub and slide the drum back on. Refit the T30 screw. Refit the wheel and lower the car. Grab the wheel and check for play - there should be none. Take it for a test drive and confirm the droning noise is gone.
Parts & Tools for This Job
As an Amazon Associate, Mr Auto Fixer earns from qualifying purchases. Prices and availability may vary.
Want this guide offline - and 15 more like it?
Our PDF guide collection covers servicing, fault codes, buying a used car and more. Written by a qualified mechanic. Download once, use forever - no ads, no internet needed.
How a Wheel Bearing Announces Its Death
A rear wheel bearing on the Polo dies by soundtrack. It starts as a faint hum around 40–50 mph that you half-hear with the radio off, becomes a drone that changes note on long curves (louder swinging one way, quieter the other - the loaded side tells you which bearing), and ends as a growl the whole car can feel. The physics is simple wear: hundreds of millions of rotations grinding microscopic pits into the races, accelerated by kerb strikes, deep potholes and the water-and-salt bath of UK winters. On a Polo expect the first rear bearing somewhere after 80,000–120,000 miles - and once one side goes, its twin usually follows within the year.
Do not sit on it: a bearing left to growl for months develops play, and play at the rear axle means a car that steers itself over bumps and an MOT fail when the tester rocks the wheel.
Garage vs DIY Cost
| Who does it | Typical price | What you get |
|---|---|---|
| VW main dealer | £220–£350 per side | Genuine hub unit at dealer rates |
| Independent garage | £150–£250 per side | Quality hub unit fitted |
| DIY | £40–£80 | An SKF or FAG hub unit - the makers of the original - and 1-2 hours |
Typical UK prices for the 2013-era Polo. The modern hub-unit design makes this a bolt-off, bolt-on job - no press, no drifts, no bearing-packing.
Choosing the Bearing: Why the Hub Unit Changed Everything
Older cars needed bearings pressed in and out with heavy tooling; the Polo's rear bearing comes as a complete sealed hub unit, which is why this job is DIY territory at all. SKF and FAG make VW's originals and sell the identical unit for £40–£80 - the VW-boxed version is the same bearing at double. The one component to treat with respect on ABS-equipped cars: the magnetic encoder ring is built into the unit's seal face. Cheap £20 bearings skimp exactly there, and a weak encoder gives you intermittent ABS lights that cost more to chase than the bearing saved.
Common Mistakes on the Bearing Job
- Diagnosing the wrong corner. Bearing drone travels through the body. Confirm with the spin test (wheel off the ground, hand on the spring while spinning - roughness telegraphs through) or swap conclusions left-right using the cornering-note trick before buying.
- Confusing tyre roar for bearing hum. Scalloped or feathered rear tyres make an identical drone. Look at the tread pattern first - it is the free diagnosis.
- Fitting the hub unit the wrong way round. The ABS encoder face must point at the sensor. Fitted reversed, the car runs fine for a hundred metres and then lights the dash like a fruit machine.
- Reusing the hub nut. It is a single-use stretch or staked nut. A new one comes with quality units - torque it to spec, not to "very tight", because bearing preload is set by that torque.
- Hammering the new unit home. If it will not seat by hand plus gentle persuasion, the seat is dirty or rusty. Impacts brinell the new races and the hum returns within months - clean the seat properly instead.
Related Rear-Axle Faults on the Polo
Three lookalikes to rule out: rear tyre wear (the most common misdiagnosis - check tread before spending), a dragging rear brake (binding caliper or handbrake mechanism heats the hub and mimics bearing rumble - feel the wheel after a run), and on rare occasions a failing CV joint on the driven axle transmitting noise rearward. With the hub off, inspect the brake backplate and handbrake hardware while access is free. An ABS light that arrived with the noise usually means the old bearing's encoder ring died before the races did - the new unit cures both. The symptom finder separates hum, drone and roar by symptom, and the Polo pollen filter guide is the five-minute companion job while the car is with you.