It is the best learner brake job in the business - but it is still brakes, so the first-timer rule applies: experienced eyes on the first axle, a torque wrench on every bolt, and the pedal pumped firm before the car rolls anywhere.
Overview
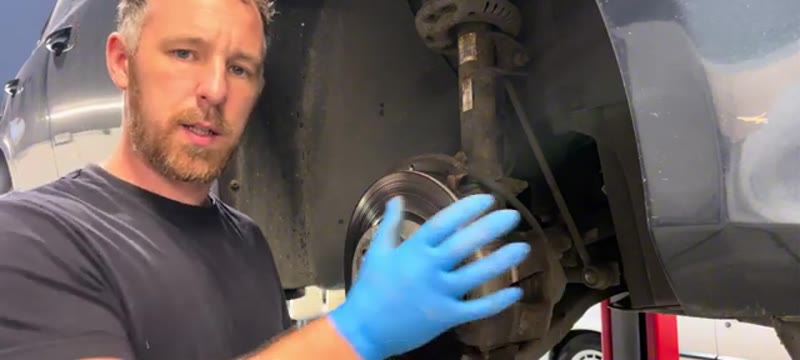
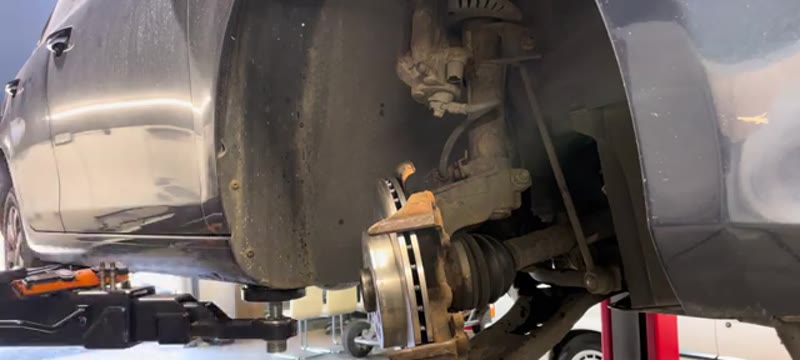
The VW Golf Mk6 uses the standard VW Group sliding-pin caliper setup with 7mm Allen key slider pins. The front brakes are very accessible and this is an ideal first brake job for any DIY mechanic.
Note: on the near-side (passenger side) caliper there is a brake pad wear sensor on one of the pads. This must be unplugged before removal and plugged back in correctly on reassembly or the warning light will remain on.
When You Need This Job
Grinding or metal-on-metal noise when braking
Brake pad wear warning light on the dashboard
Scoring or grooving visible on the disc face
Juddering under braking
Pulling to one side when braking
Pad thickness below 3mm on inspection
⚠ Near-side has a pad wear sensorThe passenger side caliper has a brake pad wear sensor. Unplug it before working on that caliper and reconnect it carefully on reassembly.
⚠ New discs have a protective oil coatingAll new discs have a light oil coating to prevent rust in storage. Clean this off with brake cleaner before fitting - oily discs cause poor initial braking performance.
Tools You'll Need
7mm Allen key
Flat blade screwdriver
Bungee cord or cable tie
Wire brush
Dremel or flat file
T30 Torx bit
Brake cleaner spray
Torque wrench
Step-by-Step Guide
01
Remove the wheel
Raise the vehicle safely, support on axle stands and remove the front wheel.
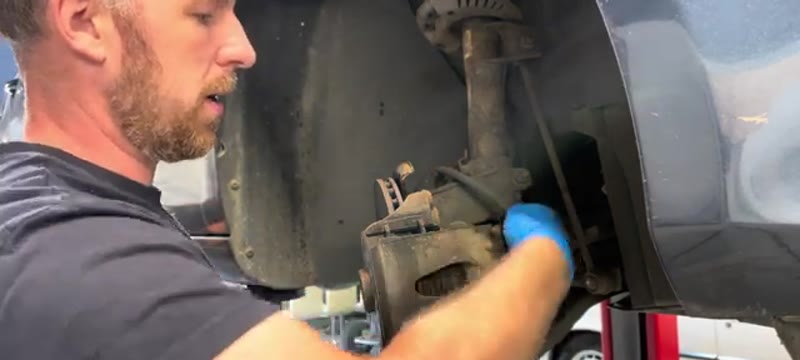
02
Pull off the slider pin dust caps
Two small plastic caps cover the slider pin heads at the rear of the caliper. Pull them off and set aside.
03
Undo both slider pins with 7mm Allen key
Unscrew both slider pins. Use a screwdriver to push them out slightly if they are stiff. Note both pins are the same length on this model.
04
Push the piston back slightly
Use a screwdriver against the pad face to push the piston slightly back before sliding the caliper off - this makes removal easier. Remove the reservoir cap first.
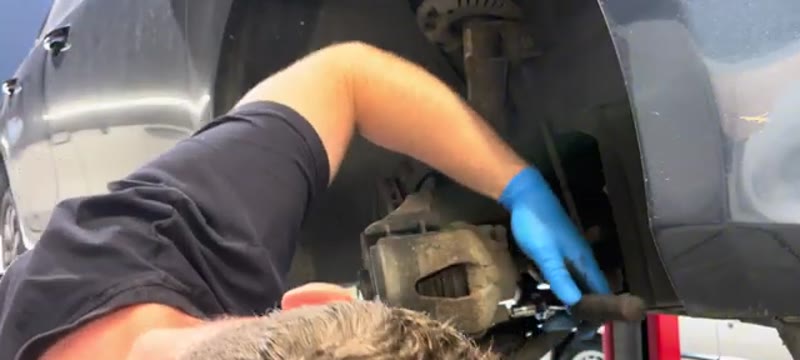
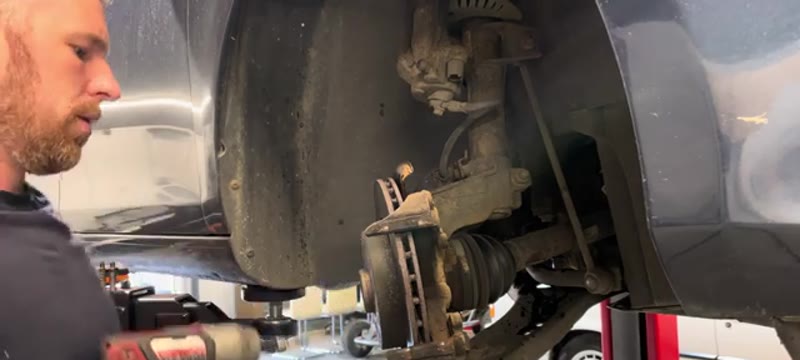
05
Remove the caliper and hang it safely
Slide the caliper off the disc. Hang from a bungee cord or cable tie to the spring or suspension arm - never let it hang on the brake hose.
06
Remove the old pads
Slide the pads out of the caliper. Even if there is material remaining always replace pads when changing discs.
07
Remove the T30 Torx disc retaining screw
One T30 Torx screw holds the disc. Remove it. Tap the disc off with a rubber mallet if it is stuck - the disc will be corroded onto the hub on older vehicles.
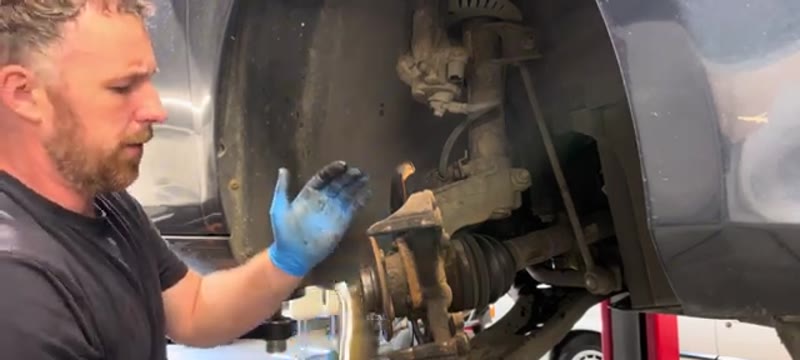
08
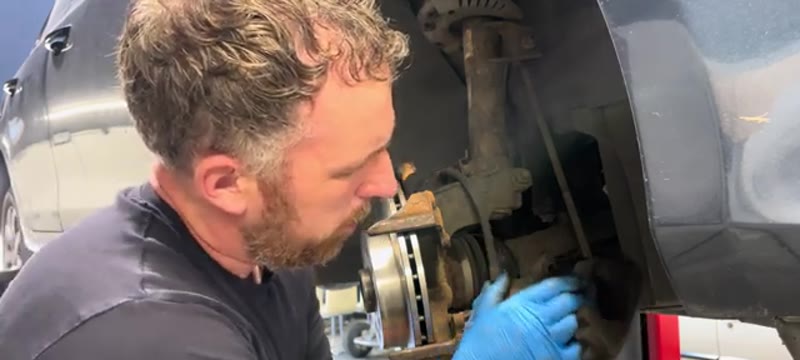
Clean all mating surfaces thoroughly
Wire brush the hub face and caliper carrier channels. Use a Dremel or file on stubborn rust in the carrier pad channels - this prevents pad rattle and uneven wear. Blow clean with compressed air.
09
Fit the new disc
Clean the new disc with brake cleaner. Fit it and refit the T30 Torx screw.
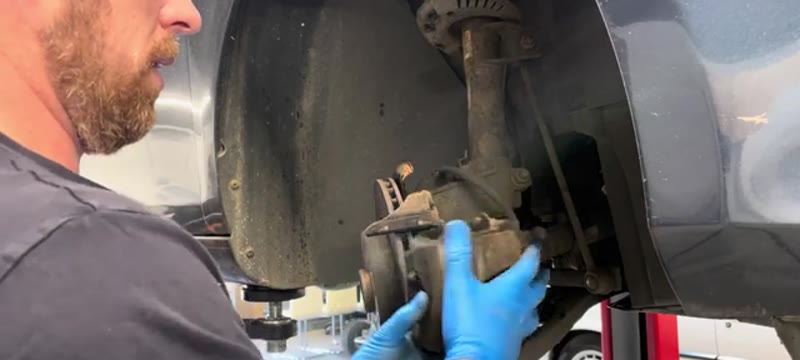
10
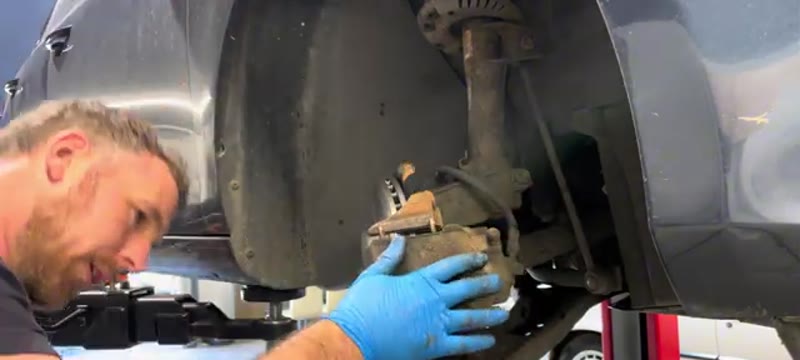
Fit new pads into the caliper
Apply a thin smear of brake grease to the pad backing plate ends only. The larger metal prong goes into the piston side of the caliper, the smaller prong into the outside. Push both pads firmly in until located.
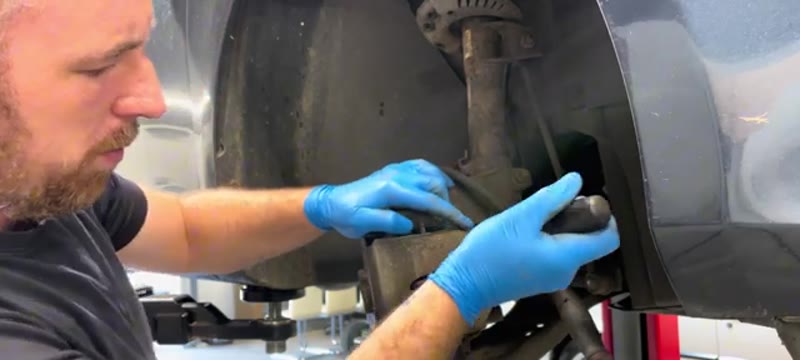
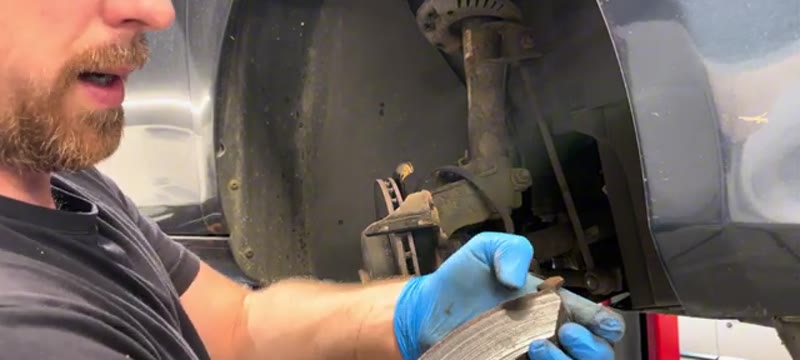
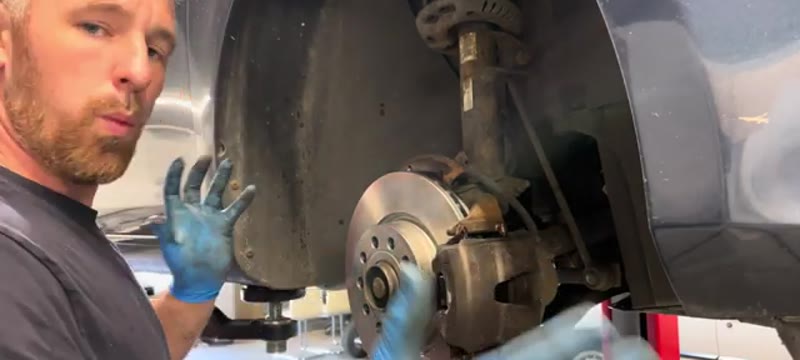
11
Slide caliper back over the disc
Lower the caliper over the disc ensuring both pads sit correctly on the disc surface. Clean the slider pins and apply a thin smear of grease. Refit both pins and tighten. Refit the dust caps.
12
Refit wheel and pump the brake pedal
Refit the wheel and torque the nuts. Pump the brake pedal firmly several times until it feels solid before moving the car. Carry out several gentle stops from 30mph to bed in the new components.
Torque Specifications
Component
Torque
Wheel nuts
120 Nm
Disc retaining screw (T30)
10 Nm
Slider pins (7mm Allen)
25 Nm
Always replace brakes in axle pairs
Never replace discs or pads on one side only - always do both fronts together for balanced, even braking.
Pump the pedal before moving the car
After pushing the piston back the pedal will go to the floor. Pump several times until it feels firm. This is essential before driving.
Our PDF guide collection covers servicing, fault codes, buying a used car and more. Written by a qualified mechanic. Download once, use forever - no ads, no internet needed.
Front pads on a Mk6 Golf are good for roughly 30,000–40,000 miles in mixed driving - VW sized the brakes generously for the range, so a 1.6 TDI hardly works them while a GTI driven enthusiastically will halve that figure. The discs usually take two sets of pads before hitting minimum thickness, though a Golf that has sat on a driveway through wet winters often shows corrosion lipping at the disc edge well before the swept face is worn.
Most Mk6 pads carry a wear warning - either a dash light or the classic squeal tab depending on spec - but do not rely on it entirely. The honest check takes ten seconds through the wheel spokes with a torch: if the friction material is thinner than the backing plate, plan the job.
VW Dealer vs DIY Cost
Who does it
Typical price
What you get
VW main dealer
£300–£480
Genuine boxed parts, dealer labour and a digital service record entry
Independent garage
£200–£350
Front discs and pads fitted with the same OE-brand parts
DIY
£80–£130
ATE, Bosch or Brembo discs and pads - the brands VW fits at the factory
Typical UK prices for the front axle of a Mk6. On a car this common, parts pricing is fiercely competitive - shop two or three factors and you will see it.
A £170–£400 saving for a couple of hours with hand tools is why the Golf brake job is many people's first proper repair. The UK brake cost guide has the full pricing picture across garages.
Genuine VW vs Aftermarket - Order by the PR Code
The genuine-versus-aftermarket debate is short on a Golf: ATE, Bosch and Brembo make VW's original equipment, so their own-box parts are factory quality at half the counter price. The trap on VAG cars is not brand, it is size. The Mk6 range was built with several different front brake diameters depending on engine and spec, identified by the PR code on the sticker in the boot floor (or order by registration and let the factor decode it). Plenty of Saturday brake jobs have stalled on a beautiful set of discs one size wrong.
Avoid unbranded marketplace discs entirely - on a car with this much OE-brand availability at £80–£130 an axle, there is no gap in the market for a £45 mystery set to fill.
Common Mistakes on a Mk6 Golf Brake Job
Ordering without the PR code. Multiple front brake sizes were fitted across the Mk6 range - buy by registration or the boot-floor sticker, not by "Golf 2010".
Rounding the disc retaining screw. The little countersunk screw seizes into the hub. An impact driver cracks it loose; a hand screwdriver strips it and adds an hour of drilling.
Not counter-holding the guide pin bolts. The caliper bolts thread into guide pins with a hex flat - hold the pin with a spanner while you crack the bolt or you will chew the pin.
Skipping the hub clean. Rust between hub and disc guarantees run-out, and run-out on a Golf comes back as steering shimmy at motorway speed within a few thousand miles.
Piston back with the reservoir capped and full. Open it and check the level first - two front calipers of displaced fluid is enough for an overflow.
Hard launches on unbedded brakes. Whatever the engine, give new discs and pads 150 gentle miles. Glazed pads on day one stay noisy for their whole life.
Related Faults to Check While the Wheels Are Off
Mk6 Golfs are old enough now that the wheel-off inspection pays for itself. Rock the wheel at 12 and 6 for bearing play, check the drop links for knock, and flex the front brake hoses - original hoses on a 2010 car are due a hard look. Glance at the CV boots while you are down there; a split boot caught today is a £15 fix, caught next year it is a driveshaft.
The rear brakes on the Mk6 are a conventional handbrake setup, so no electronic tricks are needed at the back axle - but if you also run a newer VW with the electric parking brake, read our VW electric handbrake rear pads guide before touching those. For any symptom beyond routine wear, the symptom finder sorts pad noise from bearing noise from caliper trouble in a couple of minutes.
Quick Stats
Difficulty
Intermediate
Vehicle
VW Golf Mk6 2010
Time
2 hrs
Parts Cost
£60–£150
Common Questions
FAQ
Yes - the Mk6 uses the standard VW Group sliding-pin caliper with 7mm Allen key slider pins, access is excellent, and this is honestly the car to learn brakes on. Every skill transfers directly to other VW, Škoda, SEAT and Audi models afterwards.
£200–£350 at a garage for front discs and pads; quality parts from ATE, Bosch or Brembo - the brands VW fits at the factory - are £80–£130 from any motor factor. The saving is most of the labour, learned once and kept forever.
One to two hours for both sides at a learner's pace, under an hour once practised. Clean the hub faces, keep grease away from the disc face, grease the slider pins, torque to spec and bed in gently for the first hundred miles.
Yes - both sides of the axle, same pads, and same discs if discs are being done. Uneven friction pulls the car under braking, fails the MOT imbalance test, and defeats the point of doing the job at all.
20+ Years ExperienceMOT TesterProfessional UK Mechanic
All guides on this site are written from real, hands-on experience - not copy-pasted from a manual. If I haven't done the job myself, it doesn't go on the site.