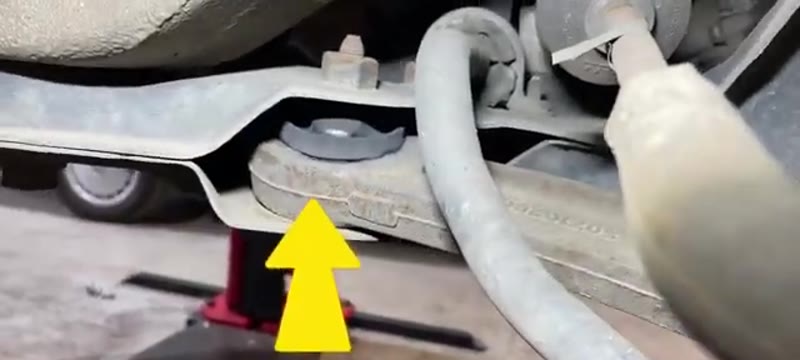
The lower wishbone (also called the lower control arm) on the Fiat 500 is a common cause of knocking and banging noises from the front suspension. On this car the rubber ball joint insert had slipped out of position and was knocking against the subframe on every bump. Left unchecked this will worsen quickly and can become a serious safety issue.
What makes this job trickier than a standard wishbone replacement is that part of the front bumper and an underbody brace bar need to be removed to access one of the wishbone mounting bolts - but once you know the process it's very straightforward.
Classic Symptoms to Watch For
- Loud knocking or banging noise from front suspension
- Noise worsens over bumps, speed humps and rough roads
- Clunking when turning the steering
- Visible rubber tearing or displacement on the ball joint
- Excessive play or movement in the lower arm
- Failed MOT on suspension component
Tools You'll Need
The UK Car Owner's Essential Guide
- Every dashboard warning light explained
- Fluid, tyre and service checks you can do yourself
- How to avoid getting stung at a garage
Instant PDF download · works on phone, tablet or PC · 7-day money-back guarantee
Step-by-Step Guide
Remove the Wheel & Inspect the Ball Joint
Raise the car and remove the front wheel on the affected side. With the wheel off you can inspect the lower ball joint directly. Look for the rubber boot - if it has split, slipped out or you can see the ball joint moving excessively, replacement is required. On this car the rubber was visibly displaced and knocking on the subframe.
Release the Bumper Corner
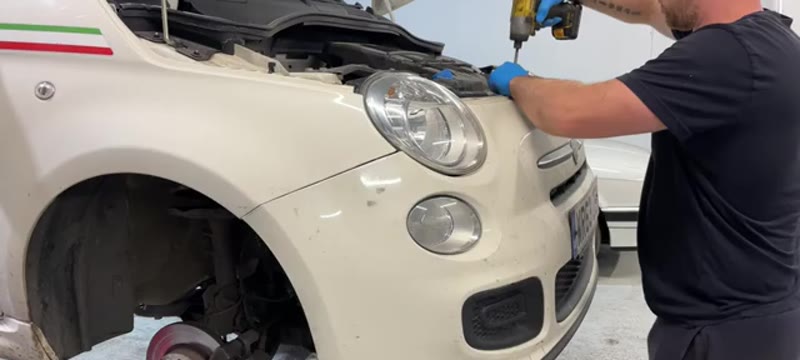
To access the brace bar bolts you need to partially release the front bumper at the affected corner. Remove the four Phillips screws from the inner wheel arch and the T30 Torx screw where the arch meets the bumper. Then remove the T13 Torx bolts along the top of the bumper (four bolts top, four bolts bottom) at the corner - you don't need to take the whole bumper off, just release it enough to pull the corner away and access the brace bar bolts behind.
Remove the Underbody Brace Bar
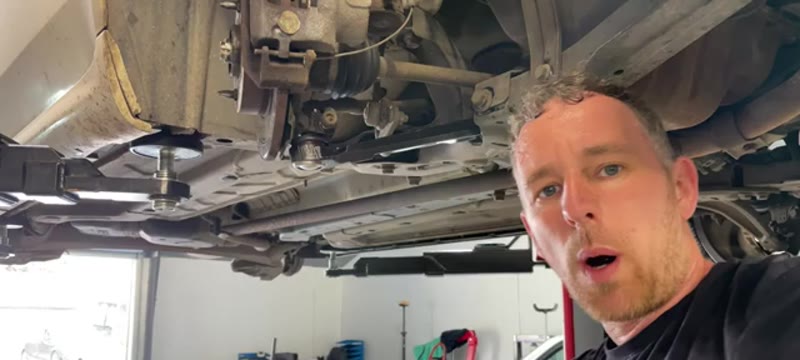
Raise the car fully on the ramp. Move the wheel arch liner to one side for access. From underneath you'll see the brace bar held on by four 15mm bolts - apply WD-40 if they're rusty and give it a few minutes before trying to undo them. With those four out, remove the two further 18mm bolts and one 16mm bolt. Use a pry bar to free the brace bar if it's stuck, then remove the support bar held by two more 16mm bolts. The brace bar can now be lifted clear.
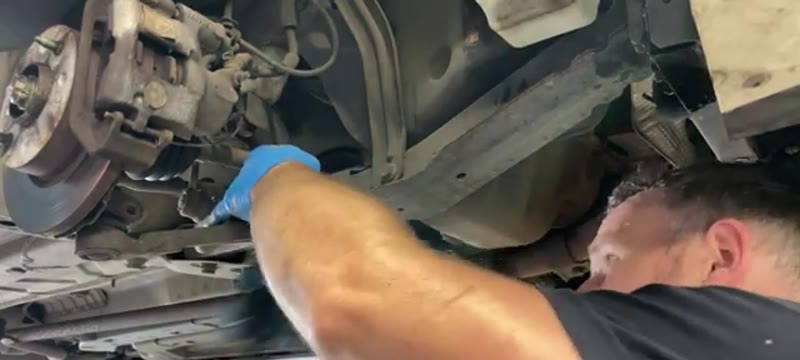
Move the Washer Bottle Aside (Driver's Side Only)
If working on the driver's side, the washer bottle sits in the way of extracting the brace bar. Undo the two 10mm bolts holding it in place and slide it to one side - you don't need to disconnect any pipes, just move it enough to slide the brace bar out.
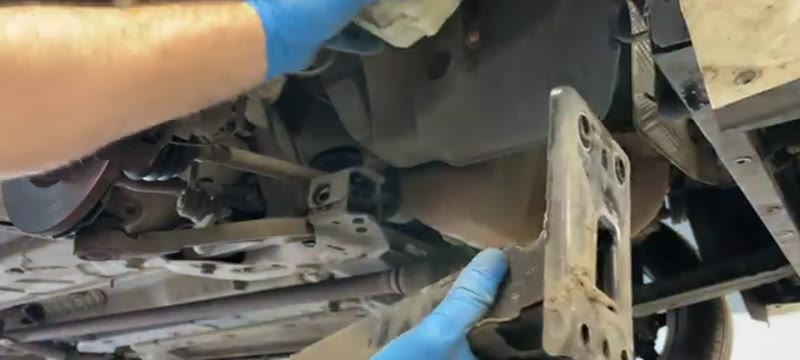
Remove the Lower Wishbone Bolts
With the brace bar out of the way you now have clear access to the wishbone mounting bolt that goes horizontally through the subframe. This is what all the previous work was for. Remove this 15mm bolt. Then remove the 17mm bolt at the rear of the arm and the 18mm bolt at the front. The wishbone should now be free - if it's reluctant, a pry bar will encourage it out.
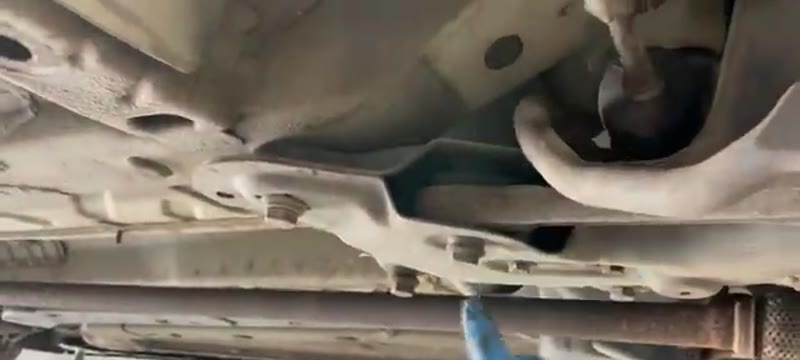
Fit the New Wishbone
Offer the new wishbone into position. Start all bolts by hand first - never use an impact gun until all bolts are hand-tight to avoid cross threading. Apply a small amount of copper slip to the bolt threads if the old ones were heavily corroded, to help the next person who has to do this job. Get the arm roughly into position, locate the bolt holes and start each bolt loosely.
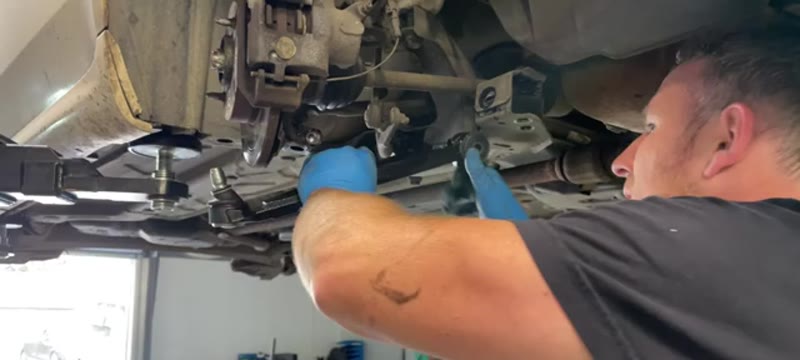
Pre-Load the Suspension Before Final Torque
This is a critical step that many people miss. Before fully tightening the wishbone bolts, use a trolley jack to raise the hub to approximately normal ride height - this pre-loads the suspension bushes in their natural position. Then tighten all wishbone bolts to the correct torque spec with the suspension loaded. Release the jack only after all bolts are fully tightened.
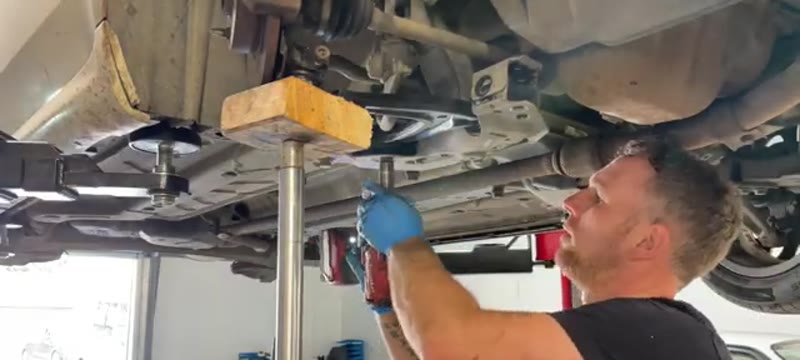
Refit Brace Bar, Bumper & Wheel
Refit the brace bar and support bar, starting all bolts by hand with a dab of copper slip on corroded threads. Tighten all bolts down evenly. Refit the washer bottle if moved. Bring the car down and push the bumper corner back into position, locating the tabs into the wing correctly before refitting all the Torx bolts and Phillips screws in the wheel arch. Refit the wheel and torque the wheel nuts.
Parts & Tools for This Job
As an Amazon Associate, Mr Auto Fixer earns from qualifying purchases. Prices and availability may vary.
Why 500 Wishbones Knock - the Pothole Tax
The lower wishbone carries the front wheel's every impact through two rubber bushes and a ball joint, and the Fiat 500 lives where the impacts are worst: kerbs, speed cushions, and the pothole archipelago of British town streets, all on a short wheelbase that gives the suspension no room to breathe. The rear bush is usually first to go - the knock over speed bumps that every 500 owner eventually recognises - followed by the ball joint's click on full lock. Expect wishbone work somewhere between 60,000 and 90,000 miles of town duty, earlier on cars that park by feel against kerbs. It is an MOT item too: a worn bush or joint with play is a straight fail.
Garage vs DIY Cost
| Who does it | Typical price | What you get |
|---|---|---|
| Fiat dealer | £220–£380 | Genuine arm and dealer labour |
| Independent garage | £150–£280 | Quality complete arm fitted, per side |
| DIY | £40–£80 | A complete new wishbone - the labour is most of the garage bill |
Typical UK prices per side for the 500. Buy the complete arm with bushes and ball joint fitted - pressing individual bushes without a hydraulic press is a false economy in swearing.
Choosing the Arm: Complete vs Bushes, Genuine vs Aftermarket
The trade fits complete arms for a reason: a whole wishbone from TRW, Delphi, Moog or Sidem at £40–£80 arrives with fresh bushes and ball joint already pressed, and turns a pressing job into a bolt-on job. The genuine Fiat arm is the same idea at double the price. The £22 marketplace arm is the one to avoid - soft bushes that knock again within a year, and a ball joint of mystery metallurgy holding your front wheel on. Replace in pairs if both sides are original: the second side has the same miles, and matched bushes keep the steering feeling even.
Common Mistakes on the Wishbone Job
- Tightening the bush bolts at full droop. The number one error. Rubber bushes must be torqued with the suspension at normal ride height (jack under the ball joint) - tightened hanging, they are pre-twisted and tear within months.
- Fighting the ball joint pinch bolt with optimism. It seizes into the hub carrier on salted UK roads. Penetrating oil, proper leverage, and never a naked flame near the rubber.
- Not counting turns on anything adjustable. The 500's front end is simple, but note how everything sat before it came apart - and book a tracking check afterwards regardless. New arms change the geometry enough to eat the inside edge of a tyre.
- Reusing self-locking nuts. The nyloc nuts on the ball joint and bush bolts are single-use by design. New nuts come with quality arms - fit them.
- Replacing the wishbone when the noise was the drop link. The classic 500 knock is more often the £15 anti-roll bar drop link. Rock the bar by hand first - the guide's diagnosis steps exist because this mistake is so common.
Related Front-End Faults on the 500
The 500's front end is a small ecosystem of knocks: drop links (the most common and cheapest), wishbone bushes (this guide), track rod ends (clunk plus wander), and top mounts (creak on full lock). With the wheel off for this job, check them all - and glance at the shock absorbers, whose leaks announce themselves as oil streaks down the strut body. If the brakes are due too, the 500 brake guide shares the same wheel-off setup, and the symptom finder tells the knocks apart by symptom before you buy the wrong part.
Job Summary
What to expect on this repair: