The pollen filter on the Vauxhall Insignia 2014 is located behind the glove box which needs to be removed using four 7mm bolts. It looks more involved than it is - the whole job takes around 20 minutes and is well within beginner DIY territory.
There is an electrical connector for the glove box light that must be unplugged before the box drops - handle this carefully to avoid breaking the tab.
When You Need This Job
Musty smell from the heater or air conditioning
Reduced airflow from the cabin vents
Increased dust settling inside the cabin
Part of the annual service schedule
⚠ Handle the light connector carefullyThe glove box interior light has a plastic push-tab connector. Wiggle it gently to unplug - do not pull by the wire.
DIY vs Garage Cost - UK 2026
An independent UK garage will typically charge £30-£60 for pollen filter replacement, including parts and labour - that's usually 30 minutes of booked time even though the job itself takes around ten. A main dealer will be £55-£110 because they fit a genuine-branded part and book longer for the same work. The DIY part cost is where the saving really shows: an own-brand UK factor filter is £8-£14, a quality Bosch, Mann or Mahle is £14-£28, and a genuine OE-branded part is £25-£45. The labour on a DIY pollen filter is essentially nothing - ten minutes of careful pinching and pulling with either no tools or a single plastic trim removal tool. Honest verdict: this is the single best beginner DIY job in the UK car-maintenance world. A first-timer can do it without any mechanical experience, the worst-case scenario is having to refit it the right way round, and a quality Mann or Bosch part performs identically to original equipment for half the price.
Tools You'll Need
7mm socket or screwdriver
Trim removal tool (optional)
Step-by-Step Guide
01
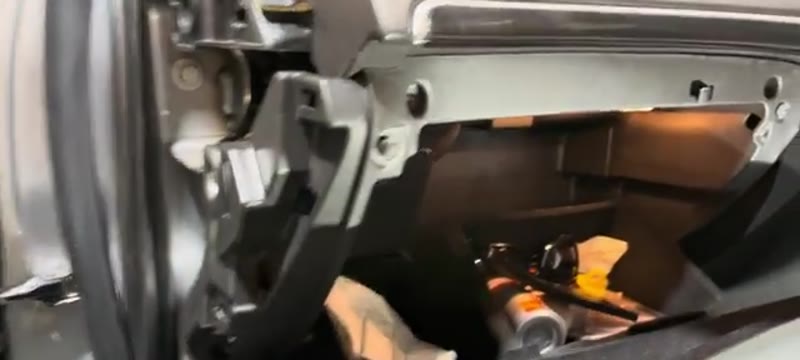
Open the glove box and find the four 7mm bolts
Open the glove box. Three bolts are visible. The fourth is hidden behind a small cover panel on the side - pull this panel off. Pulling the door weather strip slightly away makes the corner bolt easier to access.
02
Remove all four 7mm bolts
Undo all four 7mm bolts. They are all the same size and interchangeable.
03
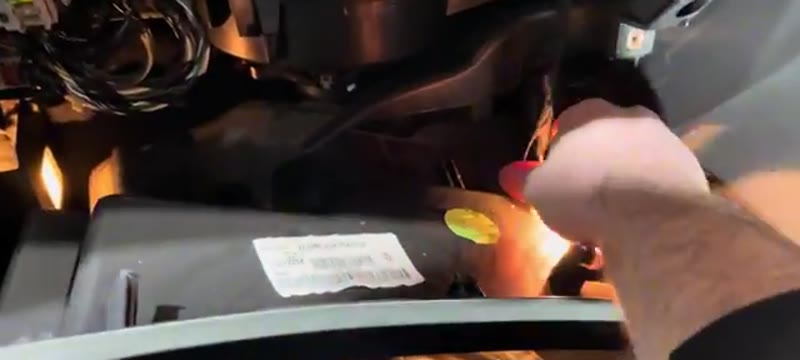
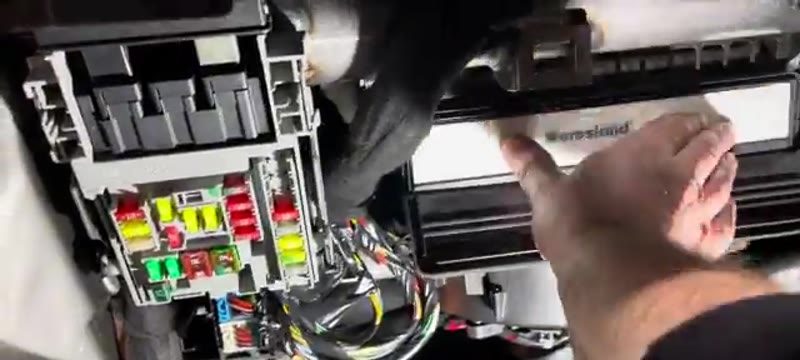
Unplug the glove box light connector
Before letting the glove box drop look for the small electrical connector for the interior light just inside the recess. Press the tab and wiggle it off gently.
04
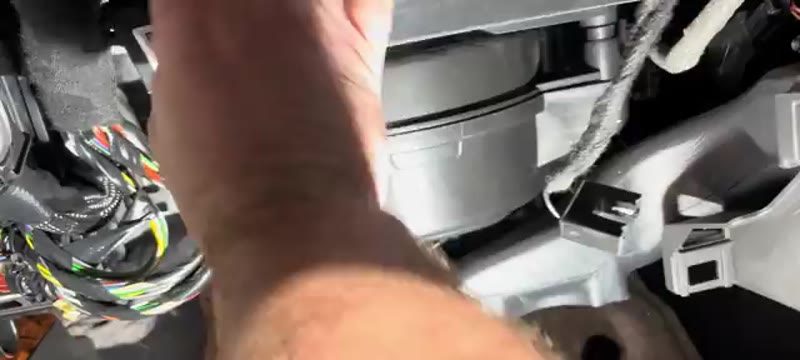
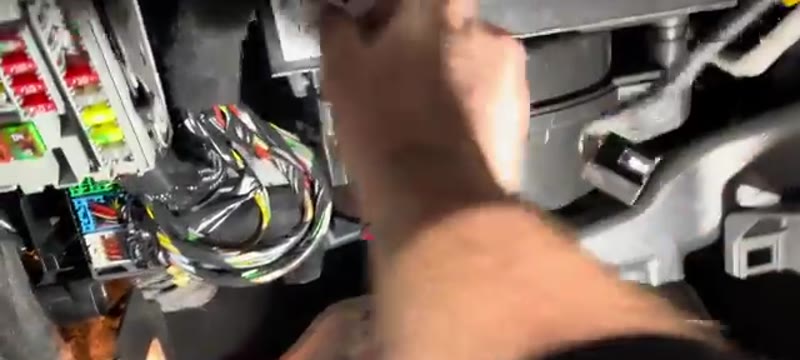
Drop the glove box down
With the bolts out and connector unplugged the glove box hinges down and rests on the footwell floor.
05
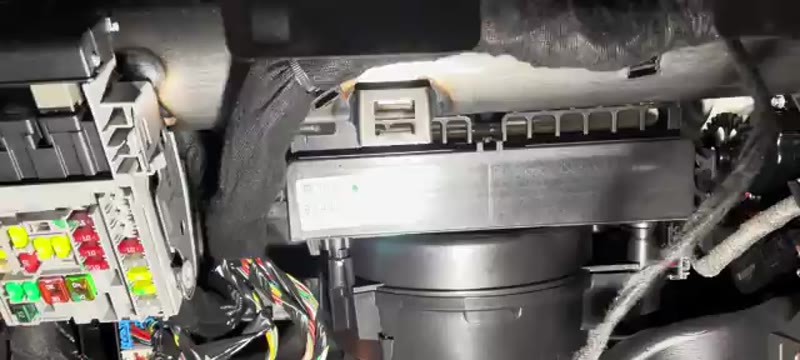
Release the filter housing cover
Behind the recess you will see a cover with a sticker. There is a tab at the top - pull it towards you and the cover hinges down to reveal the filter.
06
Note airflow direction and swap the filter
The filter has an airflow direction arrow. Note it before removing. Fit the new filter in the same orientation.
07
Close the cover and refit the glove box
Push the filter cover back up until it clips at both ends and the top tab. Reconnect the light connector, lift the glove box back into position and refit all four 7mm bolts. Reattach the side cover and press the weather strip back into place.
Two hands make the side trim easier
When refitting the side cover panel use two hands and have the weather strip pulled slightly away - it is much more straightforward that way.
The mistake I see most often is fitting the new filter the wrong way round. Every cabin filter has an airflow direction arrow printed on its edge - it must point in the same direction as the old one came out. On most cars this is downwards into the heater box. If you cannot find the arrow on the new filter, lay the old one beside it: the dirty face is where the air comes in from outside, the clean face is where it goes into the cabin. Fit the new one the same orientation and you cannot get it wrong. The second-most-common mistake is pinching the foam seal between the housing and the cover during reassembly - this lets dirty air bypass the filter completely and your new filter does nothing. Pay attention as you close the housing cover, make sure the seal sits flat all the way round. On the Insignia Mk1 (pre-2017), the glove box has three hidden retaining screws under the rubber stops - many owners snap the box trying to drop it without removing these first. On the Mk2 (2017 onwards), the housing is mounted higher and the filter sits sideways rather than vertically; fitting it the same orientation as the Mk1 will fail the seal entirely and bypass the filter. Cheap unbranded filters under £8 can be slightly off-dimension and may not seat fully - stick with Bosch, Mann or Mahle for guaranteed fit. Lay the old filter and the new one side by side, fit it the same way round, click the cover home, and you are done.
Mr Auto Fixer Shop
Want this guide offline - and 15 more like it?
Our PDF guide collection covers servicing, fault codes, buying a used car and more. Written by a qualified mechanic. Download once, use forever - no ads, no internet needed.
Most used Insignias are ex-fleet or ex-company cars, and fleet servicing has a dirty secret: consumables that do not affect the lease return get skipped. The cabin filter is top of that list - invisible, symptomless until it is not, and nobody checks it at handback. If you have bought a used Insignia, the safest assumption is that the filter in it has done years, not months. Motorway-biased business miles push enormous air volumes through the element, so a fleet car's filter can be exhausted even when the service book looks respectable.
Genuine Vauxhall vs Aftermarket
The element in the Vauxhall box is built by the usual OE filtration names - Mann, Mahle, Bosch - and their own-brand versions are £10–£22 against £25–£40 at the parts counter for the same pleats. On an Insignia that commutes, the activated carbon grade earns its extra few pounds by absorbing the diesel haze of the M-road queue; the standard element only stops particles. Whichever grade, buy by registration - the Insignia range crossed a generation change and the filters do not swap.
Related Faults on the Insignia's Ventilation
If the vents still misbehave with a fresh element: a blower losing individual speeds is the resistor pack, a musty smell that returns within days is evaporator mould (a £12 aerosol treatment through the intake fixes it), and stubborn misting with damp carpet is blocked scuttle drains rather than anything the filter touches. The symptom finder separates all three in a minute.
And since an ex-fleet Insignia usually needs a catch-up service all round, the Insignia brake pads and discs guide covers the other job used examples most often need on arrival.
Quick Stats
Difficulty
Easy
Vehicle
Vauxhall Insignia 2014
Time
20 mins
Parts Cost
£8–£20
Common Questions
FAQ
Yes - four 7mm bolts hold the Insignia's glove box and then the filter is in front of you. It looks more involved than it is; twenty minutes start to finish, firmly in beginner territory despite the bolt count.
£20–£50 at a garage; the filter is £10–£18. One 7mm socket and twenty minutes - the same maths as every pollen filter on this site, and always in your favour.
Around twenty minutes with the glove box bolts out and back in. Nothing fights you; it is just four bolts more ceremony than most cars. The new filter goes in arrow matching arrow.
Every 12,000–15,000 miles or once a year on the Insignia. Motorway-mile cars can stretch it; urban ones cannot. If the windscreen takes noticeably longer to demist than it did last winter, change it now.
Pull the existing filter out and look at the two faces. The dirty side - the side facing the incoming air from outside the car - will be coated with road grit, leaves, insects, and a brown-grey film. The clean side facing the heater box should be a uniform white or pale colour. If you find a filter where the clean-looking side faces the air intake or the heavily-soiled side is sealed against the heater core, it has been fitted backwards. This dramatically reduces filter life and lets dirt bypass the seal edges, often blowing dust onto the heater matrix.
20+ Years ExperienceMOT TesterProfessional UK Mechanic
All guides on this site are written from real, hands-on experience - not copy-pasted from a manual. If I haven't done the job myself, it doesn't go on the site.