Yes, for a patient beginner - arch liner removal is fiddly rather than hard. The priming step at the end is what separates this from a filter-in-a-box job: read it before you start, so the initial no-start moment does not panic you.
Overview
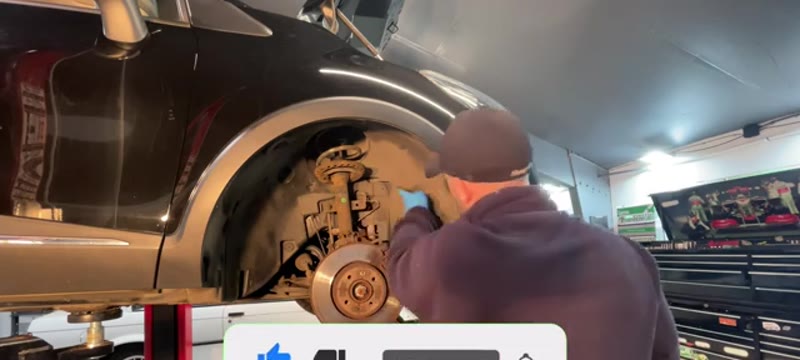
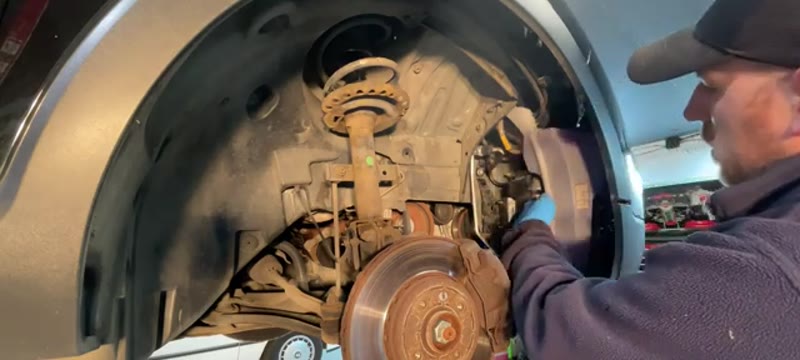
The fuel filter on the Renault Captur diesel is hidden inside the driver's side front inner wheel arch. You need to remove the front half of the arch liner to access the filter housing, which is tucked behind the screenwash bottle.
This procedure is similar across many diesel Renault models of this era. The filter element sits inside a reusable housing - you replace only the internal filter and O-ring seals.
When You Need This Job
Sluggish performance or hesitation under acceleration
Diesel fuel filter change interval reached (typically 2 years or 40,000 miles)
Hard starting
Part of the scheduled service
⚠ Fill with diesel before refittingAfter fitting the new filter fill the housing with clean diesel through the inlet pipe before reconnecting. This prevents hard starting or prolonged cranking when the engine is first started.
Tools You'll Need
T20 Torx
10mm socket and extension
Trim removal tool
T30 Torx (5 bolts on filter housing lid)
Small drain tray
Vice
Bosch filter kit
Step-by-Step Guide
01
Remove the front inner wheel arch liner
Undo the T20 Torx at the bottom front of the liner and pop the push-fit clips along the edge. Pull the liner down and out to reveal the fuel filter housing tucked behind the screenwash bottle.
02
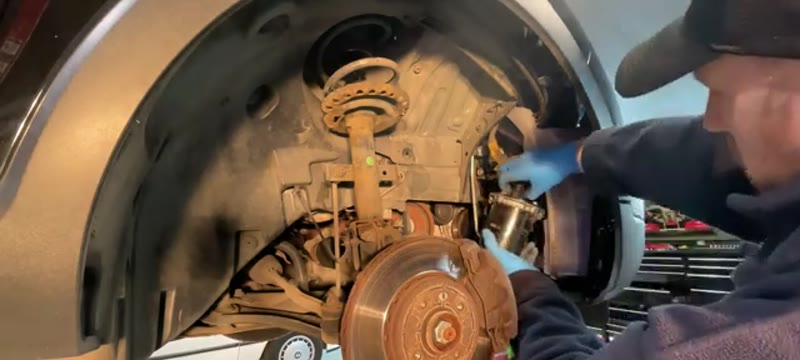
Remove the filter housing - three 10mm bolts
Two 10mm bolts are on the front of the housing. A third 10mm bolt is hidden behind the screenwash bottle. Remove all three and the cover comes off.
03
Disconnect the wiring plug and two fuel pipes
Unplug the connector on the top of the housing by pressing the tab and pulling. The two fuel pipes are colour-coded (green and white) - squeeze the coloured tabs and pull them up to release. Place a drip tray underneath.
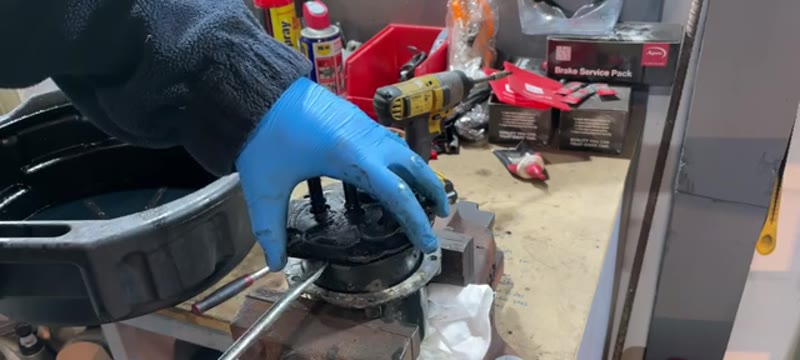
04
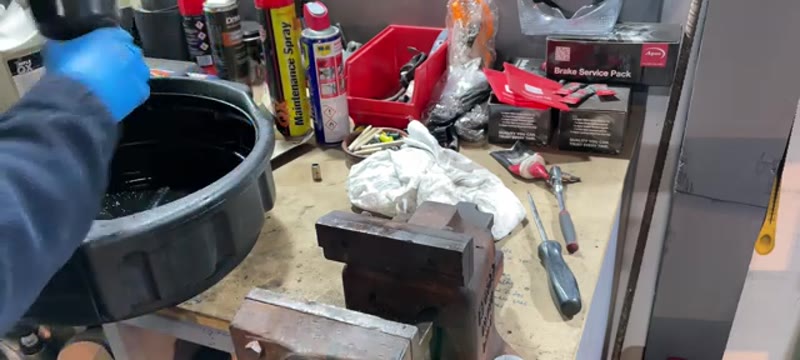
Take the housing to the bench
Clamp the housing gently in a vice for stability. Undo the drain plug at the bottom and let the fuel drain into a container.
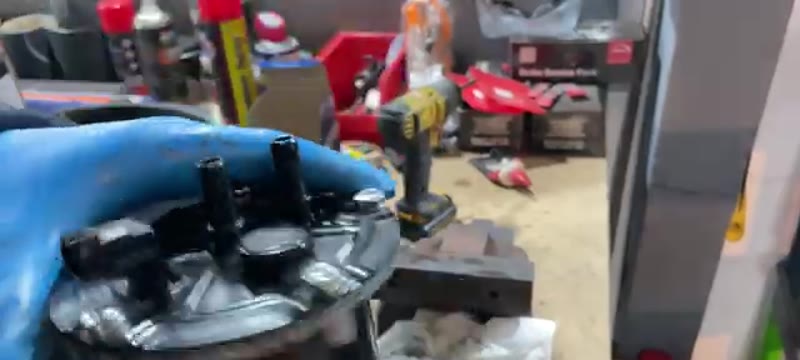
05
Remove the five T30 Torx bolts on the lid
Five T30 Torx bolts hold the lid onto the housing. Remove all five. The retaining ring will drop down but stays captured in the vice.
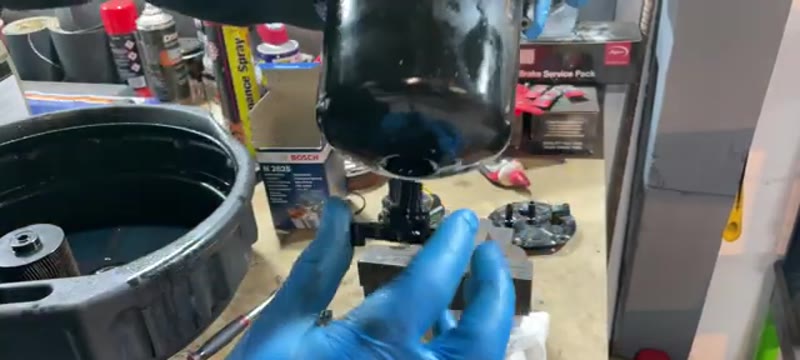
06
Prise the lid off carefully
There is a large rubber O-ring holding the lid. Gently prise it off evenly. Remove and discard the old O-ring.
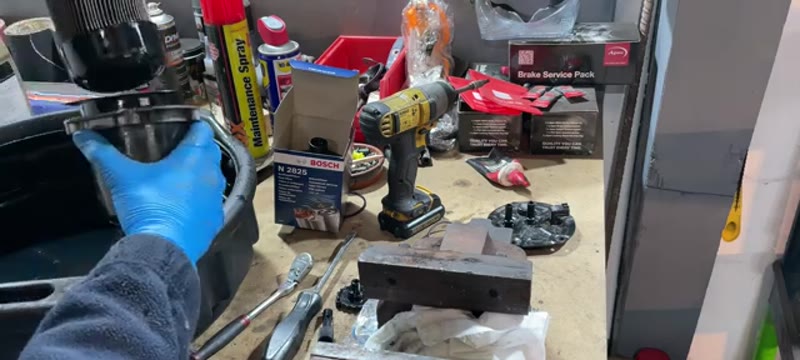
07
Remove the old filter element
The Bosch filter kit includes a special tool - a small plug that screws into the bottom of the old filter. Once screwed in it acts as a handle to pull the filter out. Do not use a screwdriver as it will bend the top lip and prevent sealing.
08
Fit the new filter and O-rings
Drop the new filter element in. The Bosch kit includes a new O-ring for the bottom - fit this onto the retaining plug. Fit the new lid O-ring. Replace the five T30 bolts and torque down evenly.
09
Fill with diesel and refit
Pour clean diesel in through the inlet pipe to prime the filter before reconnecting. Reconnect both colour-coded pipes and the wiring plug. Refit the housing with the three 10mm bolts. Refit the arch liner.
Green pipe goes to the middle, white to the outside
When reconnecting the fuel pipes note: green connects to the centre port, white to the outer port. Mixing them up will cause starting problems.
Our PDF guide collection covers servicing, fault codes, buying a used car and more. Written by a qualified mechanic. Download once, use forever - no ads, no internet needed.
Why Diesel Fuel Filters Are Non-Negotiable Maintenance
A common-rail diesel like the Captur's dCi runs injection pressures over 1,600 bar through injectors machined to tolerances finer than a human hair - and the fuel filter is the only thing standing between that precision hardware and whatever came out of the forecourt tank. As the filter loads up over 20,000–40,000 miles it starts to restrict flow, and the symptoms build quietly: hesitation under load, longer cranking, occasional limp mode on motorway pulls as the high-pressure pump is starved. Ignore it long enough and the pump cavitates - and a high-pressure pump plus contaminated injectors is a £1,500 conversation on a car worth twice that.
The filter element and an hour with the priming steps
Typical UK prices for the diesel Captur. The part is cheap - the garage price is the priming knowledge, which this guide gives you.
Genuine vs Aftermarket Filters
Purflux - French, OE supplier to Renault, and very likely the maker of the element in the Renault box - sells the Captur filter under its own name at £15–£30, as do Mann, Bosch and Mahle. All are proper multi-stage elements with water separation. This is a component where the £6 marketplace filter is genuinely dangerous: poor media lets particles through to the injectors, and a badly made housing seal lets the system draw air - which shows up as the exact starvation symptoms you were trying to prevent. Branded filter, always, on a common-rail diesel.
Common Mistakes on the Captur Filter Change
Skipping the priming procedure. The dCi will not purge its own air on cranking - it just cranks until the battery gives up. Follow the guide's priming steps exactly; they are the whole difficulty of this job.
Letting dirt into the open housing. Clean around the housing before it opens. One pinch of grit introduced here bypasses every filter the car will ever have.
Reusing the old seals. The new element comes with new O-rings for a reason - old seals draw invisible air leaks that cause weeks of intermittent hesitation.
Ignoring the water drain. If the filter housing has a water sensor or drain, empty and check it - a filter that drowned early means water in the tank to investigate.
Binning the old filter without reading it. Black sludge means dirty fuel or a corroding tank; metallic glitter means a pump already shedding. The old element is a free diagnostic report.
Related Fuel-System Faults on the dCi
If starvation symptoms survive a new, correctly primed filter, work backwards along the fuel path: the priming bulb and lines perishing (air ingress), the low-pressure lift pump getting lazy, then rail pressure sensors and regulator. Long cranking only on cold mornings is more often glow plugs than fuel on these engines - a different guide entirely. And a Captur that hesitates only at high load with a clean filter may have injectors starting to lag, which a fuel-system additive sometimes calms and a garage leak-off test confirms cheaply. The symptom finder walks the fuel/glow/electrical fork properly, and the Captur service light reset guide clears the reminder once the filter is in.
Quick Stats
Difficulty
Intermediate
Vehicle
Renault Captur Diesel
Time
1–1.5 hrs
Parts Cost
£20–£50
Common Questions
FAQ
Yes, once you know the Renault trick: the filter hides in the driver's side front wheel arch behind the liner, not in the engine bay. Front wheel off, half the arch liner out, and the housing is in front of you, tucked behind the screenwash bottle. After fitting, the system needs priming before it will start - the guide covers it; it is normal, not a fault.
£60–£120 at a garage; the filter element is £15–£30. The labour is mostly arch liner removal, which costs you nothing but patience. On a diesel, a fresh fuel filter at every scheduled interval is the cheapest injector insurance there is.
30–45 minutes including the wheel and arch liner. Have a rag and a drain container ready for the diesel in the housing, and budget a few minutes at the end for priming and checking for leaks at the housing seal before the liner goes back.
T20 and T30 Torx bits, a 10mm socket with extension, a trim tool for the arch liner, a small drain tray for the diesel and the Bosch filter kit. A vice helps when transferring the fittings to the new filter - the guide shows why.
20+ Years ExperienceMOT TesterProfessional UK Mechanic
All guides on this site are written from real, hands-on experience - not copy-pasted from a manual. If I haven't done the job myself, it doesn't go on the site.