
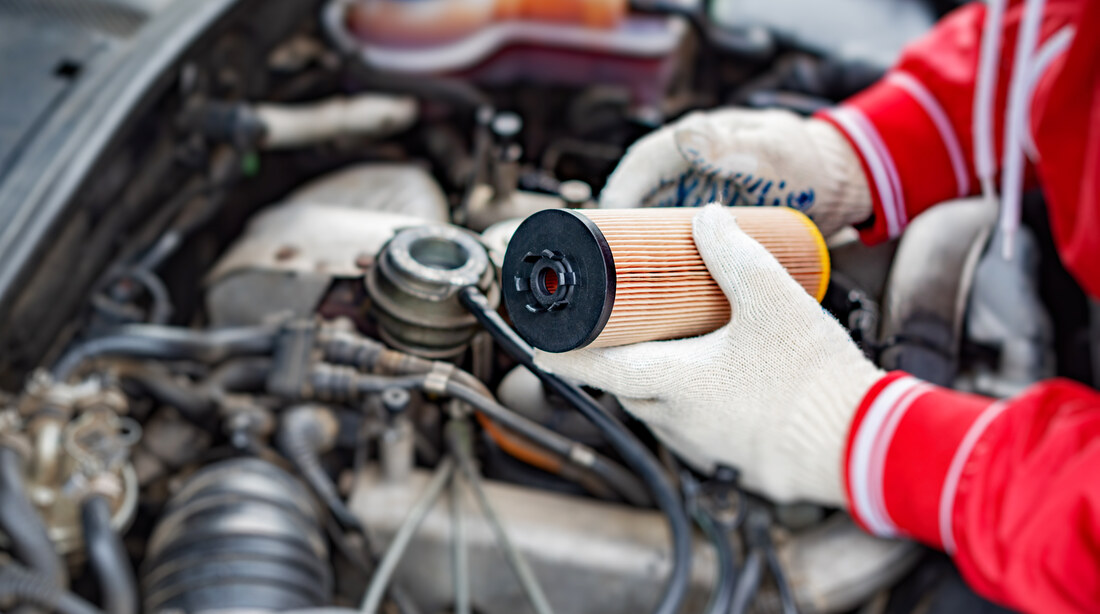
The 1.2 PureTech engine - found in Citroen, Peugeot, Vauxhall and DS models - uses a timing belt that runs submerged in engine oil, known as a wet belt. It's a clever design but comes with a serious weakness: when the belt deteriorates, the fibres and teeth break off and get sucked up into the oil strainer, blocking it and starving the engine of oil pressure.
This Citroen C4 Spacetourer came in with the low oil pressure warning light on. The engine still ran and drove, but this fault should never be ignored - continued driving risks catastrophic engine damage. The wet belt was cracked and well overdue for replacement, and the oil strainer was completely blocked with belt debris.
Classic Symptoms to Watch For
- Low oil pressure warning light illuminated
- Engine runs and drives fine despite the warning
- Very black, dirty engine oil
- Cracking or deteriorating wet belt visible on inspection
- Oil strainer blocked with rubber/canvas debris
- Affects Citroen, Peugeot, Vauxhall & DS with 1.2 PureTech engine
Tools & Parts You'll Need
DIY Car Service Guide
- Full service at home: oil, filters, plugs, fluids
- Which jobs are safe to DIY and which are not
- What a garage charges for each item, so you know the saving
Instant PDF download · works on phone, tablet or PC · 7-day money-back guarantee
Step-by-Step Guide
Strip Down the Top End
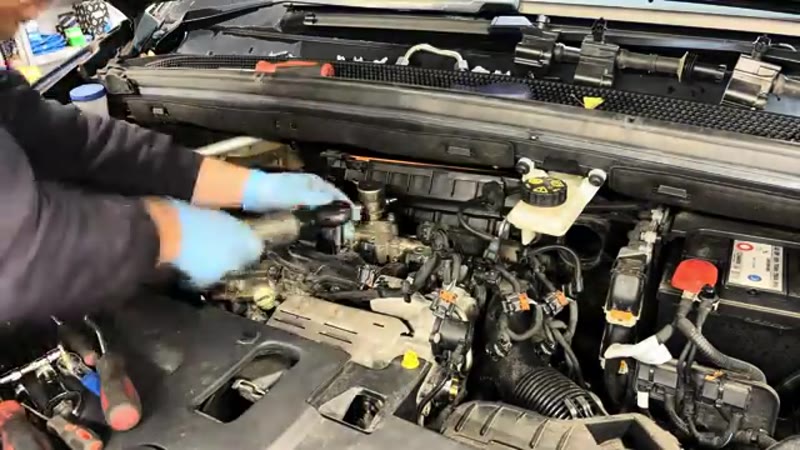
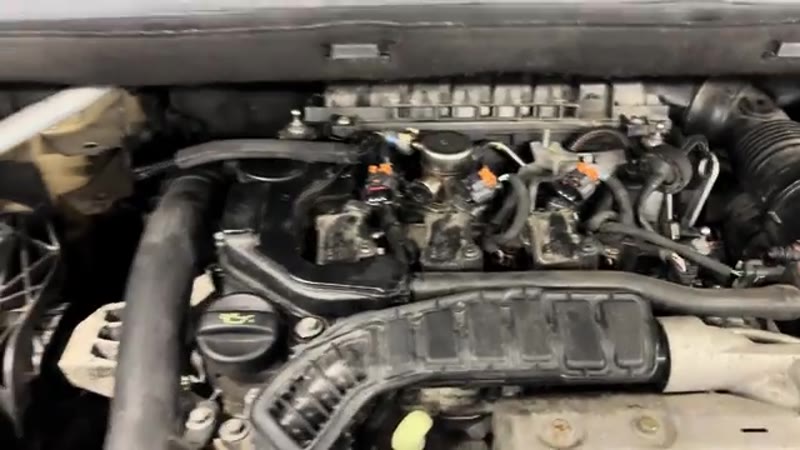
Begin by removing all the upper engine components to gain access to the cam cover. This includes the ignition coils, air intake pipe, boost pipe, turbo air pipe, air box (can be moved back without fully removing), fuel lines, injector rail, and all associated wiring looms. Remove the 8mm bolts holding the plastic upper cam cover and set it aside. Take your time routing wiring out of the way - you'll need clear access to remove the cam carrier later.
Raise the Car & Remove Under Tray and Inner Wheel Arch
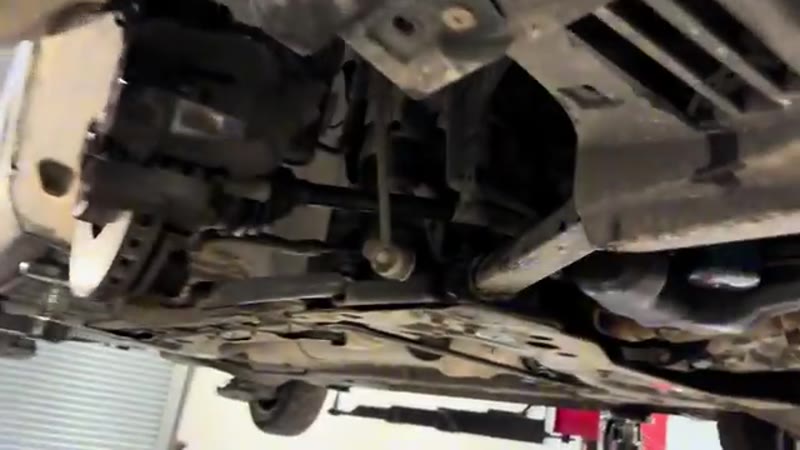
Put the car on a lift or axle stands. Remove the under tray and pull the inner wheel arch liner out to the side - this gives you visibility of the auxiliary belt, lower crank pulley, oil filter and sump from below. You'll be working both above and below the car throughout this job.
Drain the Oil & Remove the Sump - Inspect the Oil Strainer
Before touching the belt, drain the engine oil - on a neglected engine this will likely come out very black. Remove the oil filter. Then undo all the 8mm sump bolts and carefully prise the sump away from the block using a small screwdriver - be gentle to avoid damaging the mating surfaces or bending the sump.
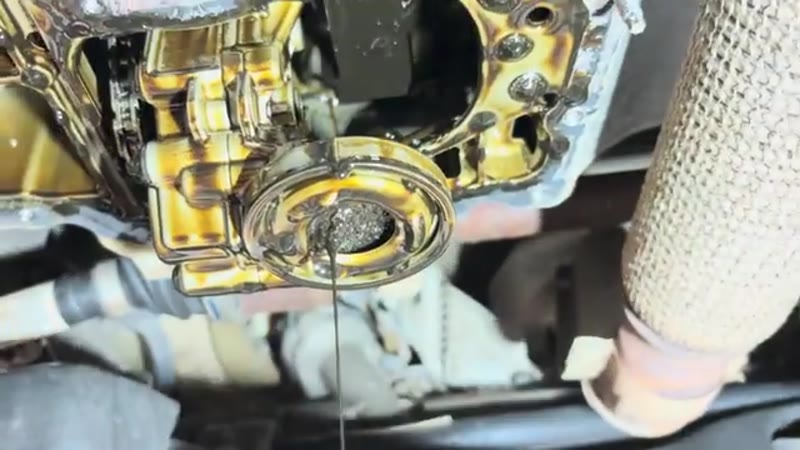
With the sump off, inspect the oil strainer immediately. On these engines it is very common to find it packed solid with rubber and canvas debris from the disintegrating wet belt. This blockage is the direct cause of the low oil pressure warning. Clean the strainer thoroughly - scrape out all the debris and flush it clean before proceeding.
Remove the Cam Carrier & Expose the Cams
Back up top, remove the servo pump (undo the top two bolts and bottom bolt, move it to the side). Then remove all the 8mm bolts holding the cam carrier down - there are a lot of them including two awkward ones tucked down near the turbo. Take your time and they will all come out. Carefully wiggle the cam carrier free.
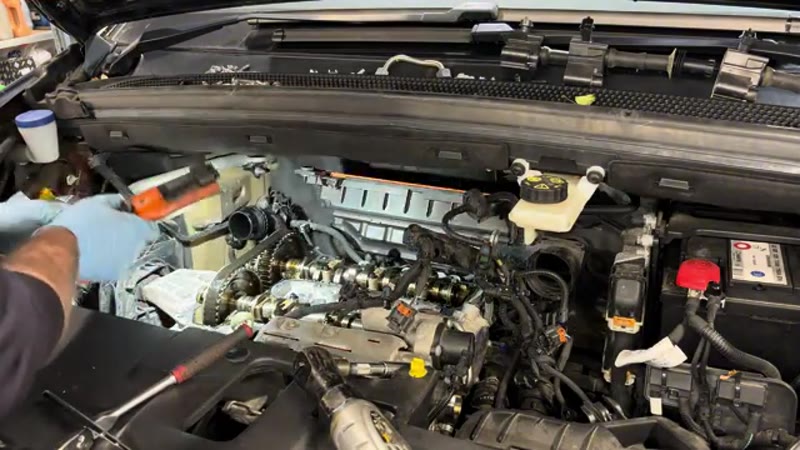
Important - before lifting the cam carrier fully away, remove the high pressure fuel pump piston from the cam carrier and keep it safe. Note exactly how it sits so it goes back in the same position.
Install Cam Locking Tool & Flywheel Pin
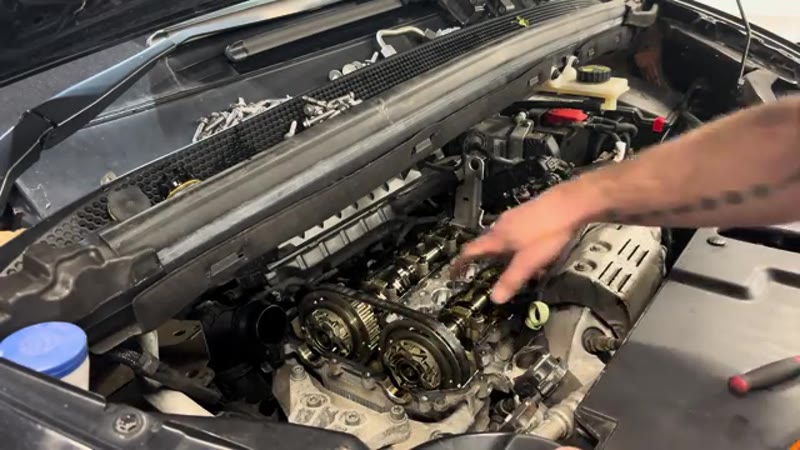
With the cams exposed, fit the cam locking tool over the square sections of the cam lobes. It locates onto the cylinder head and bolts down in the middle using two of the original cover screws - once in place the cams are completely locked and cannot move. Then from below, insert the flywheel locking pin up into the flywheel to lock the crank position. The engine is now fully timed and locked ready for belt removal.
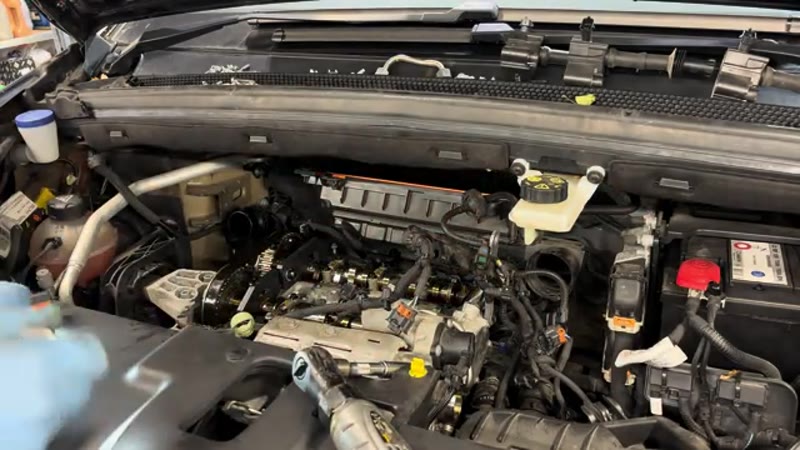
Remove the Auxiliary Belt & Lower Pulley
From below, use the 13mm multi-spline socket on the auxiliary belt tensioner to release the tension and slip the belt off. Note the orientation if reusing it. With the crank pin now inserted into the flywheel, remove the 13mm bolts from the lower pulley and wiggle it free - note it is also connected to the water pump belt behind it.
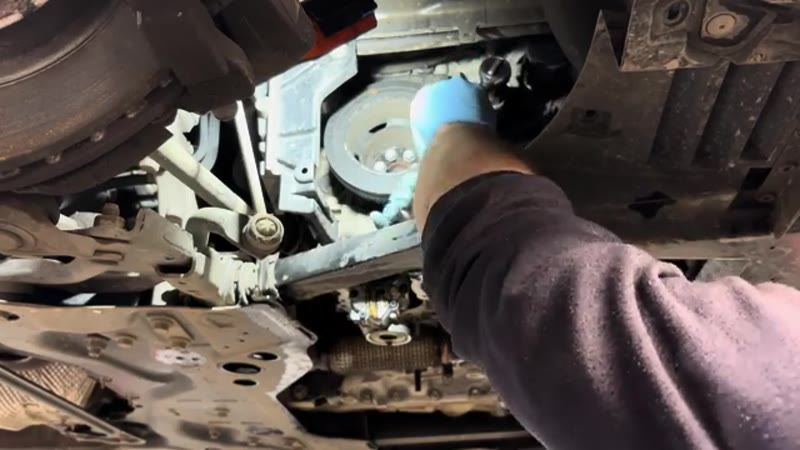
Remove the Front Cover, Tensioner & Idler
Remove the 4x 10mm bolts holding the lower front cover - it will have a rubber seal. Pull the cover away carefully. You now have access to the tensioner and idler pulley. Remove the idler first, then the tensioner. Finally undo the 18mm bottom crank bolt, refit two of the 13mm bolts loosely and wiggle the lower pulley half free from the crank gear. Replace the crank oil seal at this point while you have clear access.
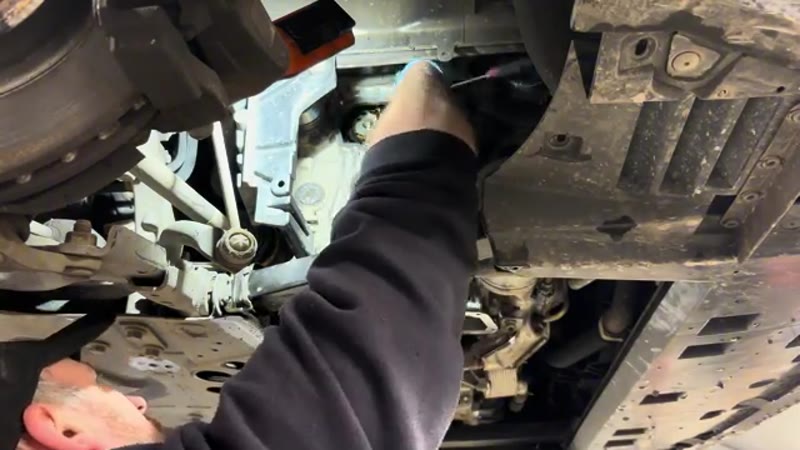
Remove the Old Wet Belt
Back up top, crack off the cam gear bolts (they'll be tight) and remove the cam gears - each has a keyway that locates on the cam, so note orientation and keep them separate. With the gears free the belt can now be carefully pulled out through the top. Inspect it - you will likely see cracking all along the edges and fibres breaking away from the sides. This is exactly what has been blocking the oil strainer.
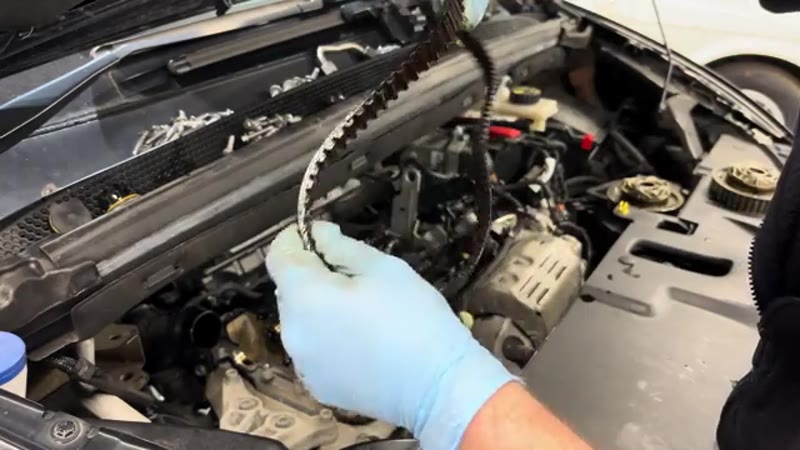
Fit the New Belt & Reassemble the Bottom End
Use a genuine replacement belt only - this is not a job to cut costs on. Feed the new belt down from the top. Refit the cam gears loosely, making sure the keyway locates correctly on each cam. From below, refit the lower inner pulley (the lug locates into the crank - it can only go one way), then refit the lower bolt. Refit the tensioner into its cutouts and the idler pulley. Use a 6mm Allen key on the tensioner and turn it anticlockwise until the white tab aligns with the mark - then lock it down. Tighten the idler, tensioner and bottom crank bolt to the correct torque specs.
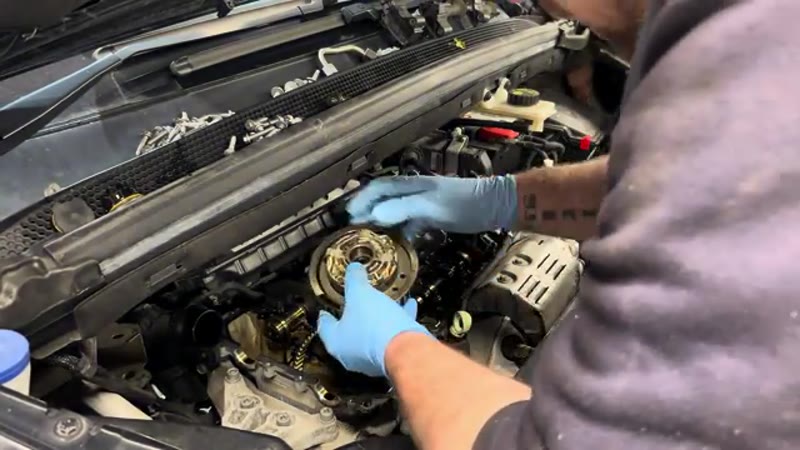
Tighten Cam Gear Bolts, Verify Timing & Rebuild Top End
Tighten the cam gear bolts to the correct torque and angle spec. Remove the cam locking tool and flywheel pin. Paint a small timing mark on each cam gear for reference. Rotate the engine by hand four full turns and recheck - the locking tool must fit back perfectly and all marks must line up. Only then is the timing confirmed correct. Refit the front lower cover with a new seal, water pump belt, lower pulley, auxiliary belt and all top end components in reverse order of removal.
Refit Sump, Fill with Oil & First Start
Refit the sump with fresh gasket sealer and all 8mm bolts tightened evenly. Fit a new oil filter. Fill with the correct grade oil - this engine takes approximately 3.5 litres. Before starting, disconnect the spark plugs and crank the engine over to build oil pressure first - especially important after the system has been fully drained. Reconnect the plugs and start the engine. The low oil pressure warning should not appear. Run up to temperature and road test to confirm the fault is fully resolved.
Key Torque Specifications
Shop Parts & Tools for This Job
As an Amazon Associate, Mr Auto Fixer earns from qualifying purchases. Prices and availability may vary.
Why the PureTech Wet Belt Fails - and Why the Interval Keeps Shrinking
The PureTech's timing belt runs inside the engine, bathed in oil - that is the "wet" part, and it is also the whole problem. The theory was less friction and noise; the practice, as hundreds of thousands of UK owners now know, is that oil attacks the belt's rubber over time. The belt swells, sheds teeth and rubber debris into the sump, and that debris blocks the oil pickup strainer - so the engine can lose oil pressure and destroy itself even before the belt actually snaps. It is the rare belt that can kill the engine two different ways.
This is why the official interval has been cut repeatedly and why specialists now advise six years or around 60,000 miles at the outside - earlier if the car does short trips or the oil history is patchy. The dipstick check in this guide (feeling the belt edge through the oil filler with the engine off) is worth doing on any PureTech you own or are about to buy.
Citroën Dealer vs DIY Cost
| Who does it | Typical price | What you get |
|---|---|---|
| Stellantis main dealer | £700–£1,000 | Genuine belt kit, factory procedure, record on the system |
| Independent garage | £400–£700 | The full wet belt job - prices rising as demand grows |
| DIY | £100–£150 | Genuine-spec belt kit - for experienced hands only on this engine |
Typical UK prices for the 1.2 PureTech. This is one job where paying a specialist who has done dozens is a reasonable choice - the belt lives inside the engine and mistakes are terminal.
Whatever the route, do not defer it: a wet belt at the interval is £400–£700, a wet belt past it can be a £4,000 engine. The full pricing picture is in our wet belt cost guide.
Genuine vs Aftermarket - Different Rules for Wet Belts
For a normal cambelt we would tell you the aftermarket kit is identical to genuine at half the price. The wet belt is the exception: the belt compound must survive immersion in hot oil, the design has been revised repeatedly by PSA/Stellantis, and you specifically want the latest-revision belt. Buy genuine or the OE supplier's kit (Gates and Dayco make wet-belt-specific kits for the PureTech) from a mainstream seller - never a marketplace bargain, where old-revision and counterfeit belts circulate for exactly this application.
The same discipline applies to oil: this engine requires the correct PSA-spec low-ash oil, because the wrong oil is one of the things that ages the belt early. The £10 saved on generic oil is part of how these engines end up in the news.
Common Mistakes on a Wet Belt Job
- Not checking the oil pickup strainer. The debris from the old belt is already in the sump. Skipping the strainer clean leaves the new belt feeding an engine with restricted oil flow - the exact failure you paid to prevent.
- Fitting an old-revision or unbranded belt. The belt spec has been updated for a reason. Latest revision, genuine or OE-brand kit, from a reputable seller - no exceptions on this engine.
- Reusing single-use fasteners and seals. The job opens the engine's oil circuit; every stretch bolt and seal in the kit is there because it must be renewed.
- Rushing the timing setup. The PureTech locks with pins like any modern engine, but the belt is fiddlier to seat wet. Two full revolutions and a complete re-check before closing up, always.
- Refilling with the wrong oil. PSA-spec oil only, fresh filter, correct level. The oil is a structural part of this belt system, not just a lubricant.
- Ignoring the low-oil-pressure warning afterwards. Any oil pressure light or top-end rattle after a wet belt job means stop immediately - debris or a starved pickup, and seconds matter.
Related Faults Every PureTech Owner Should Know
Wet belt debris announces itself indirectly, so learn the engine's warning signs: an oil pressure light that flickers on corners or at idle points to a partially blocked pickup strainer; a rattling top end on cold start is oil starvation reaching the camshaft; and cam/crank correlation faults logged by the ECU - like fault code P0016 - can be a stretched belt moving the cam timing. Any of these on a PureTech means investigating the belt and strainer before anything else.
Keep oil changes strictly on schedule with the correct spec, check the level monthly (PureTechs use some oil, and a low level concentrates the debris), and if the service light is nagging after the work, the C4 service light reset guide takes two minutes. For symptoms you cannot place, start at the symptom finder.
Job Summary
What to expect on this repair: