Overview
The pollen filter (cabin air filter) on a VW Tiguan Mk2 is located behind the glove box on the passenger side. It's a quick 10-minute job that requires no tools - just a little confidence removing the glove box. Replacing it every 1–2 years keeps the cabin air clean and the air conditioning system working efficiently.
Signs your filter needs replacing: Musty smell from vents, reduced airflow from the cabin blower, increased dust inside the car, or if it's been over 2 years / 20,000 miles since the last replacement.
How To Tell Your Pollen Filter Needs Changing
On the VW Tiguan Mk2, a knackered pollen filter announces itself in the same way it does across the VW Group range - usually with a musty, damp smell when you first switch the AC on, particularly first thing in the morning after the car has sat overnight. That's mould growing on a wet, saturated filter and it is the most common reason owners book the car in for an "AC stink". Next signs to watch for: airflow visibly weak even with the blower spun up to max, windscreen demist takes far longer to clear than it used to, and hayfever symptoms feel worse inside the cabin than they do out on a walk. You may also see a dust ring building up around the dashboard vent outlets where particles have started blowing past a collapsed media. Typical pollen filter life on the Tiguan in normal UK use is 12-24 months or 12,000-15,000 miles. If you sit in city traffic, drive dusty A-roads, run agricultural lanes or use the AC hard through pollen season, that life is shorter. Two or more of these signs and the filter needs to go in the bin - £10-£25 part, 10 minutes.
Common Symptoms of a Blocked Pollen Filter
- Musty or damp smell from the vents on first AC startup
- Weak airflow even with the blower on max
- Windscreen demist takes far longer than it used to
- Hayfever symptoms inside the cabin worse than outside
- Black dust around the dashboard vent outlets
- AC seems weaker - it can't push air through a clogged filter
DIY vs Garage Cost - UK 2026
A pollen filter change on a VW Tiguan at a UK independent garage typically lands at £30-£60 - that covers the filter and the half-hour they book it for, even though the actual swap is closer to ten minutes once the glove box is dropped. A main dealer will be £55-£110 because they fit a genuine VW part and book a longer labour time. DIY, the only real cost is the part: own-brand £8-£14, Bosch, Mann or Mahle £14-£28, OE VW filter £25-£45. Labour is nothing - ten minutes and no tools at all on the Tiguan thanks to the squeeze-the-sides glove box release. This is one of the very best DIY money-savers on the car and Mann or Bosch quality is identical to OE at roughly half the price. Beginner-friendly, no jacking, no fluids, no risk of getting it wrong.
Part You'll Need
Shop Parts & Tools for This Job
As an Amazon Associate, Mr Auto Fixer earns from qualifying purchases. Prices and availability may vary.
Step-by-Step Guide
01
Open the glove box fully
Open the passenger side glove box. You'll see a small buffer stop on each side - these limit how far the glove box opens. Squeeze both sides of the glove box inward at the same time to clear the buffer stops.
02
Drop the glove box down
With the sides squeezed in, lower the glove box fully downward. It will hinge down on its hinges, giving you clear access to the filter housing behind it.
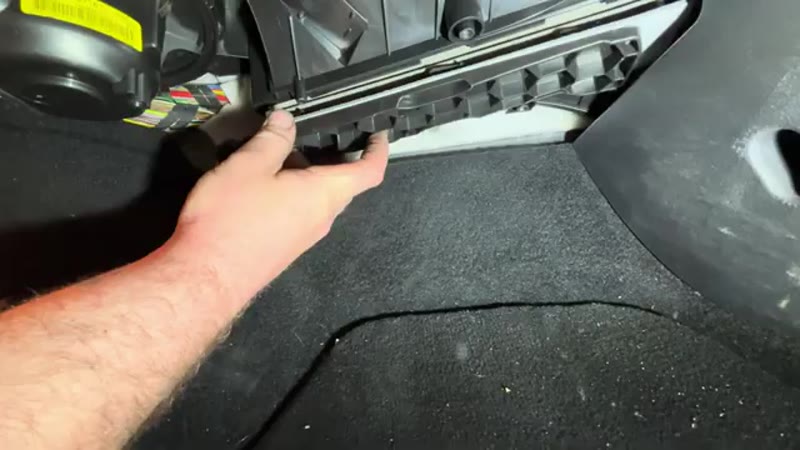
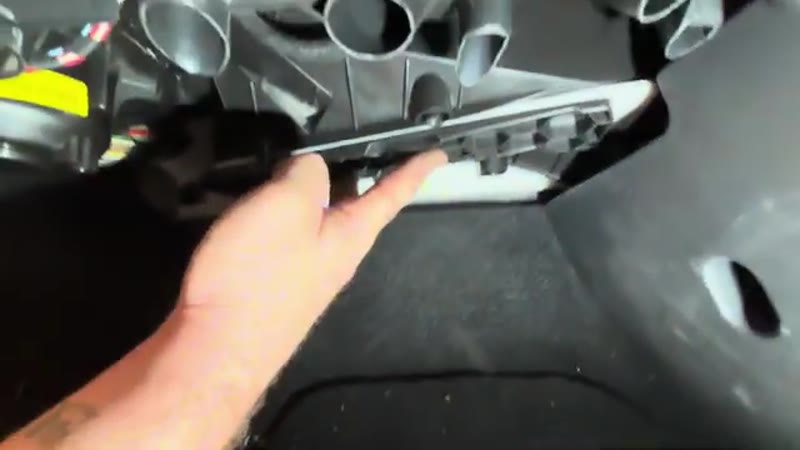
03
Remove the filter housing cover
The filter housing is a rectangular cover with a clip or tab on one side. Press the tab and slide or pull the cover off to expose the filter inside.
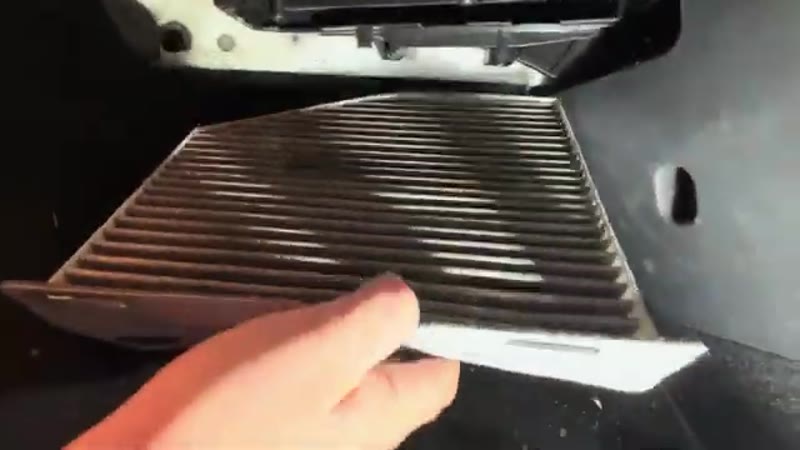
04
Slide out the old filter
Pull the old filter straight out of the housing. Note the airflow direction arrow on the filter - this shows which way the air flows through it, and the new filter must go in the same orientation.
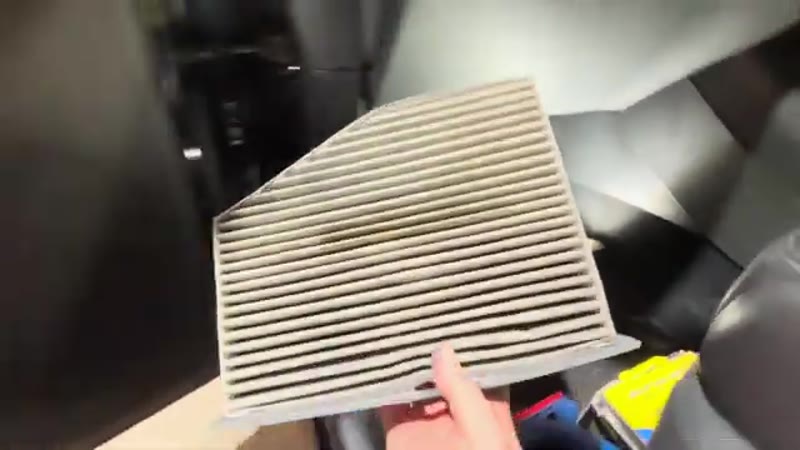
05
Check the filter condition
If the filter is grey, clogged with debris, or has any black mould spots, it's definitely overdue. Give the housing a quick wipe out with a dry cloth before fitting the new one.
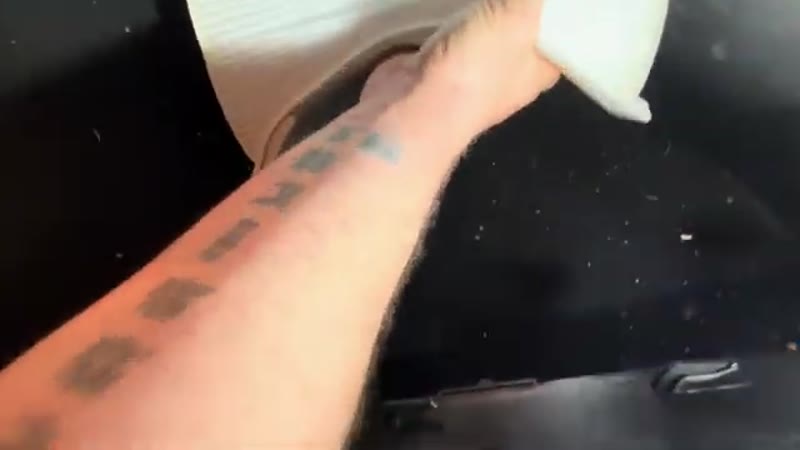
06
Insert the new filter
Slide the new filter in with the airflow arrow pointing in the correct direction (same as the old one). The filter should slide smoothly into its guides without forcing. It'll sit flush when correctly seated.
07
Refit the cover and glove box
Clip the filter housing cover back on. Lift the glove box back up, squeezing the sides slightly as you push it back onto the buffer stops - it'll click back into place. The job is done.
Common Mistakes To Avoid
The single most common mistake I see on a Tiguan pollen filter swap is fitting the filter the wrong way round. There is always a printed airflow arrow on the frame and it must point the way the air travels through the housing - get it the wrong way and the cleated face fouls quickly, the seals don't sit flush, and you have effectively no filtration. Second mistake - not squeezing the glove box sides in firmly enough when refitting it, so the buffer stops don't re-engage and the glove box ends up flopping down or feeling loose. Third - on the Mk2 Tiguan specifically, the filter cover has a single side tab that's brittle on early examples; press it cleanly, do not lever it with a screwdriver. Fourth, a cheap off-dimension filter that's even a few millimetres short will not seal so unfiltered air bypasses around the edges. Fifth, leaving the housing dirty - wipe out leaves and debris with a dry cloth before fitting the new filter or you'll just block the new one in a few months. Lay the old filter and the new one side by side, fit it the same way round. Done.
Mr Auto Fixer Shop
Want this guide offline - and 15 more like it?
Our PDF guide collection covers servicing, fault codes, buying a used car and more. Written by a qualified mechanic. Download once, use forever - no ads, no internet needed.
Why the Tiguan's Filter Earns Its Annual Change
The Tiguan does family duty - school run, supermarket, holiday motorway - and that mix loads a cabin filter from both ends: soot-dense queue air in town, huge air volumes at speed. Twelve months is the honest interval, and hay fever households have a bigger stake than most: the filter is the only thing standing between June's pollen count and the passengers, and a saturated element does not just stop working, it becomes a pollen reservoir sitting in the airflow. If anyone in the family spends spring sneezing, this is the most cost-effective £15 in the car's budget - and the job is a five-minute glove box drop.
Standard vs Carbon for the Tiguan (and Whose Box)
Two grades fit: the standard particulate element at £10–£18, and the activated carbon version at £16–£28 which also strips traffic fumes and odours - the right choice for a car that queues at school gates twice a day. VW's originals are made by Mann and Mahle, whose own-boxed filters are the identical part at roughly half the counter price. One Tiguan-specific note: buy by registration, because the first and second generation Tiguans take different elements and both are everywhere on the used market.
Related Tiguan Symptoms and Next Jobs
If symptoms persist past the new filter: a returning musty smell is evaporator mould (a £12 aerosol intake treatment cures it), weak airflow on all speeds is a tired blower, and a windscreen that mists with damp carpet below points at blocked scuttle drains rather than ventilation. The symptom finder walks each one through.
And a heads-up while you are in a maintenance mood: the Tiguan's rear brakes wear surprisingly fast thanks to Auto Hold, and they need an electronic step most owners do not expect - the Tiguan rear brake guide explains before the grinding starts.
10 Minutes, Zero Tools, Much Better Air Quality
This is one of the easiest DIY jobs on the VW Tiguan. A fresh pollen filter makes a noticeable difference to cabin air quality and blower performance, especially if the old one hasn't been changed in a while. Change it every 20,000 miles or annually if you drive in dusty or urban environments.