No - the D5 belt is experienced-DIYer or specialist territory. For most owners the right move is an independent Volvo specialist at half the dealer price, with this guide as the checklist of what the job must include.
Overview
The Volvo XC90 D5 diesel cambelt and water pump replacement is a major service job. The auxiliary belt must come off first, followed by the bottom pulley, before the cambelt covers can be removed. The water pump is held by 10mm bolts and runs from the cambelt.
Timing the XC90 D5 is done by aligning a small mark on the top of the crank pulley with the engine casing mark, plus verifying the cam position. The engine turns over very easily with the glow plugs removed.
When You Need This Job
Cambelt replacement interval reached - typically 6 years or 100,000 miles
Coolant loss or wet belt area indicating water pump leak
Preventative replacement on high mileage vehicle
Any noise from the cambelt area
⚠ This is an interference engineIf the cambelt snaps the pistons will hit the valves causing total engine destruction. Never exceed the replacement interval.
⚠ Mark the auxiliary belt routing before removalTake a photograph of the auxiliary belt routing before removing it. On reassembly this saves significant time.
Tools You'll Need
T60 Torx (auxiliary belt tensioner)
T30 Torx
30mm socket (crank pulley and bottom pulley)
13mm socket
12mm socket
10mm socket
6mm Allen key (cambelt tensioner)
Engine support equipment
Step-by-Step Guide
01
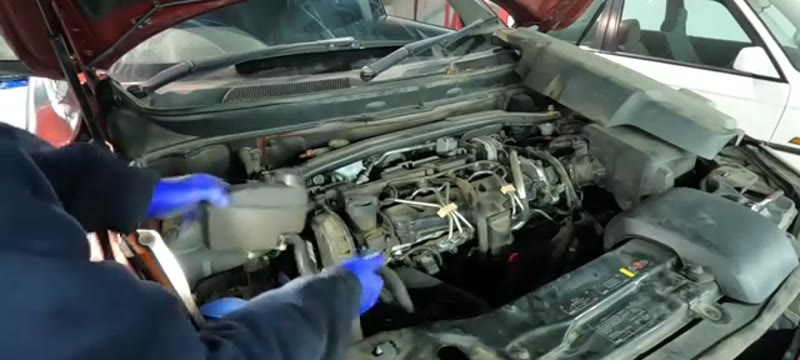
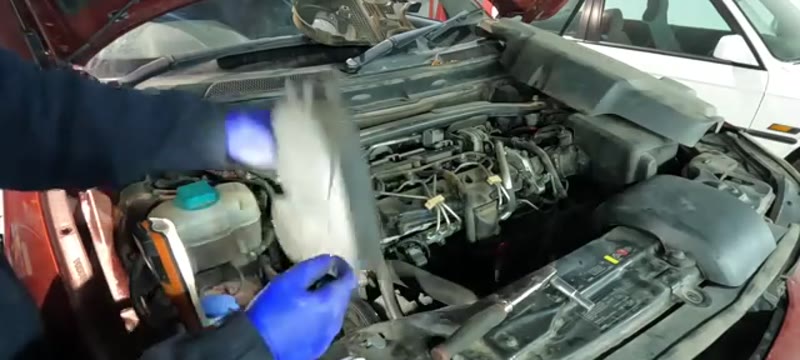
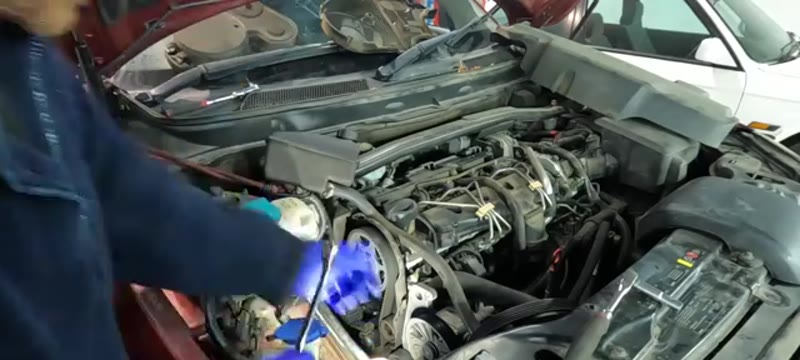
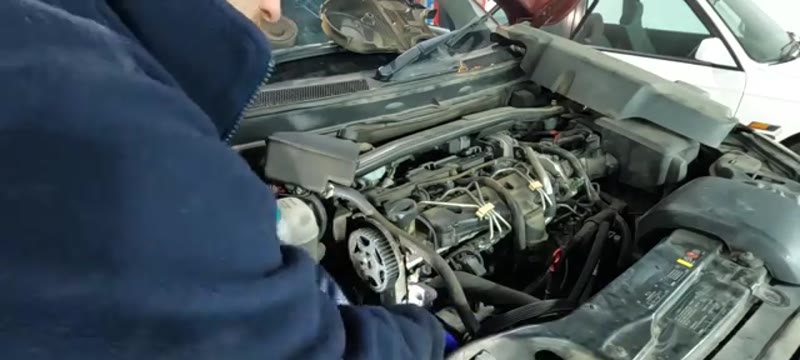
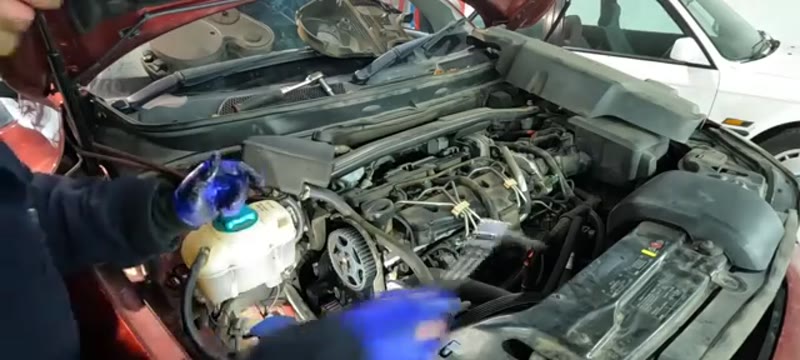
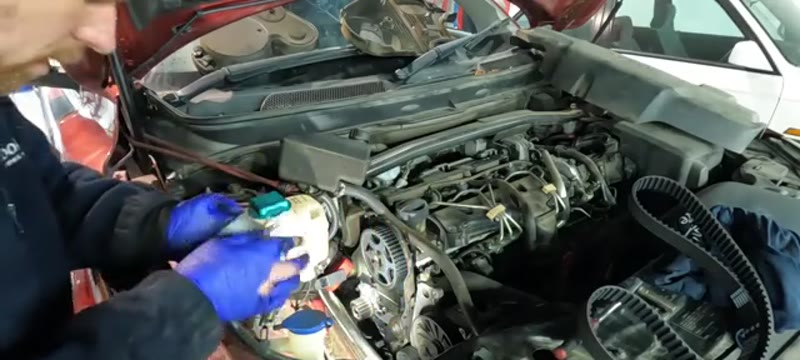
Remove engine covers and clear the area
Remove the engine top cover. Bungee the power steering reservoir out of the way to give clear access to the auxiliary belt area.
02
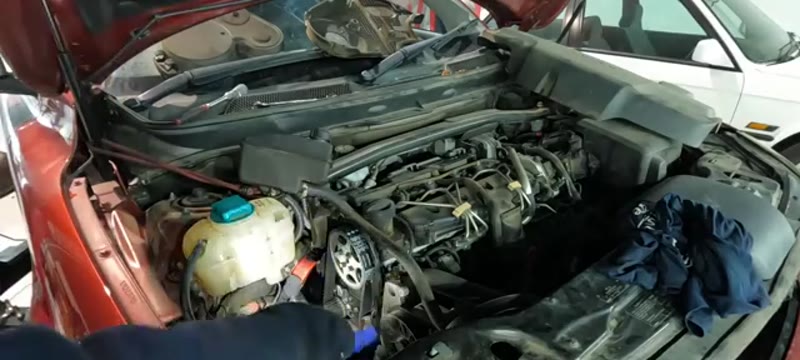
Remove the auxiliary belt cover - two T30 Torx
The cover over the auxiliary belt is held by two T30 Torx bolts. Remove it and set aside.
03
Remove the auxiliary belt
A T60 Torx fits the tensioner pulley underneath. Insert it and push the tensioner down to release belt tension. Wiggle the belt off one pulley and pull it clear.
04
Turn engine to TDC using the 30mm socket
Fit a 30mm socket onto the bottom pulley centre bolt. Turn the engine clockwise until the small mark on the crank pulley aligns with the mark on the engine casing - this is TDC.
05
Remove the bottom pulley - four 13mm bolts plus the 30mm centre bolt
Undo the four 13mm bolts and the centre 30mm bolt. Wiggle the pulley off - it may be stuck due to corrosion on the dowel. Persevere until it comes free.
06
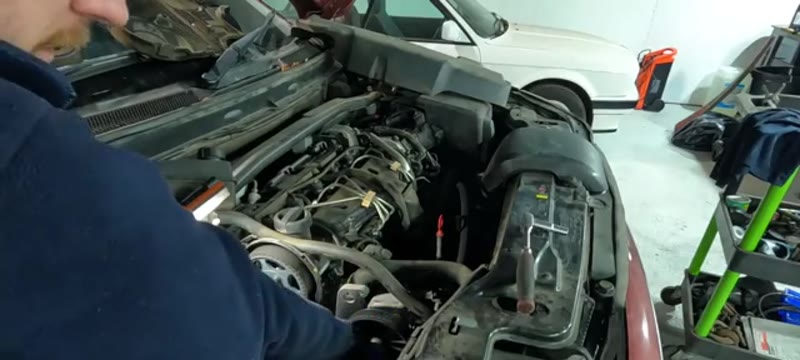
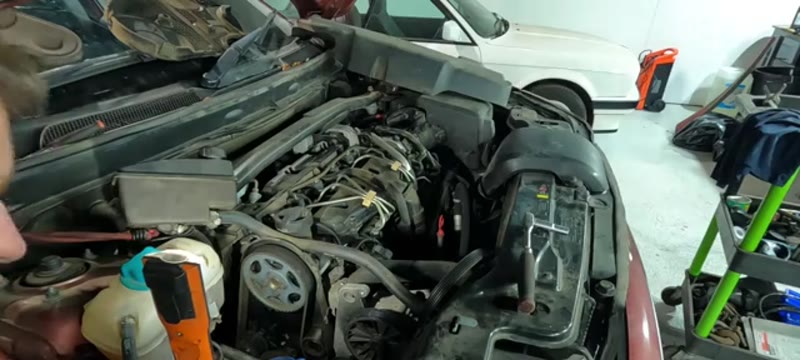
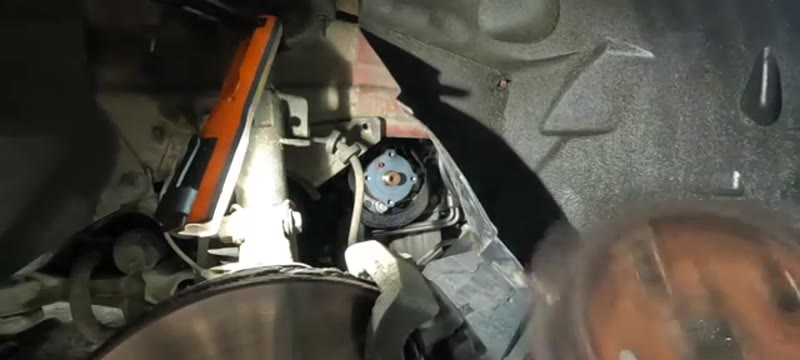
Verify TDC and remove the cambelt covers
Recheck the timing mark alignment. Remove the remaining cambelt covers to gain full access to the belt, tensioner, idler and water pump.
07
Release the cambelt tensioner - 12mm and 6mm Allen key
Undo the 12mm tensioner bolt partially to allow movement. Use the 6mm Allen key to wind the tensioner back off the belt, removing all tension. Remove the old cambelt.
08
Remove the tensioner and idler - 10mm and 12mm bolts
Fully remove the tensioner and idler pulley. These are replaced as part of the new kit.
09
Remove the water pump - 10mm bolts
Undo all 10mm bolts on the water pump. Pull it out carefully - coolant will pour out. Have a tray ready. Clean the mating surface thoroughly before fitting the new pump.
10
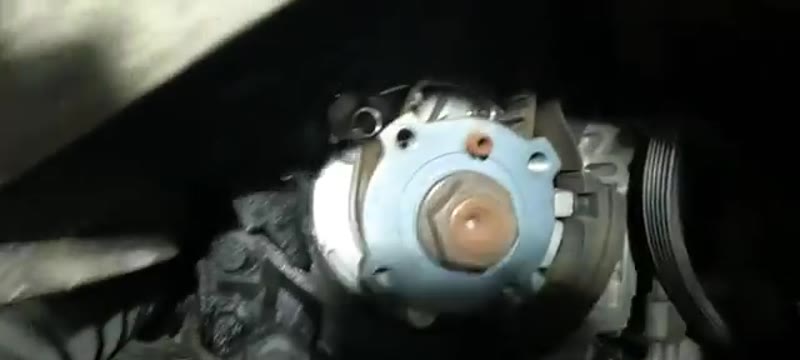
Fit the new water pump
The new pump comes with a paper gasket. Two locating dowels guide it into position. Fit new bolts from the kit and tighten to spec.
11
Fit new idler and tensioner
Fit the new guide roller (10mm bolt) and the new tensioner (12mm bolt). The tensioner has an arrow indicating the direction to move the 6mm Allen key during tensioning.
12
Fit the new cambelt
Feed the belt around all pulleys in the reverse order it was removed. Ensure it is seated in every pulley groove.
13
Tension the belt
Move the tensioner using the 6mm Allen key per the arrow direction until the indicator sits correctly in the fork position. Tighten the 12mm tensioner bolt.
14
Turn engine over twice and verify timing
Turn the engine two full revolutions using the 30mm socket on the bottom pulley. Check the TDC timing mark re-aligns correctly. Verify the cam mark aligns. Then reassemble everything in reverse.
Torque Specifications
Component
Torque
Water pump bolts (10mm)
25 Nm
Tensioner bolt (12mm)
25 Nm
Bottom pulley centre bolt (30mm)
200 Nm
Remove the glow plugs to make turning easier
With the glow plugs out there is no compression resistance and the engine turns over very freely by hand - much easier when setting the timing.
Check the condition of the auxiliary belt
While the auxiliary belt is off inspect it carefully for cracking or glazing. Replace it at the same time as the cambelt if there is any doubt.
Our PDF guide collection covers servicing, fault codes, buying a used car and more. Written by a qualified mechanic. Download once, use forever - no ads, no internet needed.
Volvo's D5 is a magnificent engine with one non-negotiable appointment. It is an interference diesel: the belt is all that keeps five pistons and twenty valves out of each other's way, and a snapped belt turns a healthy 300,000-mile-capable engine into scrap in about half a second. On an XC90 the maths is brutal - the engine damage from a belt failure comfortably exceeds the value of most of these cars now, so a missed belt does not just cost an engine, it usually ends the car.
The generous-sounding interval - typically six years or 100,000 miles - tempts owners to drift past it, and the time limit is the one that catches people. Belt rubber hardens with age regardless of miles, and plenty of XC90s do school runs, not motorways. If the service history cannot prove the belt, the belt is due - that rule has saved more D5s than any other sentence on this page.
Volvo Dealer vs DIY Cost
Who does it
Typical price
What you get
Volvo main dealer
£900+
Genuine parts and dealer labour - routinely quoted on these
Independent / Volvo specialist
£400–£700
Belt, tensioner, idlers and pump with OE-brand parts
DIY
£100–£160
Complete kit and pump - plus a 5-7 hour day in a tight engine bay
Typical UK prices for the XC90 D5. A five-cylinder mounted sideways leaves little room to work - the labour hours are honest, not padding.
On an older XC90 the £900 dealer quote can approach the car's value, which makes the specialist or DIY route the difference between keeping a good car and scrapping it. Our cambelt cost guide shows the spread of UK prices for exactly this decision.
Genuine Volvo vs Aftermarket Parts
Volvo's belt kits are built from Continental and Gates belts, INA tensioners and Hepu or Aisin pumps, and those same brands sell complete kits for the D5 at £100–£160 - roughly half the genuine counter price for identical hardware. The D5 was fitted across S60s, V70s, S80s and XC70s as well, so quality aftermarket coverage is deep and prices stay honest.
Kit rule for the D5: everything that turns gets replaced - belt, tensioner, both idlers, pump - in one pass. And given the engine bay is tight enough that you never want to do this twice, this is the worst car imaginable for experimenting with a £35 unbranded kit.
Common Mistakes on the D5 Belt Job
Underestimating the access. A transverse five-cylinder fills the bay wall to wall. Clear proper working room - inner wing liner out, mount supported - before the first belt bolt, not during.
Trusting marks without checking twice. Line up the crank and cam marks exactly as the guide shows, and after fitting rotate two full turns clockwise and confirm they return true. One tooth out on a D5 is the whole engine.
Renewing the belt but not the idlers. The D5's idler bearings are known to fail between belt changes when reused - and a seized idler kills the new belt and the engine with it.
Levering the belt on. If it will not walk onto the last pulley by hand with the tensioner slack, the tension is wrong - screwdrivers nick the belt edge and nicked belts fail early.
Sloppy coolant bleeding. The XC90's system holds a lot of coolant and airlocks readily. Bleed patiently and watch the gauge on the first run - a new pump cavitating in an airlock does not survive long.
Ignoring oil on the old belt. Oil means the crank or cam seal is weeping. On this engine, fix it now - seal access is exactly the same excavation you have just done.
Related Faults and While-You-Are-In-There Checks
With the front of the D5 stripped, check the crank and cam seals, the aux belt and tensioner (renew - they are off anyway), and the coolant hoses around the pump, which bake on this engine. Look at the engine mounts too: tired mounts on a heavy diesel SUV read as driveline clunk and get misdiagnosed for months.
If you are doing catch-up maintenance on a new-to-you XC90, pair this with the XC90 brake guide and the alternator guide - the three jobs cover the big-ticket items these cars actually need. And for any engine-end noise you cannot place before committing to this job, start at the symptom finder.
Quick Stats
Difficulty
Advanced
Vehicle
Volvo XC90 D5
Time
5–7 hrs
Parts Cost
£200–£500
Common Questions
FAQ
This is the most advanced DIY job on the XC90 and the guide treats it that way: auxiliary belt off, bottom pulley off, covers off, then the belt and pump with the engine locked on its timing marks. If you have done a cambelt before, the D5 is well-documented and logical. If you have not, weigh the £900-plus dealer quote against a specialist at half that before making this your first.
£400–£700 at a good independent; Volvo dealers routinely quote over £900. The belt kit and pump are £100–£160 in parts. The D5 will do enormous mileages, but only if this belt is changed on schedule - it is the single most important service item on the car.
3–5 hours including the auxiliary belt and bottom pulley work before you even see the cambelt. Lock the engine properly, verify the marks twice, and turn it over by hand before the covers go back on. The hours are insurance; the rushing is the risk.
On most modern interference engines, a snapped cambelt causes the pistons to hit the valves, resulting in catastrophic engine damage that can cost thousands to repair - often more than the car is worth. This is why cambelt replacement at the correct interval is one of the most important maintenance jobs you can do.
20+ Years ExperienceMOT TesterProfessional UK Mechanic
All guides on this site are written from real, hands-on experience - not copy-pasted from a manual. If I haven't done the job myself, it doesn't go on the site.