It rewards an organised improver: nothing is difficult, everything is tight. Bag and label every bolt, photograph every connector, and a first-big-job DIYer will come out the other side proud of themselves.
Overview
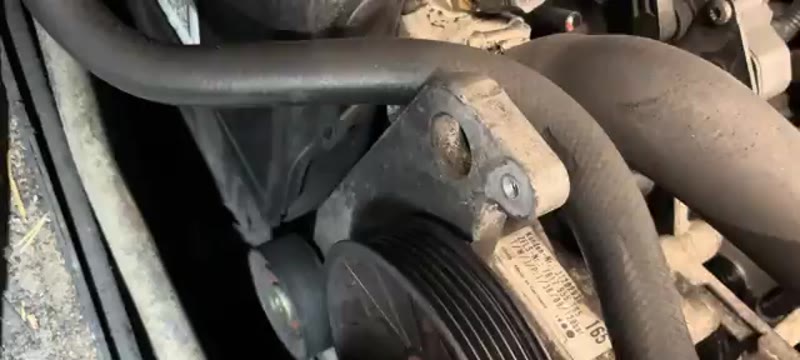
The alternator on the Volvo XC90 sits behind the air con compressor in a tight area but can be removed without taking any major ancillaries off. A methodical approach is key.
A common failure mode on this model is the alternator pulley sleeve separating from the pulley body - this causes the drive belt to shred. The belt must also be replaced at the same time.
When You Need This Job
Battery warning light on the dashboard
Shredded or missing drive belt
Squealing from the engine bay
Car failing to start due to flat battery
Charging voltage below 13.5V when tested
⚠ Disconnect the battery first - alwaysWorking near an alternator with a live battery is dangerous. The battery is in the boot on this model - disconnect the negative terminal before starting any work.
⚠ Replace the belt at the same timeIf the belt was shredded by the alternator failure always fit a new belt when installing the replacement alternator.
Tools You'll Need
13mm spanner and socket
10mm socket (standard and long extension)
8mm socket
Ratchet with extensions
Battery charger
Step-by-Step Guide
01
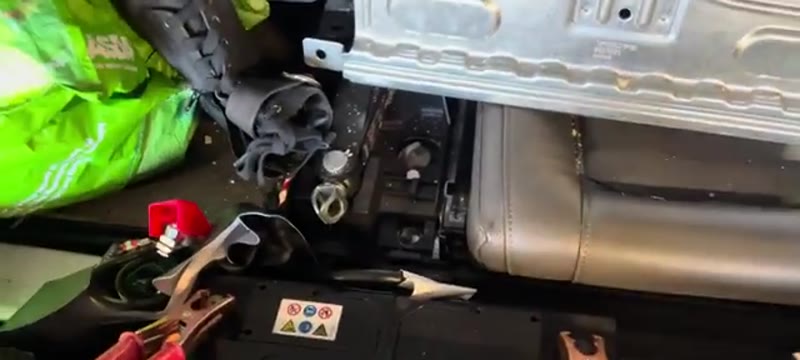
Disconnect the battery
Open the boot. Remove the black plastic cover and the metal cover over the battery - both secured with 13mm bolts. Disconnect the negative terminal first then the positive.
02
Remove the engine cover
Open the bonnet and pull the engine cover straight up - it lifts off its mountings.
03
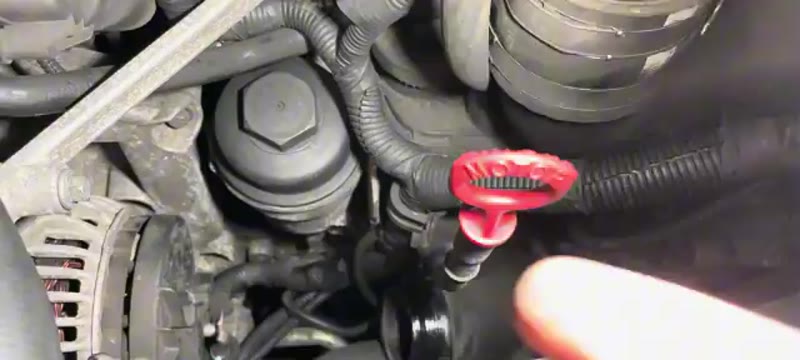
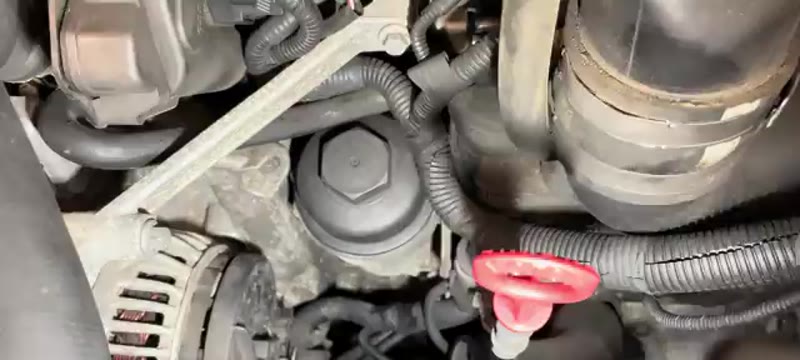
Move the boost pipe
The boost pipe runs across the top of the engine. Unclip it and move it to the side to expose the alternator area.
04
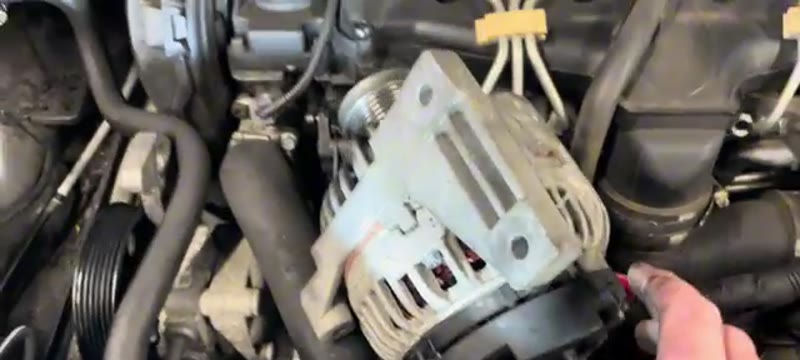
Disconnect the alternator wiring
Remove the 13mm nut from the main terminal post on the rear of the alternator and pull off the cable. Unplug the spade connector.
05
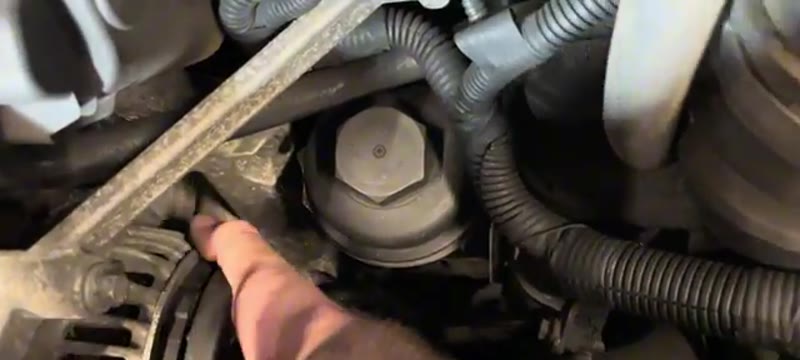
Slacken the lower air con pump bolts
Two 10mm bolts at the bottom of the air con pump also pass through the alternator mounting. Slacken these but do not remove them fully.
06
Remove the two upper alternator bolts
Remove the two upper 10mm long bolts that pass through the alternator mounting. These come out fully.
07
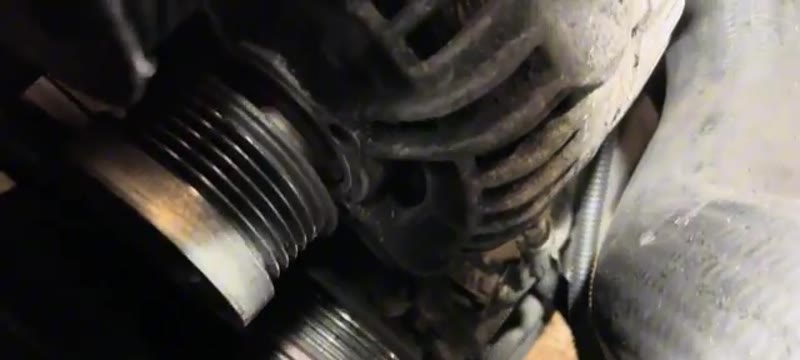
Remove the side 10mm bolt
There is a single 10mm bolt going through the side of the alternator just under the power steering pulley. Remove this.
08
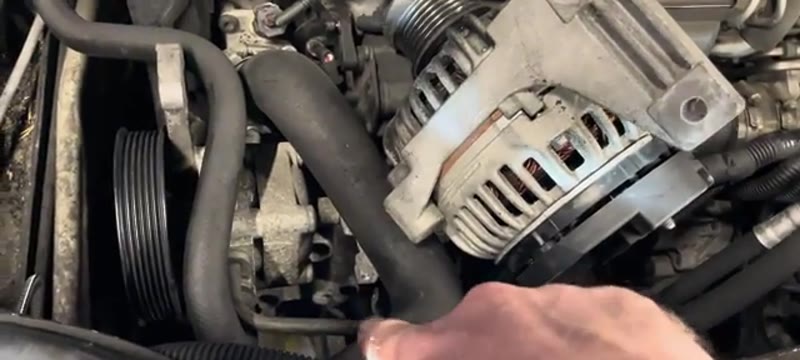
Wiggle the alternator free
With all mounting points loose the alternator can be worked out of its position from behind the air con compressor. Wiggle it towards you carefully.
09
Move the power steering line if needed
An 8mm bolt holds a power steering line bracket nearby. If the alternator will not clear undo this bolt and gently bend the line just enough to get clearance.
10
Remove the alternator
Work the alternator up and out of the engine bay.
Test charging voltage after fitting
With the engine running place a multimeter across the battery. You should see 13.8V to 14.4V. Below 13.5V means a charging fault remains.
Check the tensioner too
If the belt was shredded inspect the tensioner for wear and replace it at the same time as the belt.
Our PDF guide collection covers servicing, fault codes, buying a used car and more. Written by a qualified mechanic. Download once, use forever - no ads, no internet needed.
Why XC90 Alternators Die (and the Test That Comes First)
The XC90 is one of the most electrically loaded cars of its generation - heated everything, big HVAC, seven seats of accessories - and its alternator works correspondingly hard for its living. Brushes and bearings are the usual failure at 120,000–180,000 miles, often announced by a whine that changes with revs (bearing) or dimming headlights in traffic (worn brushes dropping output at low rpm). Diesel D5 models add engine vibration to the load, which is why the guide's removal steps exist at all.
Before any money moves: engine running, multimeter on the battery. 13.8–14.4 volts is healthy; below 13, the alternator is failing. And check the terminals and the big charging lead first - the XC90's age means green crusty connections that fake alternator death perfectly. Not every flat battery is a £220 alternator.
Volvo Dealer vs DIY Cost
Who does it
Typical price
What you get
Volvo main dealer
£400–£650
Genuine unit at dealer labour rates - hard to justify on an older XC90
Independent garage
£250–£450
Quality replacement fitted
DIY
£120–£220
New or reconditioned OE-brand unit and a couple of hours
Typical UK prices for a 2009-era XC90. On a car now worth what these are, the DIY saving is often the difference between fixing and scrapping.
Choosing the Replacement Unit
Bosch and Denso supplied Volvo's originals, and their new units at £150–£220 are the same hardware in aftermarket boxes. A professionally reconditioned unit at £120–£160 - new brushes, regulator, bearings and diodes - is the sweet spot for a car of this age. Match the amperage rating of the original (the XC90's electrical load needs the full-fat output, not a lower-rated lookalike) and check the pulley: these use a one-way clutch pulley, and reusing a worn one on a new alternator brings the belt flutter back within weeks.
Common Mistakes on the XC90 Alternator Job
Skipping the voltage test and buying on symptoms. A tired battery, corroded terminals or a slipping belt all imitate alternator failure. Ten minutes with a multimeter beats £200 of guesswork.
Working with the battery connected. The output stud is always live. Negative terminal off before the first spanner goes near it.
Fighting the access instead of following the guide. The XC90's alternator hides behind more of the front end than seems reasonable - the removal order in the steps exists because every shortcut has been tried and regretted.
Reusing the old clutch pulley without checking it. Spin it both ways: it should freewheel one way, drive the other. A seized one transmits crank pulses straight into the new bearings.
Not finding out why it died. A failing battery that demanded constant maximum charge will cook the new unit too. Load-test the battery before celebrating.
Related Faults and the Rest of the Big Three
A battery warning light with a squeal is the belt or tensioner, not the alternator; an overnight drain with healthy charging voltage is a parasitic draw (boot lights and aging amplifiers lead the suspects on XC90s); and flickering dash lights with good charge often trace to the battery's own internal end-of-life. The warning lights guide decodes the battery lamp properly.
If you are keeping an older XC90 healthy, this job usually arrives alongside the other two big ones - the D5 cambelt and water pump and brakes - and doing all three yourself is what makes these cars affordable to keep. Anything unexplained, start at the symptom finder.
Quick Stats
Difficulty
Intermediate
Vehicle
Volvo XC90 2009
Time
1.5–2 hrs
Parts Cost
£120–£300
Common Questions
FAQ
Yes for a patient DIYer - the XC90's alternator hides behind the air con compressor in a tight spot, but the route in this guide gets it out without removing any major ancillaries, which is the trick. Methodical beats strong here: it is a sequence of small access wins, not a wrestling match.
£250–£450 fitted at a garage. A quality unit is £120–£220, so the labour saving is real - but before buying anything, test the charging voltage and check the battery terminals: not every flat battery is a dead alternator.
Budget around two hours following the access route. Photograph the wiring before disconnecting it, and check the auxiliary belt's condition while it is off - if it is tired, this is the free moment to change it.
Common signs include a battery warning light on the dashboard, dimming headlights at idle, electrical accessories behaving erratically, and a dead battery despite being relatively new. A simple multimeter test should show 13.5–14.5 volts at the battery with the engine running - anything below 13V suggests the alternator is not charging properly.
20+ Years ExperienceMOT TesterProfessional UK Mechanic
All guides on this site are written from real, hands-on experience - not copy-pasted from a manual. If I haven't done the job myself, it doesn't go on the site.