Yes, with the standard brake caveat - first-timers should have their work checked before driving. On the XC90 the thing to manage is weight: heavy discs and a heavy caliper mean the risk is dropped parts and pinched fingers more than complexity.
Overview
Replacing front brake discs and pads on a Volvo XC90 is a rewarding DIY job that saves significantly over a main dealer. The XC90 uses a conventional sliding pin caliper with 7mm Allen key slider pins.
The process is very similar to most European vehicles. The key things to note are the short bottom slider pin versus the longer top pin - these must not be swapped - and the importance of pushing the caliper piston fully back before removal.
When You Need This Job
Squealing or grinding noise when braking
Vibration through the brake pedal under braking
Brake pad wear warning light on dashboard
Visible lip or groove on the disc edge
Pad thickness below 3mm on inspection
Pulling to one side under braking
⚠ Replace both sides togetherAlways replace discs and pads on both front wheels at the same time. Mixing old and new on the same axle causes pulling and uneven braking.
⚠ Pump the pedal before drivingAfter reassembly the piston is pushed back. The pedal will go to the floor on first press. Pump it several times until firm before moving the vehicle.
Tools You'll Need
7mm Allen key
Flat blade screwdriver
Bungee cord or hook
Wire brush
Dremel or flat file
Torque wrench
Brake cleaner spray
Rubber mallet
Step-by-Step Guide
01
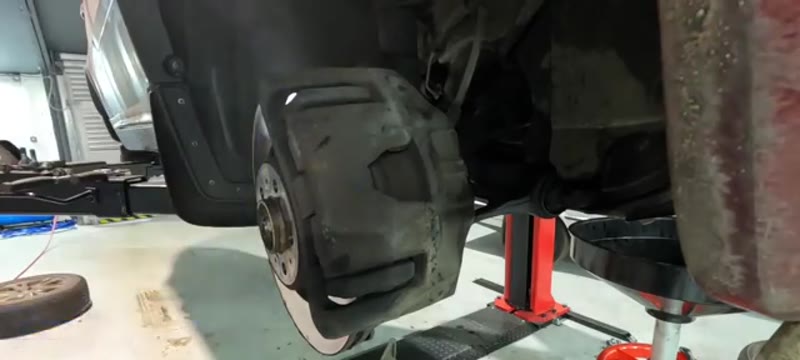
Remove the wheel
Raise the vehicle, support on axle stands and remove the front wheel to expose the disc and caliper assembly.
02
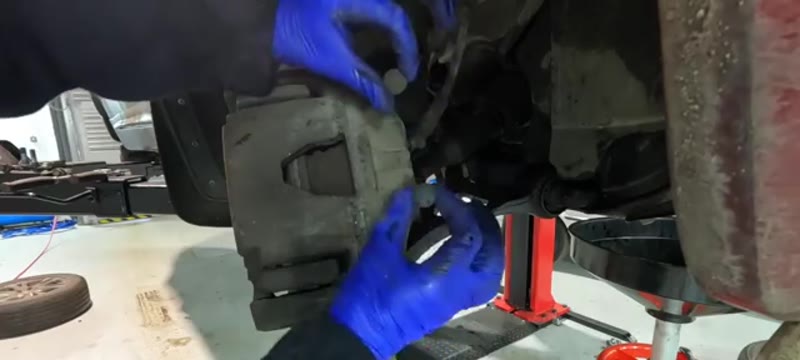
Remove the slider pin dust caps
At the rear of the caliper are two rubber dust grommets covering the slider pin heads. Pull these out to expose the Allen key sockets.
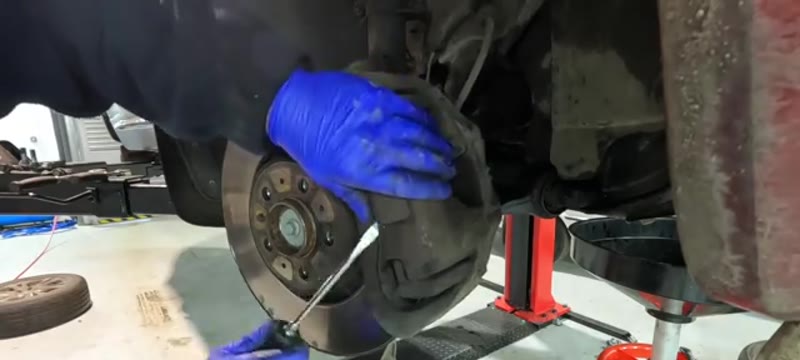
03
Undo both slider pins with a 7mm Allen key
Insert a 7mm Allen key and unscrew both pins. Note that the bottom pin is shorter than the top - keep them separate. If stiff, wiggle while unscrewing.
04
Push the piston back
Remove the brake fluid reservoir cap. Use a flat screwdriver against the old pad face to slowly push the piston all the way back into the caliper body.
05
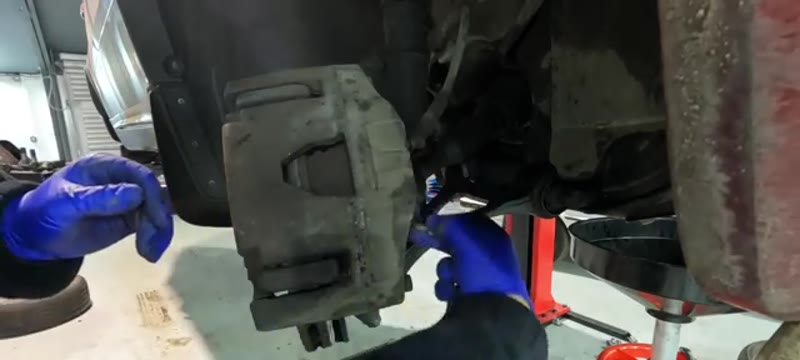
Remove the spring clip at the front
There is a spring clip at the front of the caliper with a centre clip and two end clips. Pop all three out and set aside.
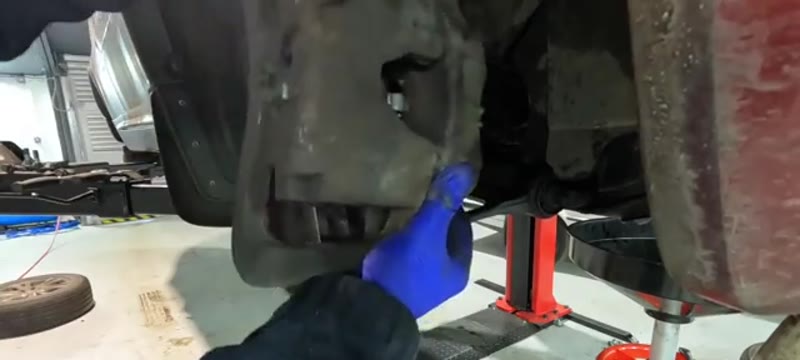
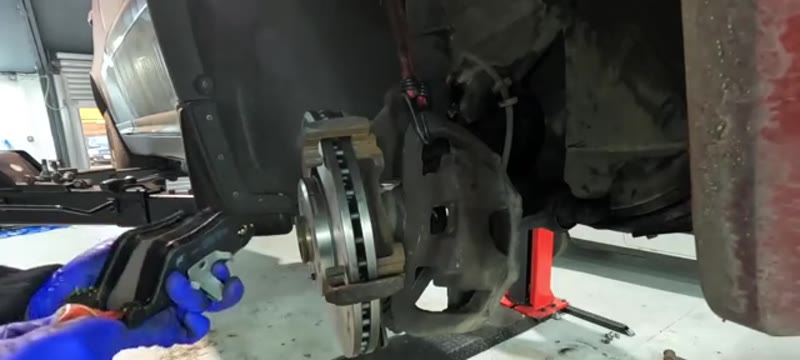
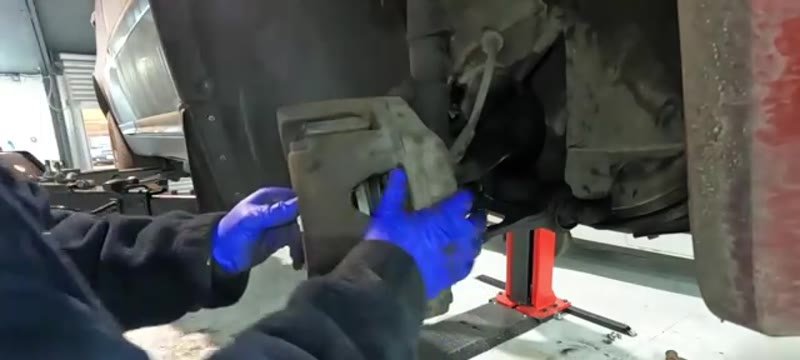
06
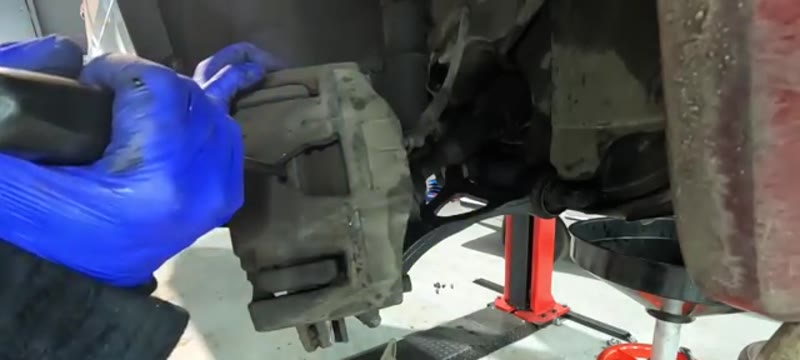
Remove the caliper and hang it up
Wiggle the caliper off the disc. Hook it up with a bungee cord to a suspension component to take the weight off the brake hose.
07
Tap out the old pads
The pads can be tapped out of the carrier. Inspect - inner pad gone to metal is a common finding on these.
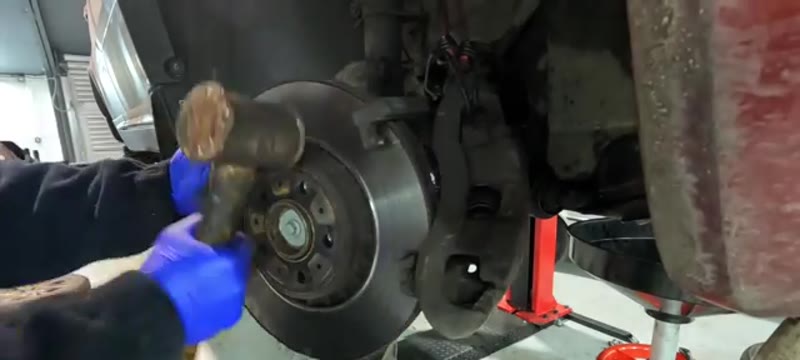
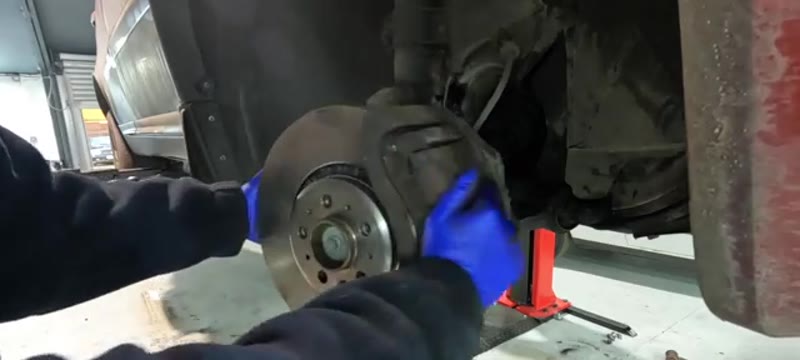
08
Remove the disc retaining bolt and disc
One 10mm bolt holds the disc. Remove it and tap the disc off with a rubber mallet if stuck.
09
Clean all mating surfaces
Wire brush the hub face, caliper carrier and pad sliding surfaces. Use a Dremel or file on any raised rust so new pads have a clean flat surface. Use brake cleaner.
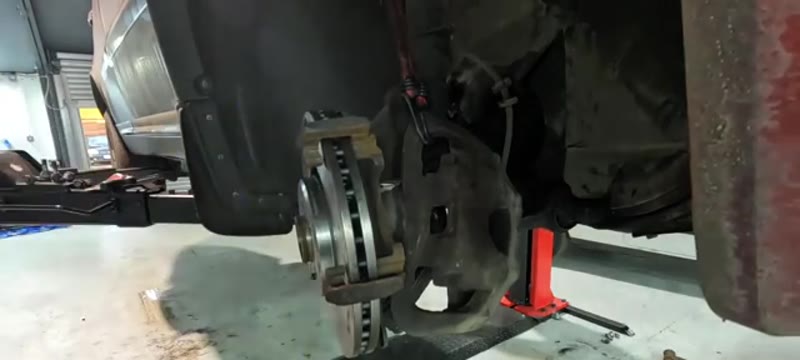
10
Fit the new disc
Slide the new disc on and refit the 10mm retaining bolt.
11
Fit pads with brake grease
Apply a small amount of brake grease to the pad backing plate ends only. Clip the pads into the carrier spring clips.
12
Refit caliper and slider pins
Slide the caliper over the disc, ensuring pads locate correctly. Clean and lightly grease the slider pins. Fit short pin in the bottom, long pin in the top. Torque down. Refit dust caps and spring clip.
13
Refit wheel and bed in brakes
Torque the wheel nuts. Pump the brake pedal several times until firm before moving. Carry out gentle stops from 30mph to bed in the new components.
Torque Specifications
Component
Torque
Slider pins (7mm Allen)
25–30 Nm
Disc retaining bolt
10 Nm
Wheel nuts
140 Nm
Check the slider pins for corrosion
Corroded or pitted slider pins cause uneven pad wear and brake pulling. If the pins are rough or pitted replace them - they are inexpensive.
Our PDF guide collection covers servicing, fault codes, buying a used car and more. Written by a qualified mechanic. Download once, use forever - no ads, no internet needed.
Physics is not kind to the XC90's front brakes. This is a two-tonne-plus SUV, often with seven seats occupied or a caravan on the back, and every stop asks the front discs to turn all of that momentum into heat. Expect 20,000–30,000 miles from front pads on an XC90 used as family transport, and less if it tows regularly - towing is the single hardest thing you can do to a brake. The discs typically manage two pad sets, but on a car this heavy check them honestly each time: heat cracking and thickness variation show up sooner than they would on a hatchback.
The upside of Volvo's engineering is that the brakes are conservatively sized and the wear is predictable. Pads going low announce themselves with a scrape on light braking and a longer pedal - the car rarely surprises you if you listen to it.
Volvo Dealer vs DIY Cost
Who does it
Typical price
What you get
Volvo main dealer
£350–£550
Genuine parts and dealer labour - painful money on an older XC90
Independent garage
£200–£350
Front discs and pads fitted with quality aftermarket parts
DIY
£100–£160
OE-grade discs and pads for both sides from a motor factor
Typical UK prices for the front axle. XC90 discs are big, heavy items - parts prices reflect the sheer amount of metal involved.
On an XC90 old enough to be out of the dealer network, the £200–£450 saving from a driveway job is one of the better returns in DIY motoring. The UK brake cost guide puts those numbers in context against smaller cars.
Genuine Volvo vs Aftermarket Parts
Volvo's original friction components come from ATE, Textar and Brembo, and all three list the identical parts for the XC90 in their own packaging at £100–£160 the axle - the genuine Volvo box adds close to double for the same metal and friction material. On a heavy SUV, brand matters more than on a light car: stick with those OE suppliers or TRW, because a budget disc that would merely hum on a Fiesta will crack and warp under an XC90.
If your car tows, it is worth the few pounds extra for the heavy-duty pad compounds ATE and Textar list for this application - they trade a little more dust for real fade resistance on long descents with a load on.
Common Mistakes on an XC90 Brake Job
Underestimating the weight - car and parts. Use a jack and axle stands rated well above what a hatchback needs, and mind your back with the discs themselves: each one is a serious lump of iron.
Not cleaning the hub face to bare metal. On a large-diameter disc, a trace of hub rust becomes significant run-out at the rim of the disc - and judder through the wheel of a two-tonne car.
Attacking the carrier bolts without proper leverage. They are torqued for a heavy SUV. A breaker bar and six-sided socket, always - a rounded carrier bolt on an XC90 is a miserable escalation.
Pushing big pistons back against a full reservoir. XC90 calipers displace a lot of fluid. Open the cap and watch the level or it will find the paintwork.
Skipping the transport-coating clean on new discs. Two tonnes on oiled discs equals instantly glazed pads. Brake cleaner, both faces, every time.
Towing before the brakes are bedded. Give new friction surfaces 150–200 gentle miles before hooking up the caravan - unbedded brakes plus a trailer is a genuine safety issue, not just a squeal risk.
Related Faults to Check While the Wheels Are Off
XC90s wear their front ends the way they wear their brakes - steadily and expensively if ignored. With the wheel off, rock the hub for bearing play (a common and audible XC90 wear item), check the drop links and lower arm bushes for knock, and flex the brake hoses for cracking. Follow the rigid brake lines along the subframe too; UK winters and an SUV that lives outdoors make line corrosion a real MOT risk on older cars.
If the D5 under the bonnet is approaching its belt interval while you have the car in the air, our XC90 D5 cambelt and water pump guide covers the other big job these cars need. For braking symptoms that do not read like simple wear - pulling, pulsing, a soft pedal - start at the symptom finder.
Quick Stats
Difficulty
Intermediate
Vehicle
Volvo XC90
Time
2–3 hrs
Parts Cost
£80–£180
Common Questions
FAQ
Yes - the XC90 uses a conventional sliding-pin caliper with 7mm Allen key slider pins, and everything is simply bigger and heavier than a hatchback: bigger discs, heavier caliper, more torque. A proper breaker bar and a second axle stand turn it into a satisfying job rather than a struggle.
£200–£350 at an independent for front discs and pads - a main dealer will be painfully more on an XC90. Quality parts from a factor are £100–£160. This is one of the highest-saving routine jobs on the whole car.
One to two hours for both sides. The discs are heavy - do not let one drop off the hub onto your fingers. Clean the hub faces properly, grease the slider pins, torque to spec and bed in gently.
Both sides together, always - and on a two-tonne XC90 the consequences of imbalance are amplified by the weight. Parts from a factor are affordable enough that there is no case for doing halves.
20+ Years ExperienceMOT TesterProfessional UK Mechanic
All guides on this site are written from real, hands-on experience - not copy-pasted from a manual. If I haven't done the job myself, it doesn't go on the site.