The strut removal suits a developing DIYer; the spring swap is the experienced-hands step. Doing the removal yourself and farming out the spring transfer is a completely legitimate split if the compressor gives you pause.
Overview
The shock absorber on the Vauxhall Vivaro 2015 is a common failure item - they leak oil and lose their damping over time. The same procedure applies to the Renault Trafic and Nissan Primastar which share the same platform.
This guide covers removal and refitting of the shock absorber including spring compressor work to swap the spring and top mount onto the new unit.
When You Need This Job
Oil leaking down the shock absorber body
Excessive body roll or bouncing on bumps
Knocking or clonking from the suspension
Failed MOT advisory or failure on shock absorber condition
⚠ Consider replacing the top mount at the same timeTop mounts are prone to failure on these vans. While the shock is off it costs very little to fit a new top mount and saves doing the job again soon.
Tools You'll Need
21mm spanner and socket
16mm socket (anti-roll bar drop link)
Mole grips
Spring compressor
Copper hammer
Jack and axle stands
Step-by-Step Guide
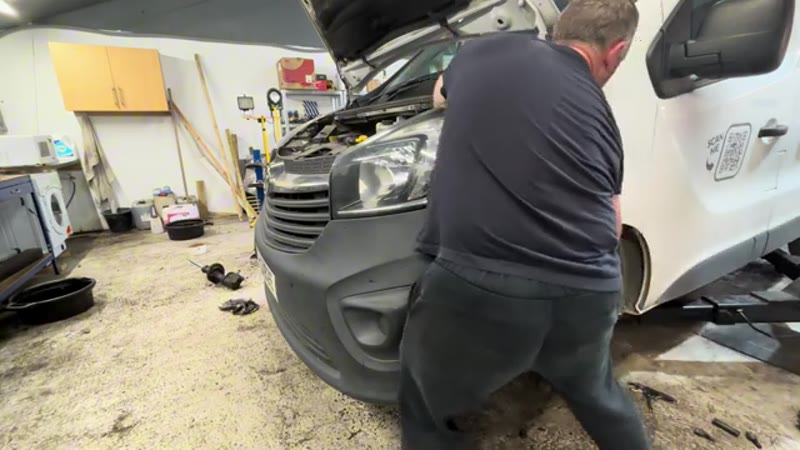
01
Remove the top nut from inside the engine bay
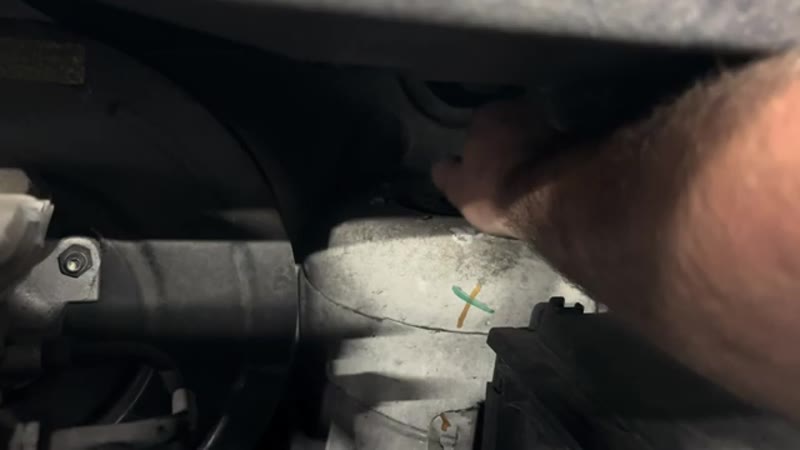
Open the bonnet and locate the top of the strut. Use a 21mm spanner to undo the top nut. There is a washer with a cut-out that only fits one way - note its orientation.
02
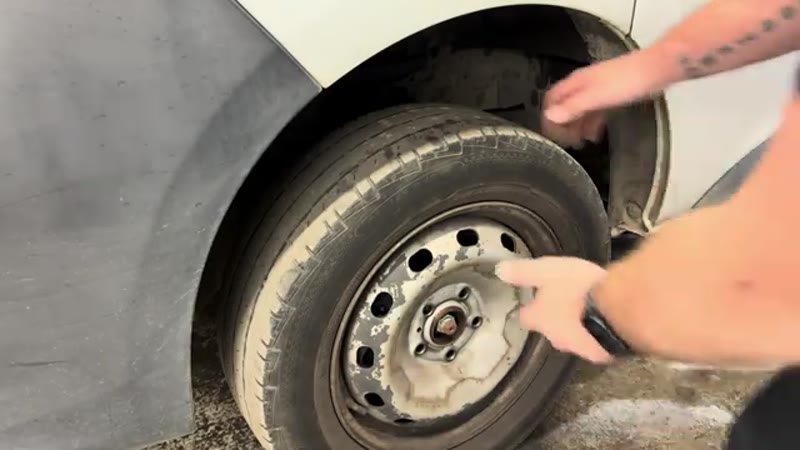
Remove the wheel
Take the wheel off to expose the lower shock absorber and hub assembly.
03
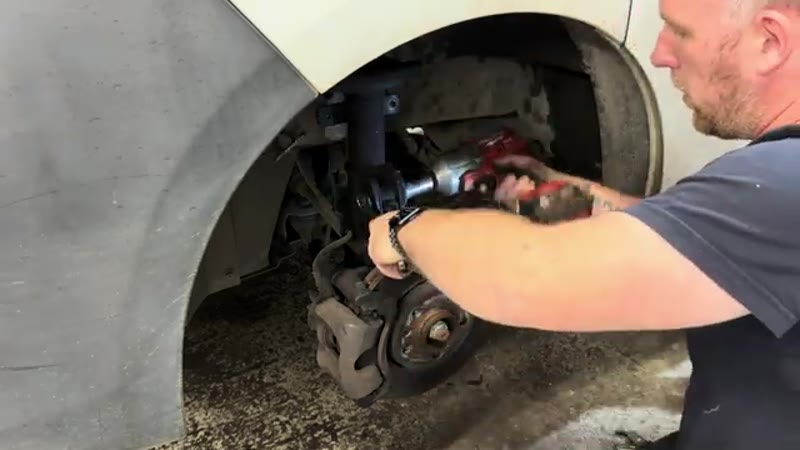
Undo the anti-roll bar drop link
The drop link has a 16mm nut. If the ball joint spins use mole grips on the back to hold it while you undo the nut.
04
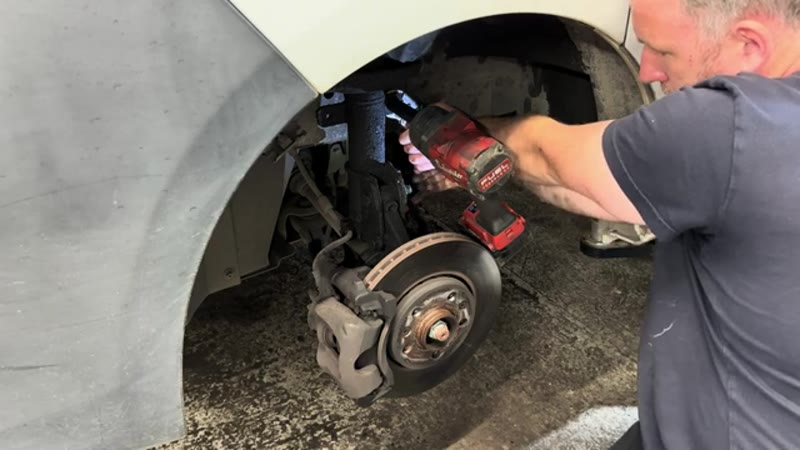
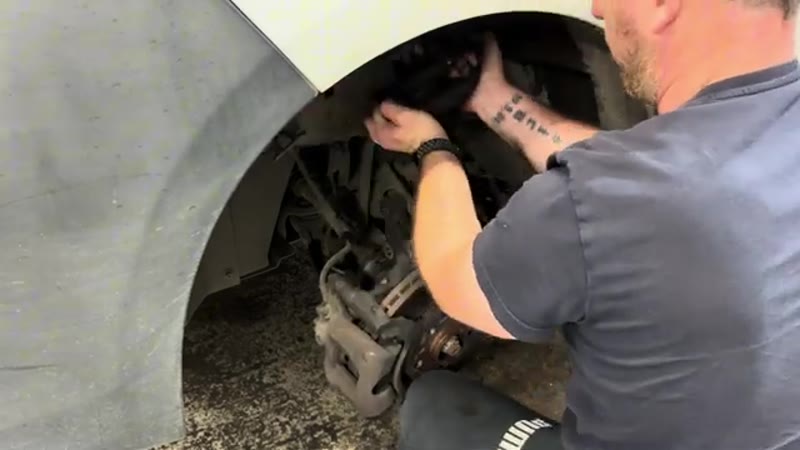
Remove the two 21mm bolts through the lower shock
Two 21mm nut and bolt assemblies pass through the bottom of the shock absorber into the hub. Undo both. Unclip the brake line from its holder on the shock body.
05
Tap out the lower bolts and remove the shock
The lower bolts are splined and may need tapping out with a copper hammer. Once both are out the shock can be pushed away from the hub and pulled downward to remove.
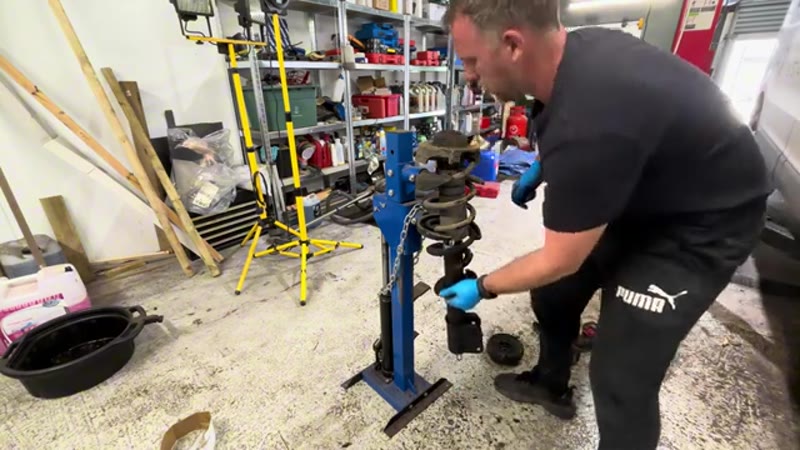
06
Transfer the spring to the new shock
Clamp the spring in a spring compressor. With the spring compressed use a 21mm socket to undo the top mount nut. Remove the top mount, collar and spring. Fit the new shock absorber into the spring, refit the top mount and do up the nut.
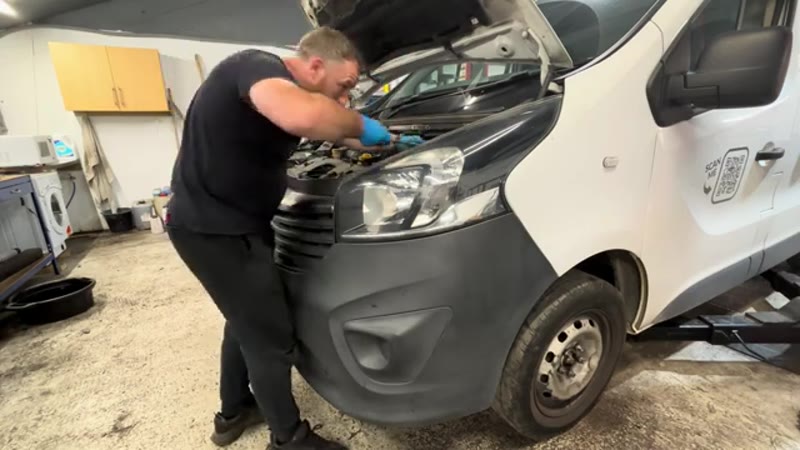
07
Refit the shock absorber
Offer the shock back into position. Start the top nut a couple of turns by hand. Line up the lower mounting holes with the hub and insert the splined bolts. Refit the two 21mm nuts and tighten. Refit the anti-roll bar drop link. Refit the brake line clip.
08
Lower the vehicle and torque the top nut
Lower the van so the weight of the vehicle pushes the shock to full extension. Now torque the top nut. Refit the wheel and torque the wheel nuts.
Torque Specifications
Component
Torque
Top strut nut (21mm)
50 Nm
Lower shock bolts (21mm)
120 Nm
Wheel nuts
130 Nm
Same as Renault Trafic and Nissan Primastar
These three vans share the same underpinnings. This procedure is identical across all three.
Our PDF guide collection covers servicing, fault codes, buying a used car and more. Written by a qualified mechanic. Download once, use forever - no ads, no internet needed.
The rear shocks on a working Vivaro have the hardest damping job in motoring: they control an axle whose load swings from empty to a tonne of tools and materials, several times a day, over the same potholes as everyone else. Loaded, the dampers run hot and work at the top of their force range; empty, the unladen back end patters and shakes them through thousands of small cycles per mile. The result: rear shocks on a trade Vivaro are commonly finished by 60,000–80,000 miles - long before the fronts - and the van tells you in its own language: a skittish, crashy rear end when empty, wallowing when loaded, and diagonal cupping wear on the rear tyres.
A leaking rear shock is an MOT failure, and on a van there is a working cost too: a bouncing axle is measurably less stable in crosswinds and emergency lane-changes with a load aboard.
Garage vs DIY Cost
Who does it
Typical price
What you get
Vauxhall dealer
£250–£400 per side
Genuine shock and dealer labour
Independent garage
£180–£300 per side
Van-rated shock fitted
DIY
£50–£90 per shock
Quality van-spec unit - and rear shocks are the easy ones
Typical UK prices for the 2015 Vivaro. Rear shocks are the gentlest introduction to suspension work: no coil spring to compress on this design, just top and bottom mounts.
Buying Van-Rated - the Only Spec That Matters
The Vivaro shares its running gear with the Renault Trafic and Nissan NV300, so quality coverage is wide: Sachs, Monroe (their van range), KYB and Bilstein B4 all list the correct heavy-duty rear units at £50–£90. The trap is fitting a car-spec damper that physically bolts on - it will be overwhelmed by load duty within months. Buy explicitly van-rated, in pairs, and add the mounting bushes if not supplied; crushed old bushes under a new shock knock like the old shock did.
Common Mistakes on the Rear Shock Job
Working under a loaded van. Empty it first. A van's rear axle stands and jack points are only rated for the van, and the extra tonne of cargo is above your head.
Undoing the bottom bolt with the axle hanging. Support the axle at ride height first - the shock is what limits axle droop on these, and it releases its tension into your hands otherwise.
Reusing crushed mount bushes. The new shock comes with or needs new bushes. The old flattened ones transmit every axle movement as a body knock.
Torquing bushes with wheels dangling. Like all rubber bushes: final torque at ride height, or they run pre-twisted and fail early.
Replacing one side because "only one leaks". The dry one has the same 80,000 miles of load cycles. Pairs, always, on an axle that carries your livelihood.
Related Rear-End Faults on the Vivaro
While you are under the back: check the rear bump stops (loaded vans eat them - a missing stop lets the axle smash the body), the spring seats and leaf/coil condition for cracks, and the brake flexi hoses which age in the same weather as the shocks. Rear tyre cupping that prompted this job will take a few thousand miles to smooth out - rotate the tyres if the wear is deep. If the van also nods and floats at the front, the fronts are close behind the rears; budget accordingly. The UK suspension guide explains the load logic, the Vivaro service light reset clears the reminder if this was service-triggered, and the symptom finder sorts rear-end noises from exhaust and load-bay rattles.
Quick Stats
Difficulty
Intermediate
Vehicle
Vauxhall Vivaro 2015
Time
1.5–2 hrs
Parts Cost
£60–£150
Common Questions
FAQ
Yes for a confident DIYer with axle stands - leaking shocks are a known Vivaro wear item and the procedure is standard van suspension work: drop link off, lower bolts out, top mount off, strut out. The same steps cover the Renault Trafic and Nissan Primastar, which share the platform. Spring compressor rules apply: respect it, or have a garage swap the spring across for a few quid.
£180–£300 at a garage per side including the shock. Quality van-rated shocks are £50–£90. Replace in pairs across the axle - a loaded van on mismatched dampers handles badly and chews tyres unevenly.
One to two hours a side, with seized lower bolts being the usual time sink on a working van - soak them in penetrating oil the night before. The MOT-failing leak is cured the moment the new unit is in.
A 21mm spanner-and-socket pair, a 16mm for the drop link, mole grips, a copper hammer, jack and axle stands - and spring compressors for the strut. The same kit covers the Renault Trafic and Nissan Primastar twins.
20+ Years ExperienceMOT TesterProfessional UK Mechanic
All guides on this site are written from real, hands-on experience - not copy-pasted from a manual. If I haven't done the job myself, it doesn't go on the site.