If your Peugeot Expert van is clicking when you try to start it - or sometimes cranks and sometimes doesn't - chances are the starter motor solenoid is failing. On the 2016 onwards Expert, the starter motor is located on the side of the gearbox and is held in by three 6mm Allen key bolts: two accessed from underneath the vehicle and one from the engine bay.
The job requires putting the van on a ramp or jacking it up safely so you can work underneath. The key trick is to start all three bolts by hand before tightening any of them, so the motor sits correctly on its locating dowel and lines up properly before you torque everything down.
Step-by-Step Guide
Parts & Tools for This Job
As an Amazon Associate, Mr Auto Fixer earns from qualifying purchases. Prices and availability may vary.
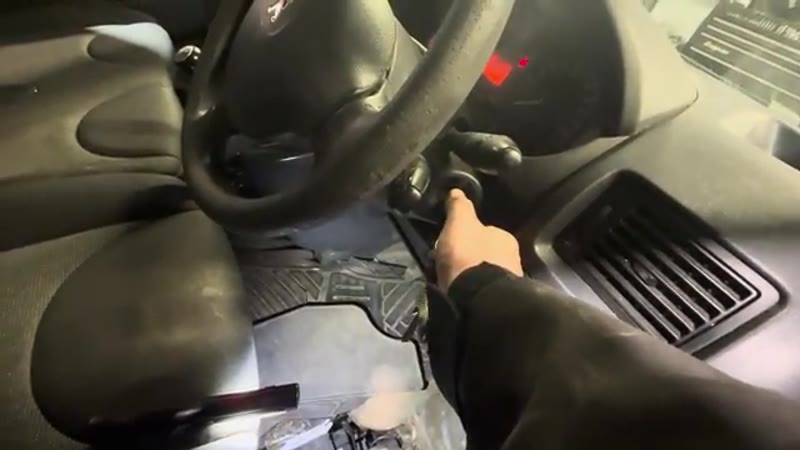
Disconnect the Battery
Open the driver's door and remove the plastic trim cover at the base of the door aperture to access the battery. Disconnect the negative (power) lead and tuck it safely out of the way so the vehicle is not live while you work.

Locate the Starter Motor & Remove the Top Bolt
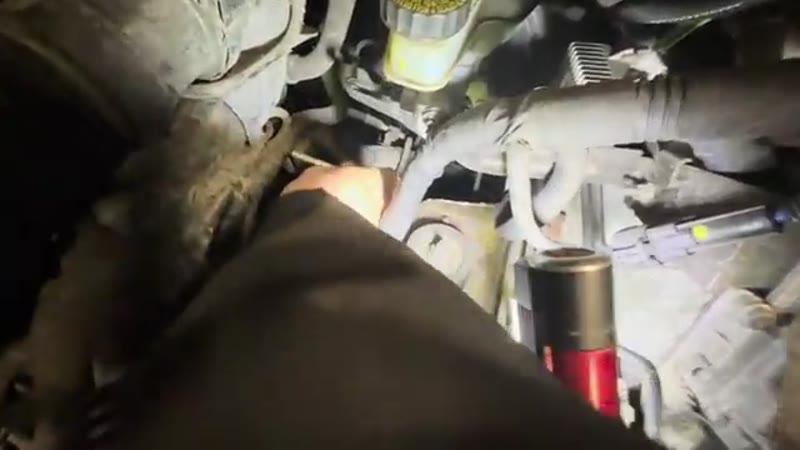
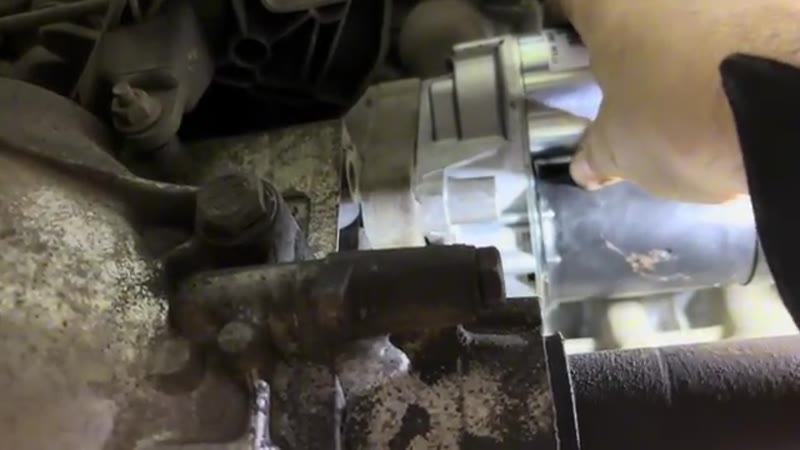
Open the bonnet. The starter motor sits against the side of the gearbox and is secured by three 6mm Allen key bolts - two from underneath and one from the top. For the top bolt, look down the engine bay on the gearbox side, just below the pipes and hoses. Reach your fingers in and feel for the 6mm Allen head. Undo that bolt and carefully remove it, or leave it in position so you don't lose it.
Raise the Vehicle & Remove the Electrical Connections
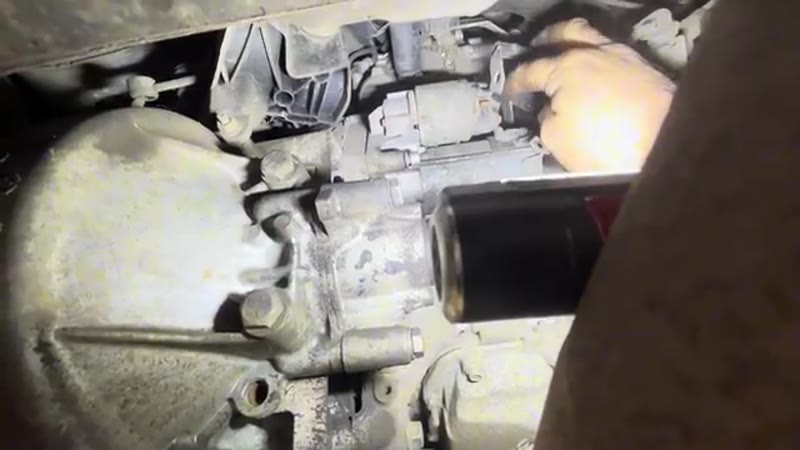
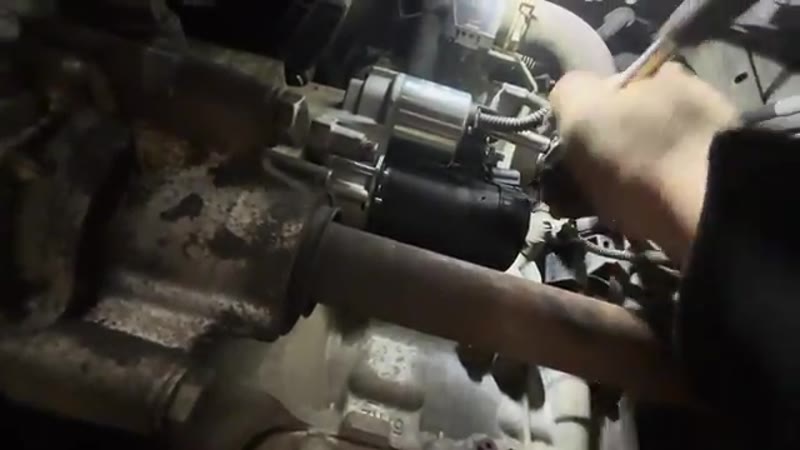
Put the van up on a ramp or jack it up safely so you can work underneath. Come underneath and look up the side of the gearbox - you will see the starter motor. There are two electrical cables attached: a small cable with an 8mm nut and a large cable with a 13mm nut. Undo both nuts and tuck the cables safely out of the way.
Remove the Two Underneath Bolts & Extract the Starter
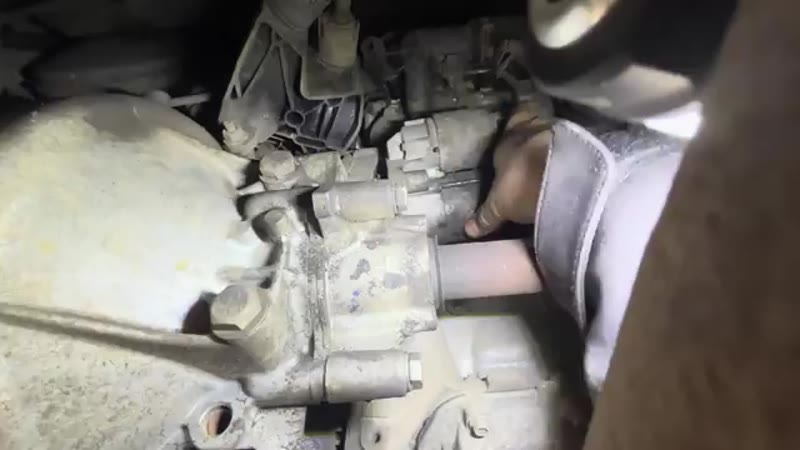
With the cables disconnected, you will see the two remaining Allen key bolts - one at the base of the starter and one just above it going into the gearbox. Remove both 6mm Allen key bolts completely. Once all three bolts are out, wiggle the starter motor as it will be sitting on a couple of locating dowels. Pull it free and lower it to the floor.
Prepare the New Starter Motor
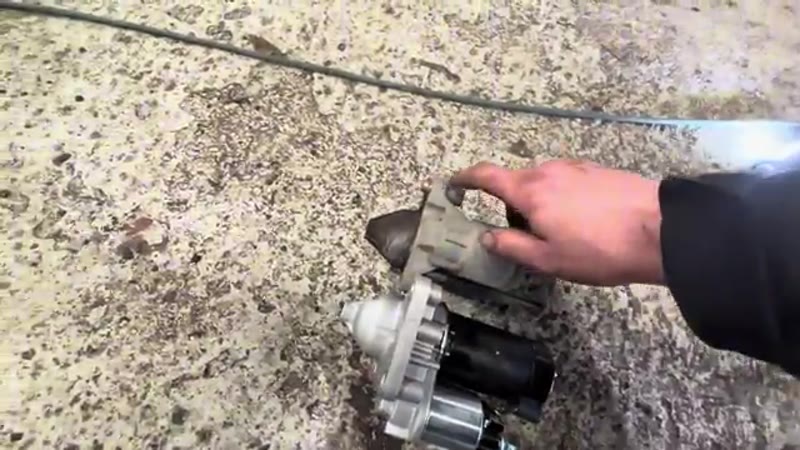
Hold the old and new starter motors side by side to confirm they are identical. There is a locating dowel on the old motor - transfer this dowel to the same position on the new unit. Remove any plastic cable ties that the new part ships with. The new motor will come with its own nuts which you can spin off and set aside for use.
Refit the New Starter Motor
Push the new starter motor up into position against the gearbox, locating the dowel in its hole at the top. Start the two bottom Allen key bolts by hand from underneath - do not tighten yet, just get them started. Lower the van back to the floor and start the top bolt from the engine bay by feel, twisting it in finger-tight. Once all three bolts are started and the motor is aligned, raise the van again and tighten all three bolts fully.
Reconnect the Electrical Cables & Battery
With the van still raised, reconnect the electrical cables. First fit the small washer onto the small cable terminal, then thread on the 8mm nut and tighten with your 8mm socket. Fit the large cable and tighten with the 13mm socket. Both should be done up nice and tight. Lower the van, then come around to the battery and reconnect the power lead.
Test the Van
With the battery reconnected, try starting the van. It should crank immediately and start cleanly without any clicking or hesitation. Job done.
Want this guide offline - and 15 more like it?
Our PDF guide collection covers servicing, fault codes, buying a used car and more. Written by a qualified mechanic. Download once, use forever - no ads, no internet needed.
Why Starter Motors Fail (and How to Be Sure It Is the Starter)
A starter motor lives a violent life: every start slams a pinion gear into the flywheel ring and dumps a couple of hundred amps through a set of brushes. On a working Expert doing multi-drop - dozens of starts a day - the brushes and the solenoid contacts wear out somewhere between 100,000 and 150,000 miles, and the failure announces itself in a recognisable sequence: an occasional single click instead of a crank (worn solenoid contacts), then more clicks than cranks, then nothing. A van that clicks once, starts on the second try, and does it again next cold morning is a starter on notice.
But diagnose before you buy, because a flat battery does a perfect starter impression. The separating test is simple: headlights on, try to start. Lights that die completely mean battery or terminals; lights that stay bright through a click-no-crank mean the starter (or its wiring) is guilty.
Garage vs DIY Cost on the Expert Starter
| Who does it | Typical price | What you get |
|---|---|---|
| Peugeot dealer | £300–£500 | Genuine unit and dealer labour |
| Independent garage | £200–£350 | Quality starter fitted - the labour is mostly the underneath access |
| DIY | £90–£180 | New or reconditioned unit and a couple of hours, two bolts from below |
Typical UK prices for the Expert van. The same starter fits the Citroën Dispatch, Fiat Scudo and Toyota Proace of the era - cross-shop those applications for the best price on the identical part.
Genuine vs Reconditioned vs Cheap
Valeo made the original, and a new Valeo at £120–£180 is the direct answer. Professionally reconditioned units at £90–£130 with new brushes and solenoid contacts are perfectly sensible for a working van. The trap is the £45 marketplace "new" starter: inside is the cheapest solenoid money can stamp, and a van that does thirty starts a day will find its limits within months - then you pay the access labour twice. On any vehicle that starts for a living, the starter is a buy-once part.
Common Mistakes on a Starter Swap
- Replacing a healthy starter to fix a battery. The headlight test above, plus a terminal clean, costs nothing. A surprising share of replaced starters were never broken.
- Working on a live circuit. The thick cable to the starter is unfused and permanently live - it comes straight off the battery. Negative terminal off before anything else touches metal.
- Dropping the Allen bolts into the undertray. Two of the three bolts come out blind from underneath. Magnetic tools and patience - a dropped bolt in the bellhousing area is a miserable search.
- Missing a corroded earth strap. The engine-to-body earth carries the full starting current. A crusty strap gives slow, laboured cranking that gets blamed on the new starter.
- Ignoring the immobiliser possibility. No click at all, ever, with a healthy battery can be the immobiliser or ignition switch rather than the starter - check for the click before condemning the motor.
Related No-Start Faults on the Expert
The Expert's no-start family tree: click-no-crank is starter or battery (separated by the headlight test); slow laboured cranking is battery, earths or - on cold mornings with a diesel - glow plugs on their way out; crank-but-no-fire is fuel or immobiliser territory. Each branch costs different money, which is why the diagnosis matters more than the spanner work. The symptom finder walks the whole tree in a couple of minutes, and the warning lights guide covers what the dash was trying to tell you on those last few reluctant mornings.