Overview
Got a "parking assistance system fault" warning on your dash? Before you book it into a garage, there's a really simple way to find which sensor has failed - right at home, with no expensive diagnostic equipment. All you need is a stethoscope, or even just a long screwdriver.
DIY vs Garage Cost - UK 2026
A UK garage diagnostic fee for parking sensor faults is typically £40-£90, which gets you the identification of the failed sensor and a quote for the repair. If the bumper needs to come off to access the sensors (common on most modern cars), labour adds another £60-£120 on top. Genuine OE sensors run £40-£120 each depending on make; aftermarket equivalents are £15-£35. So a single failed sensor at a main dealer with bumper removal can easily hit £200-£350. DIY cost: a continuous beep can often be traced to one sensor with no tools at all - just listen at each sensor while a helper has the car in reverse, and the failed sensor either won't make a soft hum or will hum constantly. Aftermarket sensors from a UK factor are £15-£35 each. A quality OBD2 scanner that reads parking sensor module codes (B-codes) costs £60-£150 and pays for itself on the first job. The bumper removal is the only labour-heavy bit, and that is doable on a driveway in 30-60 minutes with basic tools. DIY total: £15-£60 plus an hour of your time vs £200-£350 at a main dealer. Honest verdict: if the bumper doesn't need to come off (rear sensors on some cars are accessible from inside the boot trim), this is a strong DIY job. If the bumper has to come off and you're not confident with plastic trim clips and concealed bolts, a local independent is better value than a main dealer.
How to Test Your Parking Sensors
Mechanics Stethoscope
A cheap mechanics stethoscope makes sensor testing a breeze. Any long screwdriver works as a substitute.
View on Amazon As an Amazon Associate I earn from qualifying purchases.Confirm the fault
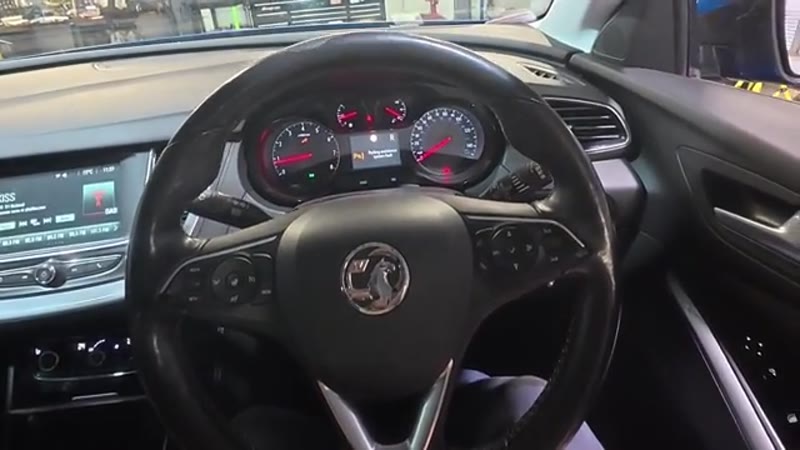
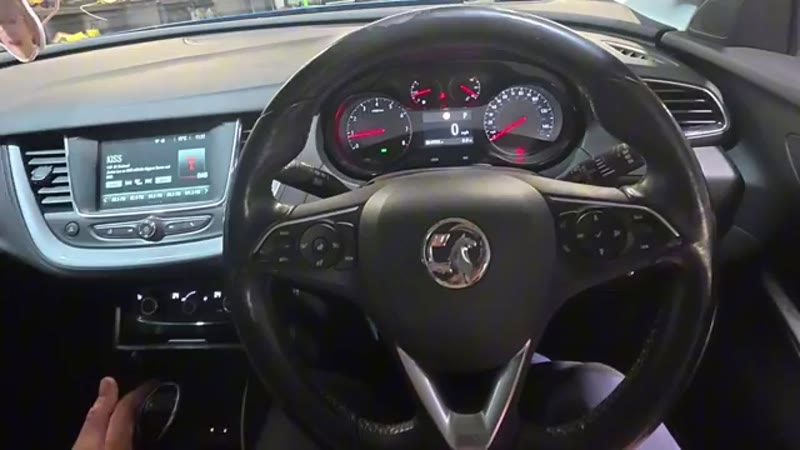
With the engine running, select reverse gear. Look for the "parking assistance system fault" warning on the dashboard - this confirms at least one sensor has failed or is reading incorrectly.
Keep engine running in reverse
Ask an assistant to sit in the car with the engine running and the gear in reverse. The parking sensors are only active when reverse is selected, so they need to be powered up for this test.
Use the stethoscope or screwdriver
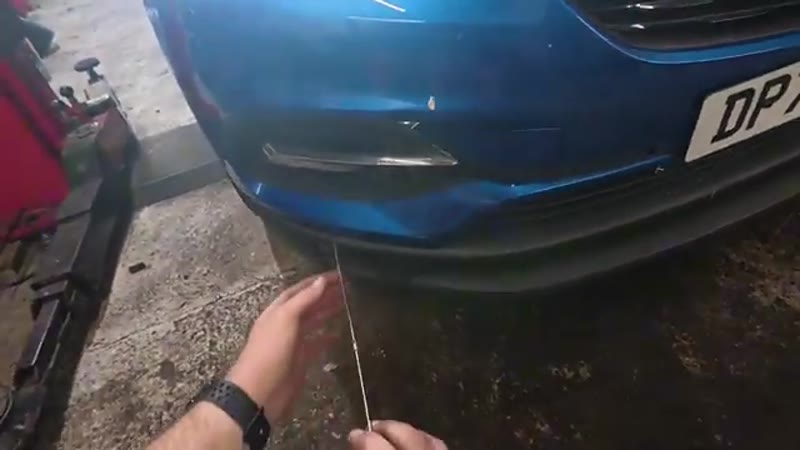
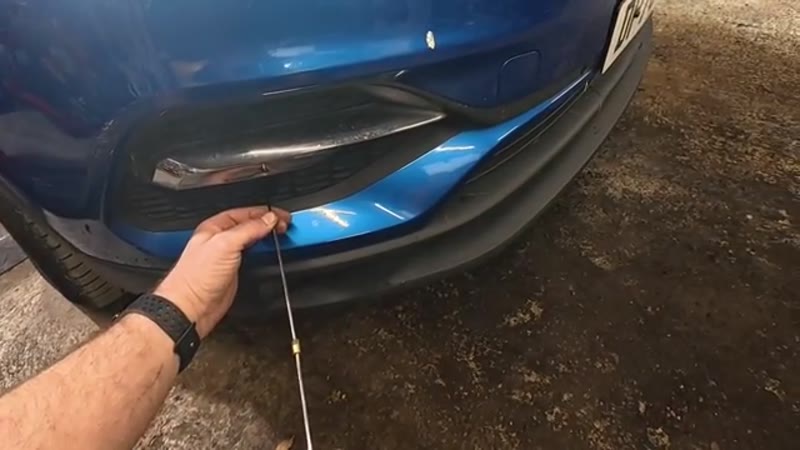
Place the tip of your stethoscope (or the flat tip of a long screwdriver, with your ear pressed to the handle end) firmly against each parking sensor in turn. Go around every sensor on the bumper.
Listen for the ticking sound
A working parking sensor will emit a clear, rapid ticking sound - tick tick tick tick. This is the sensor's ultrasonic transducer operating normally. If you can hear this on a sensor, it's working fine.
Identify the silent sensor
The faulty sensor will make no ticking sound at all - complete silence. That's your culprit. Make a note of its position (e.g. rear left outer) so you can order the correct replacement part.

Order and replace the sensor
Once you've identified which sensor has failed, order the exact replacement for your vehicle (match the part number or colour). Replace the sensor, then clear the fault codes with a diagnostic scanner to reset the warning light.
Common Mistakes To Avoid
The mistake I see most often is assuming the sensor itself is faulty when the actual problem is wiring or connector corrosion behind the bumper. UK road salt destroys exposed connectors over a few winters - pop the bumper off and you'll often find one green-corroded plug behind the failed sensor. Clean, dry, dielectric-grease, refit, and the fault clears. Second mistake: fitting an incorrect part number. Parking sensors come in different beep tones, frequencies, and electrical impedances. A sensor that physically fits the hole and connector but is the wrong electrical spec will either not work, make the wrong beep pattern, or trigger constant false alerts. Always cross-reference the OE part number from the existing sensor (etched into the housing) and order the same number or a confirmed compatible. Third: painting an aftermarket sensor with standard body paint without first masking the membrane. Most parking sensors have an ultrasonic transmitter behind a thin disc on the face - cover that disc with paint and the sensor cannot transmit or receive ultrasonic pulses. Mask before painting. Fourth: forgetting to recalibrate after fitting a new sensor on cars that require it (some Audis, BMWs, certain Land Rovers). Without the recalibration the new sensor reads "too close" all the time and triggers continuous beeping. Always check the workshop manual for your specific make.
Quick & Easy Diagnosis
This stethoscope method is a brilliant first step before spending money at a garage on diagnostics. You can walk in already knowing which sensor needs replacing, which means the job should be quick and cheap. Once the new sensor is in and the codes are cleared, your parking assistance system should be back to normal.