The pollen filter (cabin air filter) on the KIA Sportage sits behind the glove box on the passenger side. The glove box is held in place by two rotating clips and a side bar - release all three and the box drops down, giving direct access to the filter housing. No tools needed and the whole job takes around 15 minutes.
DIY vs Garage Cost - UK 2026
An independent UK garage will typically charge £30-£60 for pollen filter replacement, including parts and labour - that's usually 30 minutes of booked time even though the job itself takes around ten. A main dealer will be £55-£110 because they fit a genuine-branded part and book longer for the same work. The DIY part cost is where the saving really shows: an own-brand UK factor filter is £8-£14, a quality Bosch, Mann or Mahle is £14-£28, and a genuine OE-branded part is £25-£45. The labour on a DIY pollen filter is essentially nothing - ten minutes of careful pinching and pulling with either no tools or a single plastic trim removal tool. Honest verdict: this is the single best beginner DIY job in the UK car-maintenance world. A first-timer can do it without any mechanical experience, the worst-case scenario is having to refit it the right way round, and a quality Mann or Bosch part performs identically to original equipment for half the price.
Step-by-Step Guide
Parts You'll Need
As an Amazon Associate Mr Auto Fixer earns from qualifying purchases.
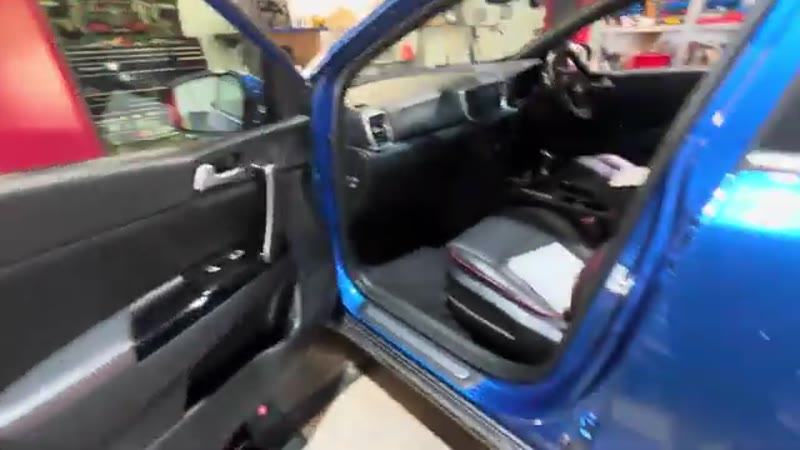
Go to the Passenger Side
Open the passenger door and open the glove box. The cabin filter is located directly behind it and you'll need to drop the glove box down to access it.
Remove the Two Side Clips
Inside the open glove box, on the left and right sides, you'll see two small clips. Rotate each clip (twist and pull) and remove them. This releases the sides of the glove box.
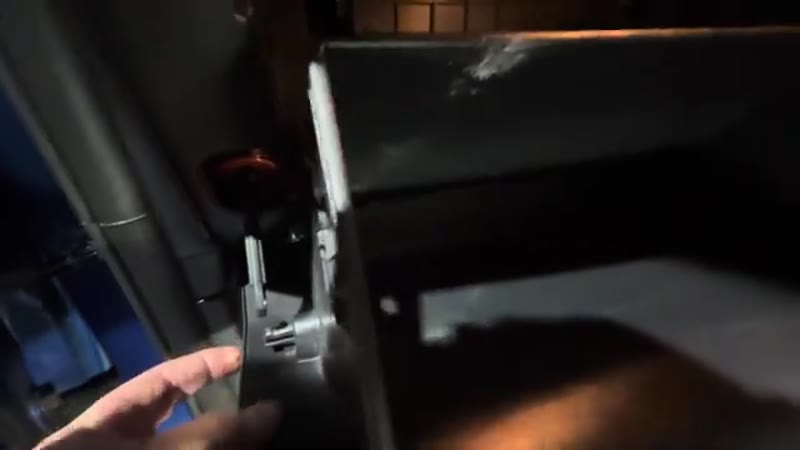
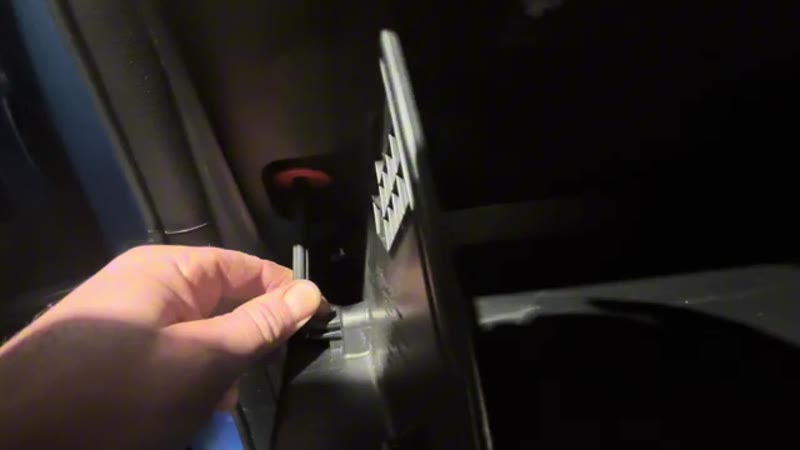
Remove the Side Bar
On one side of the glove box there is a soft-close damper bar. Pinch the two ends of this bar together and pull it off. Once this is removed the glove box is free to drop all the way down.
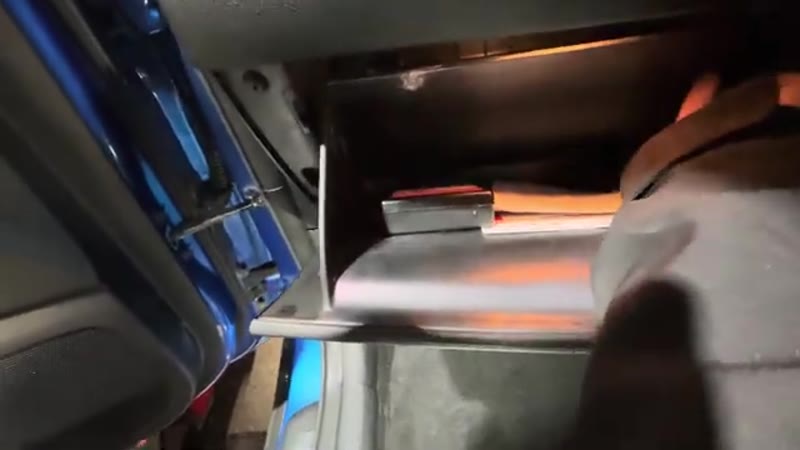
Open the Filter Trap Door
With the glove box lowered, the cabin filter trap door is now visible. There's a small squeeze tab on the side - press it and the trap door swings open.
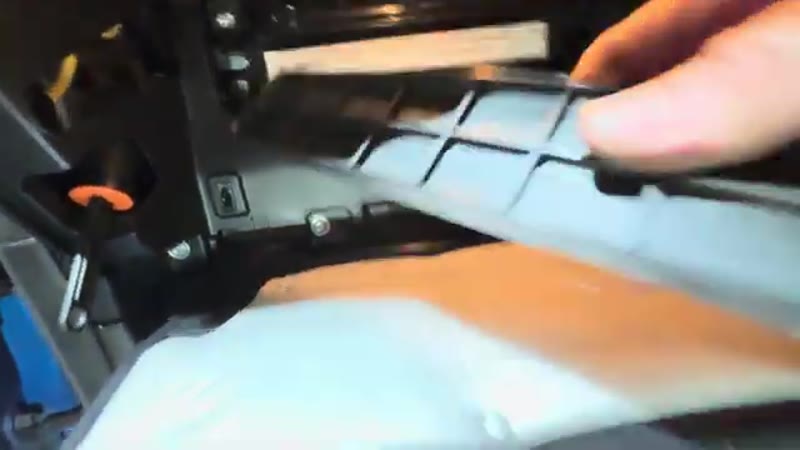
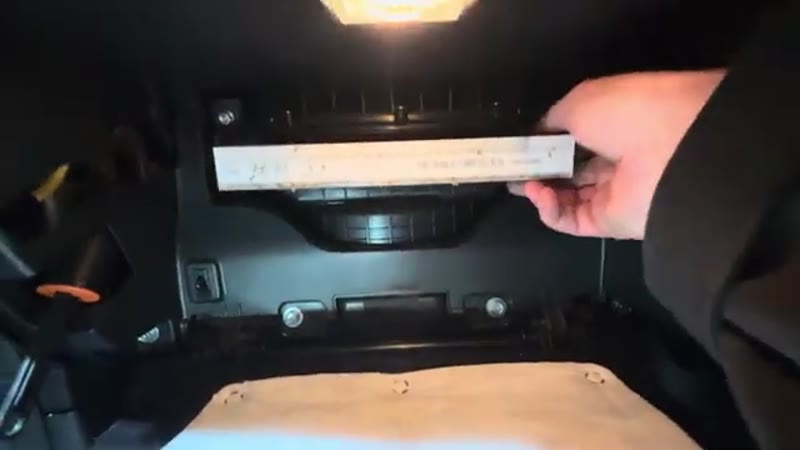
Remove the Old Filter
Slide the old pollen filter out. It's usually very dirty - don't be alarmed! Note which way the airflow arrow is pointing (downward) before disposing of the old filter.
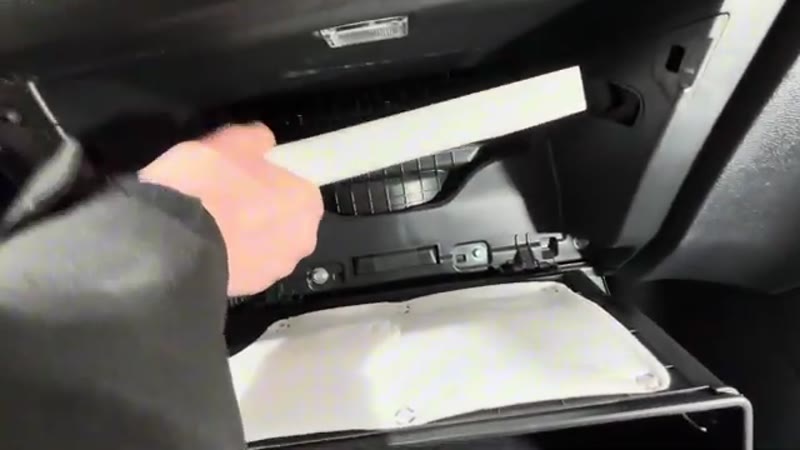
Fit the New Filter
Slide the new pollen filter in with the airflow arrow pointing downward. Push it fully into the housing, then close the trap door and press it until the tab clicks.
Refit the Glove Box
Lift the glove box back up slightly past the damper bar position, then push the bar back on and clip it. Then push each of the two side clips back into position and twist to lock. The glove box should now sit firmly in place.
Common Mistakes To Avoid
The mistake I see most often is fitting the new filter the wrong way round. Every cabin filter has an airflow direction arrow printed on its edge - it must point in the same direction as the old one came out. On most cars this is downwards into the heater box. If you cannot find the arrow on the new filter, lay the old one beside it: the dirty face is where the air comes in from outside, the clean face is where it goes into the cabin. Fit the new one the same orientation and you cannot get it wrong. The second-most-common mistake is pinching the foam seal between the housing and the cover during reassembly - this lets dirty air bypass the filter completely and your new filter does nothing. Pay attention as you close the housing cover, make sure the seal sits flat all the way round. On the Kia Sportage QL (2016-2021), the glove box damper arm on the right-hand side must be unclipped before the box can drop fully - forcing it will snap the damper. On the NQ5 model (2021+), the latch is a single press tab at the top of the housing, often forgotten under the lip of the dashboard. Cheap unbranded filters under £8 can be slightly off-dimension and may not seat fully - stick with Bosch, Mann or Mahle for guaranteed fit. Lay the old filter and the new one side by side, fit it the same way round, click the cover home, and you are done.
Want this guide offline - and 15 more like it?
Our PDF guide collection covers servicing, fault codes, buying a used car and more. Written by a qualified mechanic. Download once, use forever - no ads, no internet needed.
How Often the Sportage Filter Needs Doing - and the Warranty Question
Kia schedules the cabin filter annually, and the Sportage earns it: a family SUV that lives on the school run and supermarket circuit is breathing queue-traffic air - the sootiest there is - for most of its filter's life. There is also a question Sportage owners ask more than most, because of the seven-year warranty: does DIY servicing void it? For a consumable like the cabin filter, no - fitting a quality filter yourself does not affect the warranty. Keep the receipt with the service history and change it annually, and both the warranty position and your lungs are covered.
Genuine Kia vs Aftermarket Filters
The genuine Kia element is £25–£35 from the parts desk; the same filter in a Mann, Bosch or Mahle box is £10–£20, and the Korean OE suppliers who make Kia's original parts also appear in UK factors under their own names. If you spend real time in traffic, take the activated carbon version for a few pounds more - it strips exhaust odours the standard element cannot, and the difference is noticeable within the first junction queue. What to avoid is the bargain multipack filter with a flimsy frame: if it flexes in your hand, it will flex in the housing and let air around the sides.
If the Vents Still Misbehave Afterwards
A musty smell that outlives the new filter is living on the evaporator, and an evaporator cleaning aerosol (£10–£15) reaches what the filter change cannot. Weak airflow on every speed with a fresh filter usually means the blower motor is tired; one missing speed is the resistor. Neither is filter-related, and both are cheaper diagnosed correctly the first time - the symptom finder separates them in a minute. For what the rest of a Sportage service should cost you (and which bits are this easy to DIY), see the UK servicing cost guide.