Overview
A rough-running BMW 335i with the engine management light on and misfire codes stored is one of the most common faults on this engine. The inline-six N54 and N55 engines are brilliant motors when properly maintained, but spark plugs and coil packs are consumable items that must be replaced at the right intervals. Ignore them and misfires become a regular occurrence - with the associated rough idle, poor acceleration, and increased fuel consumption.
The job is rated Advanced not because it is technically complicated, but because there is a meaningful amount of dismantling required before you even see the spark plugs. The scuttle panel, pollen filter housing, cross-brace, and engine cover all need to come off first. Anyone comfortable working on cars methodically can do this - but rushing the disassembly is how damage gets done. Follow the steps in order, lay your parts out neatly, and the reassembly becomes straightforward. The coil swap diagnostic test included in this guide is also essential - it tells you definitively whether you need new coil packs or just new plugs, saving you money on parts you do not need.
Symptoms of Worn Plugs or Failing Coil Packs
- Engine management light on with misfire codes (P0300, P0301–P0306)
- Rough idle - engine shudders or hunts at standstill
- Hesitation or stumble under acceleration
- Noticeably increased fuel consumption
- Cold start misfire that clears when the engine warms up
- Engine feels down on power, especially under boost
- Occasional misfire only under heavy load
What You Need
Parts & Tools for This Job
As an Amazon Associate, Mr Auto Fixer earns from qualifying purchases. Prices and availability may vary.
Step-by-Step Guide
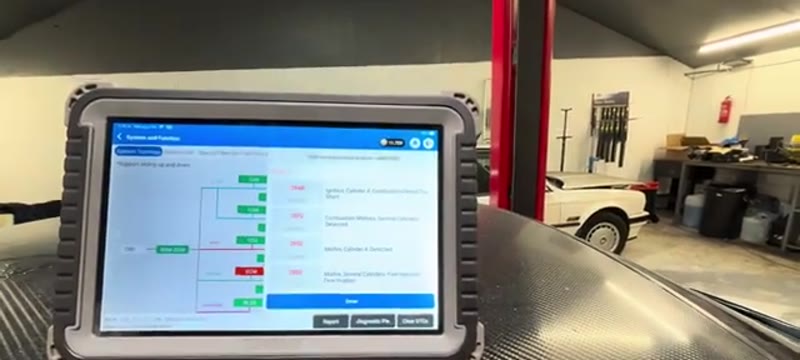
Scan for fault codes and identify the misfiring cylinder
Connect your OBD scanner and retrieve all stored fault codes. On the BMW 335i you will commonly see a specific cylinder misfire code such as P0304 (cylinder 4 misfire detected) running alongside P0300 (random or multiple cylinder misfire). Note exactly which cylinders are flagging before you do anything else - this tells you where to start your investigation. Clear the codes after noting them down, and bear in mind you will rescan at the very end of the job to confirm the fix is complete.
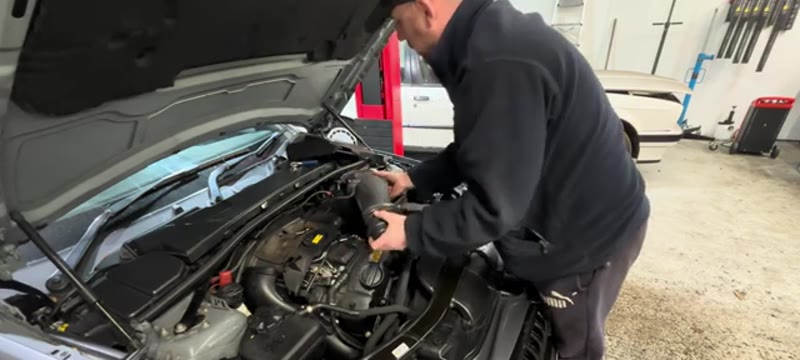
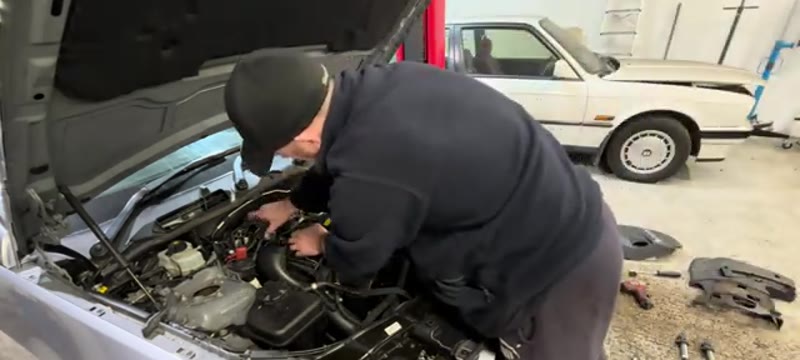
Remove the air intake pipe
Open the bonnet and find the large air intake duct that runs from the airbox to the throttle body. Loosen the jubilee clip or release clip at the throttle body end, then unclip any breather hoses that are attached along the intake pipe. Manoeuvre the pipe free and set it aside. Removing this creates the working room you need to access the scuttle panel above and the top of the engine below.
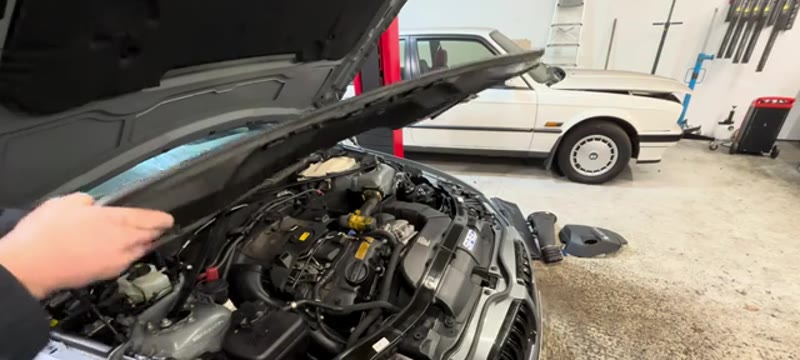
Remove the scuttle panel and pollen filter housing
The scuttle panel is the long plastic cover that sits at the base of the windscreen, running across the full width of the engine bay. Lift the wiper arms clear of the panel and remove any rubber seals or clips running along the edges. The panel pops free with careful upward lifting - work along one edge at a time rather than trying to pull the whole thing simultaneously. Underneath you will find the pollen filter housing; it is worth removing the old pollen filter and replacing it while you are here since it is easily accessible. Remove the housing lid and body (usually two plastic bolts or press-fit clips) to give full access to the engine cover below.
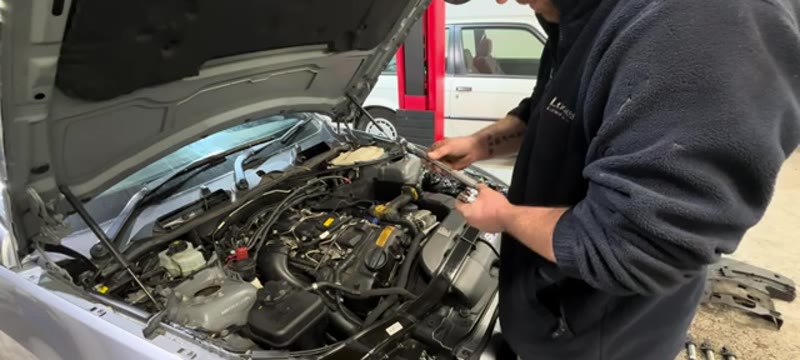
Unplug the sensors and remove the cross-brace
With the scuttle panel removed, you will see one or two sensor connectors plugged into the area now exposed. Squeeze the tab on each connector and pull straight back to unplug them - keep a mental note of where each one goes. Now locate the metal cross-brace that spans across the top of the engine bay, bracing between the two strut towers. The brace uses E4 or E8 external Torx fasteners - remove all of them and carefully lift the brace clear of the engine bay. These bolts are small so keep them together in a pot or tray.

Lift off the engine cover
The large plastic engine cover sits over the top of the BMW inline-six and is held in position by rubber-mounted press-fit posts - there are no bolts to remove. Grip it firmly with both hands and pull directly upward; it will pop free from its mounting posts with a series of clicks as each post releases. Work systematically across the cover so they all release together rather than bending the panel. Lift it clear and set it down safely. You now have unobstructed access to all six coil packs sitting in the cam cover.

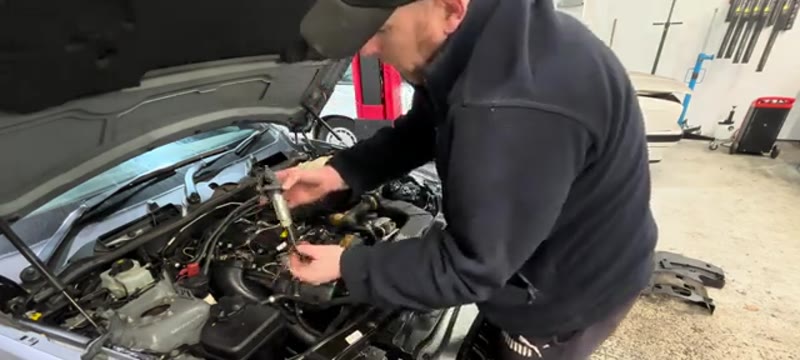
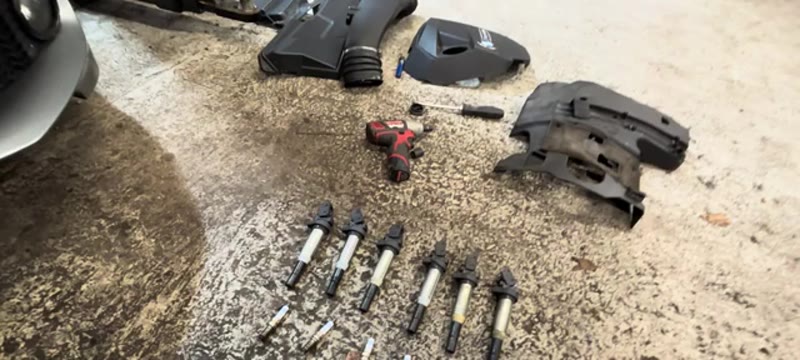
Remove all six coil packs
Each coil pack has a push-fit electrical connector at the top - squeeze the release clip and pull the connector straight upward to unplug it. Then remove the single 8mm bolt at the top of each coil pack. With the bolt out, the coil pack pulls straight upward out of its bore in the cam cover. Remove all six and lay them out in sequence on a clean surface - keeping them in order means you can return each coil to its original cylinder if they pass the diagnostic test. Inspect each coil carefully for cracks in the body, carbon tracking on the boot, or any evidence of arcing.
Remove all six spark plugs
Fit your deep spark plug socket to a long extension bar and lower it into each plug bore. Break each plug loose with a short, sharp turn anti-clockwise, then spin them out by hand once they are free of the initial thread. As each plug comes out, inspect it - look at the electrode tip and the gap, and check for any oil fouling, heavy black carbon, or the white chalky appearance that indicates the plug has been running too hot. A plug that looks significantly different to the others points to a specific cylinder problem beyond just worn ignition components.
Do the coil pack swap diagnostic test
Before fitting any new parts, do the coil pack swap test - it is the definitive way to identify a failing coil. Take the coil pack from the cylinder that showed the misfire code (cylinder 4 in this example) and move it to a known-good position such as cylinder 1. Refit the plugs temporarily and start the engine briefly, then rescan. If the misfire code has now moved to cylinder 1, the coil pack is the fault and needs replacing. If the misfire code has stayed at cylinder 4 after the swap, the coil is fine - the fault is the spark plug, an injector, or a compression issue in that cylinder. This test costs you nothing and protects you from buying coil packs you do not need.
Fit the new spark plugs and refit the coil packs
Thread each new spark plug into its bore entirely by hand first - the bores are deep and it is very easy to cross-thread a plug if you start it with a socket. Once each plug is fully hand-tight, tighten with the socket to the correct torque. Bosch double platinum plugs are the correct specification for this engine and are well worth the slight premium over budget alternatives. If a coil pack failed the swap test, fit a new replacement in its place. Refit all remaining original coil packs back into their original positions, fit the 8mm retaining bolt to each, and reconnect all electrical connectors.
Reassemble everything and rescan to confirm
Refit the engine cover by aligning it over its mounting posts and pressing it firmly downward until every post clicks into place. Refit the metal cross-brace and tighten all the E4/E8 Torx fasteners. Reconnect the sensors you unplugged earlier. Fit a new pollen filter into the housing, refit the housing lid, and press the scuttle panel back into position along the base of the windscreen. Refit the air intake pipe and tighten the jubilee clip. Start the engine and let it idle for a minute to settle, then connect the OBD scanner and run a full scan. All misfire codes should be absent and the engine should idle cleanly with no hesitation.

Mr Auto Fixer Shop
Want to Know Your Car Inside Out?
The UK Car Owner's Essential Guide covers 60+ maintenance tasks, fault code diagnosis, and what to check before every MOT - all written by a professional mechanic.
Why the 335i Eats Spark Plugs Faster Than Grandad's BMW
The 335i's turbocharged, direct-injection straight-six asks far more of its spark plugs than an old naturally aspirated engine ever did: boosted cylinder pressures need a stronger spark across a tighter gap, and every extra PSI erodes the electrodes faster. Where an old-school engine strolled to 60,000 miles per set, this engine wants plugs every 35,000–45,000 miles - sooner on tuned cars running more boost. The ignition coils age on the same schedule, cooking on top of a hot turbocharged engine, which is why the misfire diagnosis in this guide matters: a cylinder-specific misfire on these is a coin toss between plug and coil, and the free swap test settles it before money moves.
If the engine light is flashing rather than steady, stop driving hard: a flashing light means active misfire, and unburned fuel is washing into hot catalytic converters. That is how a £5 plug becomes a £600 cat.
BMW Dealer vs DIY Cost
| Who does it | Typical price | What you get |
|---|---|---|
| BMW main dealer | £350–£550 | Six genuine plugs at dealer labour rates |
| Independent / BMW specialist | £250–£450 | Quality plugs fitted, coils extra if needed |
| DIY | £40–£120 | Six NGK or Bosch OE-spec plugs and 2-3 careful hours |
Typical UK prices for the N54/N55 335i. Add £25–£45 per coil for any that fail the swap test - and on a six-cylinder, coils fail one at a time for years.
Choosing Plugs and Coils for a Turbo BMW
Fit exactly the OE-spec plug: NGK and Bosch make them, £7–£20 each, pre-gapped for this engine. This is not a car for exotic "upgrade" plugs from a marketplace listing - the ECU's ignition mapping expects the OE heat range, and a wrong heat range on a turbo engine can pre-ignite its way to piston damage. Coils likewise: Delphi, Bosch or genuine, because the £8 pattern coil is the most common cause of the misfire returning within the month. Tuned cars running elevated boost should go one heat range colder and a fraction tighter on gap - the tuning community's consensus for good reason.
Common Mistakes on the Plug and Coil Job
- Working on a warm engine. Alloy threads and hot removal strip together. Stone cold only - overnight cold, not lunch-break cold.
- Torquing plugs by feel. The spec is modest and the head is aluminium. Overtightened plugs seize or strip; undertightened ones leak combustion and overheat. Torque wrench, every plug.
- Tearing coil boots on removal. The rubber boots bond to hot plugs over the years. Twist to break the bond before pulling - a torn boot arcs to the head and mimics the misfire you just fixed.
- Dropping debris into open plug wells. Blow each well out before the plug comes out. Anything that falls in goes into the cylinder.
- Replacing plugs to cure a fuel-system misfire. On the N54 especially, a misfire across multiple cylinders with long cranking is the notorious high-pressure fuel pump, not ignition. The pattern matters: one cylinder is plug/coil/injector; many cylinders is fuel or vacuum.
Related Misfire Causes on the 335i
When new plugs and a passed coil-swap test have not cured it, the 335i's misfire suspects continue in a known order: injectors (piezo units with a documented failure history - they leak and wash cylinders), the high-pressure fuel pump (long cold cranking is its signature), and vacuum/boost leaks that lean out individual cylinders under load. Log which cylinders misfire and whether cold or under boost - that pattern is half the diagnosis. Our P0300 random misfire guide and P0301 cylinder-one guide decode what the ECU is storing, and the symptom finder walks the plug/coil/injector/pump ladder in order of cost.
Verdict
The BMW 335i spark plug and coil pack job is one of those repairs that looks intimidating from the outside but becomes logical once you understand the disassembly sequence. The scuttle, pollen housing, cross-brace, and engine cover all need to come off - but each step is straightforward. The coil swap diagnostic is the key move: it takes five minutes and tells you exactly what needs replacing. Done properly, this repair eliminates misfires, restores smooth power delivery, and protects the engine from the long-term damage that repeated misfiring can cause.