Overview
The VW Tiguan uses an electronic parking brake (EPB) on the rear axle, which means rear brake work follows a different procedure to a conventional handbrake car. You cannot simply compress the piston back with a G-clamp - the electric motor holds the piston firmly in position. Before any work begins, you must use a compatible diagnostic tool to electronically open the rear calipers, and once the job is done, you run the 'close calipers' function to reset the system. Miss either step and the job cannot be completed - or worse, the caliper is damaged.
Beyond the EPB procedure, this is a straightforward brake job. The caliper carrier bolts require an M14 spline bit which you may not already own, so source one before you start. Budget 60–90 minutes per side once you have the right tools and parts.
Signs Your Rear Brakes Need Changing
- Brake pad warning light on the dashboard
- Squealing or grinding noise from the rear under braking
- Reduced braking effectiveness, especially at low speeds
- Visible wear through the wheel - pad backing plate visible against disc
- Deep scoring or lipping on the disc face
Parts & Tools
Shop Parts & Tools for This Job
As an Amazon Associate, Mr Auto Fixer earns from qualifying purchases. Prices and availability may vary.
Step-by-Step Guide
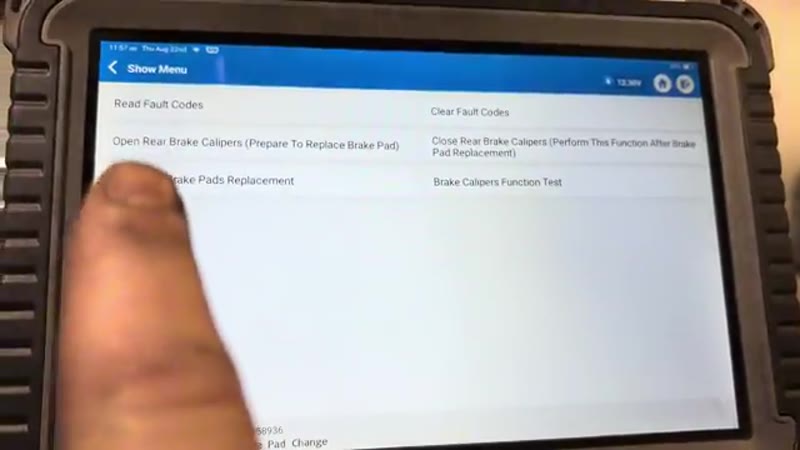
Open the rear calipers via diagnostic tool - before lifting the car
Plug your diagnostic tool into the OBD port (typically under the steering column). Navigate to the brakes/special functions menu and select "Open rear brake calipers - prepare to replace brake pads". Confirm the function and allow the process to complete - the calipers will wind back electronically. Turn the ignition off once done. Leave the tool plugged in as you will need it again at the end.
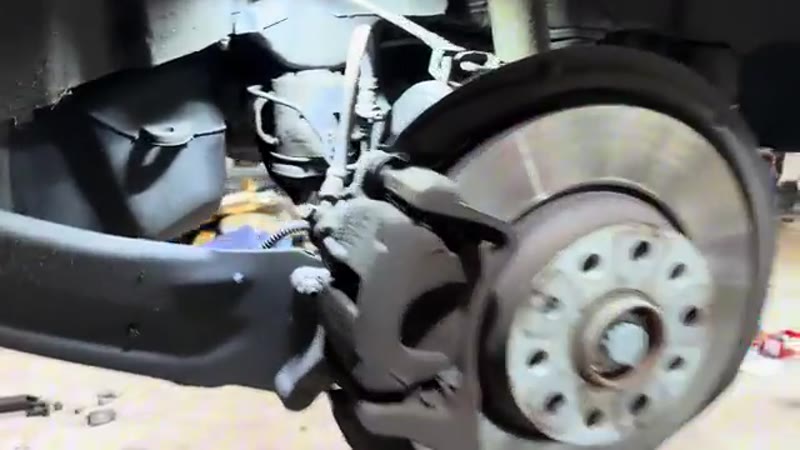
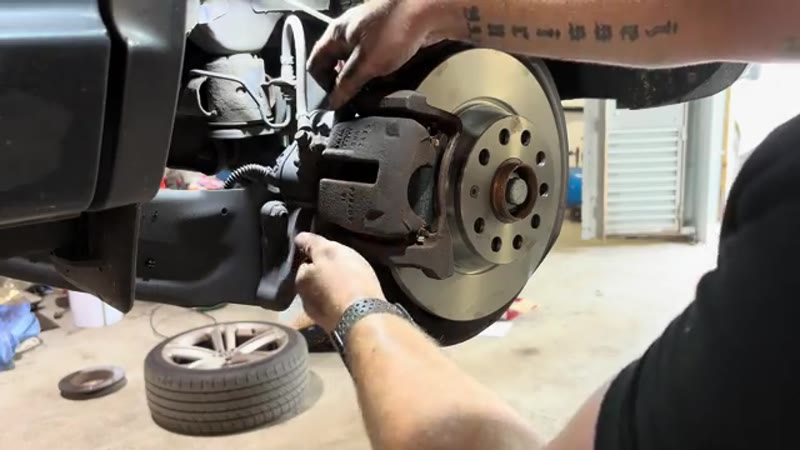
Lift the vehicle and remove the rear wheel
Raise the vehicle on a lift or jack the rear onto axle stands. Remove the rear wheel to expose the brake assembly. You will now be looking at the caliper, disc and hub.
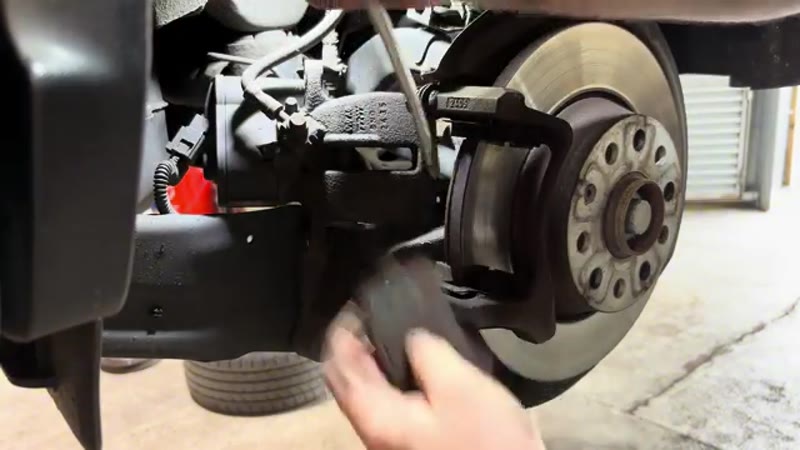
Push the caliper piston back
With the EPB already opened, the piston can now be compressed manually. Insert a flat-blade screwdriver between the caliper body and the outboard pad and lever to push the piston back partway. Then reposition the screwdriver between the back of the pad and the face of the piston and push the piston fully home into the bore. This makes room for the new, thicker pads.
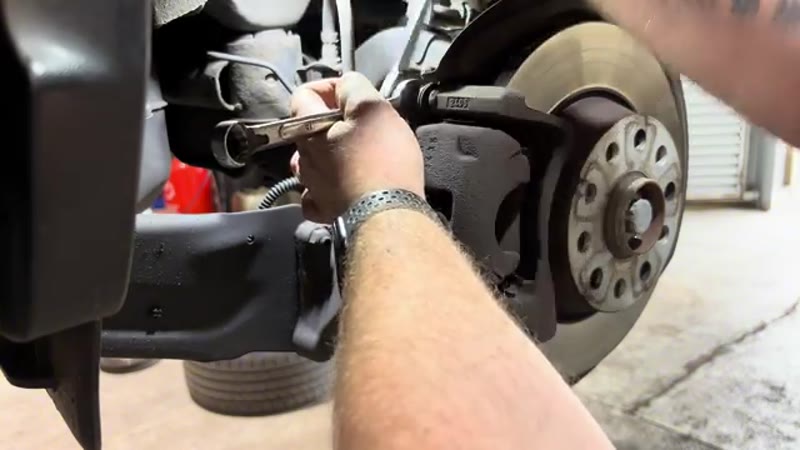
Remove the caliper guide pin bolts and hang the caliper
Undo both 13mm guide pin bolts. If the guide pin starts to rotate as you undo the bolt, grip the flat section of the pin from behind with a 15mm spanner to hold it still. Pull the caliper off the disc and hang it from a spring or bracket with a short piece of wire - the caliper must not hang from the brake hose under any circumstances.
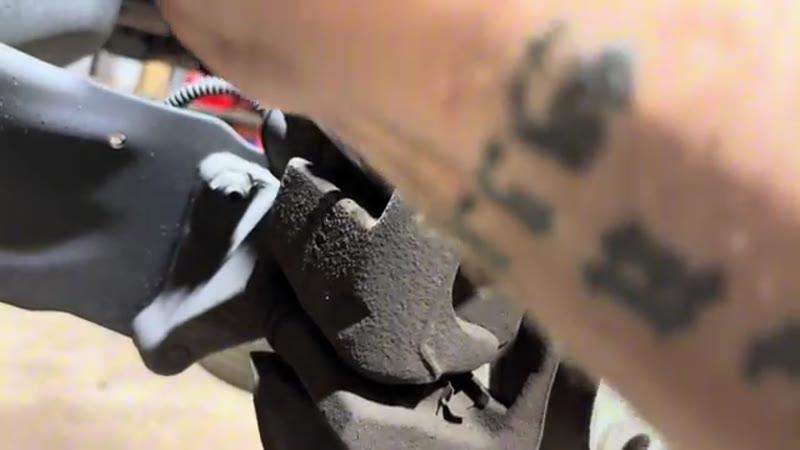
Remove the old pads and the T30 disc retaining screw
Lever the old brake pads out of the caliper carrier using a screwdriver. Note their condition - if they are down to the metal backing plate, you have left it late. Remove the T30 Torx screw holding the disc to the hub flange.
Remove the caliper carrier with the M14 spline bit
Look around the back of the hub for the two large bolts holding the caliper carrier to the upright - these are M14 spline (XZN) drive. Remove both with an M14 spline socket and a breaker bar or impact gun. Take the carrier to the bench for cleaning.
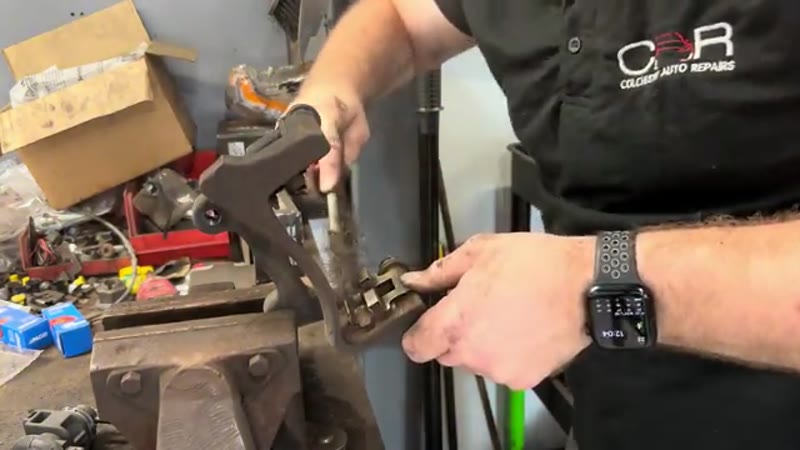
Clean the caliper carrier thoroughly
Clamp the carrier in a vice. Use a wire brush to clean every pad contact surface and the sliding channels. Lift each anti-rattle clip and clean the corrosion from beneath it as well - a buildup of rust under these clips forces the pads tight in the carrier, causing uneven wear and sticking. Check that the sliding pins move freely; if they are stiff, remove, clean and regrease them.
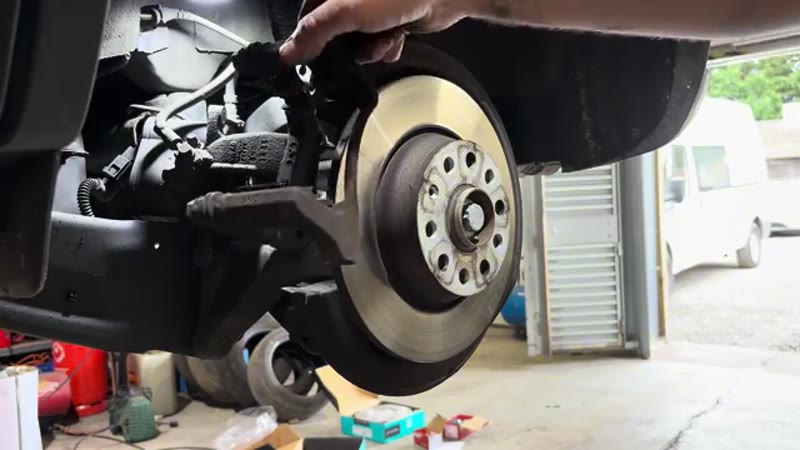
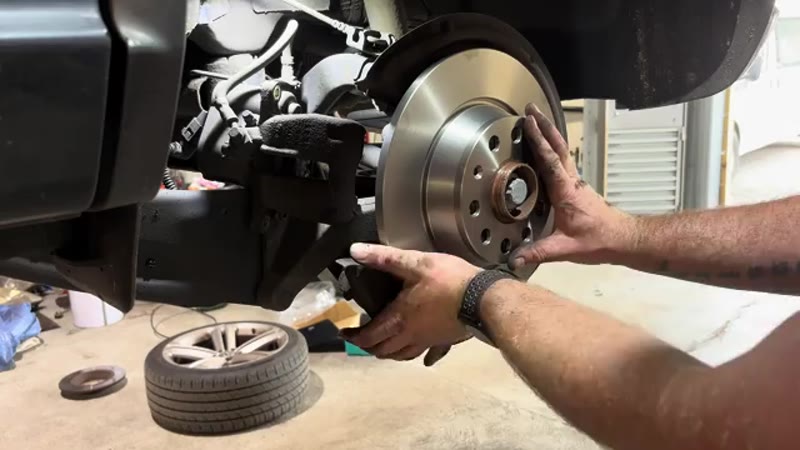
Remove the old disc and fit the new one
Strike the old disc with a hammer to break the rust bond between it and the hub. Clean all rust from the hub mating face with a wire brush until it is bare metal. Apply a very thin smear of copper slip to the hub face only - keep it away from the threaded holes and disc friction surface. Fit the new disc and secure it with the T30 Torx screw.
Refit the carrier and install new pads
Refit the caliper carrier with the two M14 spline bolts and tighten them firmly. Apply a small amount of copper slip to the pad contact points on the carrier channels - the metal edges where the pad ears sit. Do not get copper slip on the disc or pad friction surfaces. Slide the new pads into the carrier - if the carrier is properly clean they will drop in freely with no stiffness.

Refit the caliper, refit the wheel, and close the EPB
Slide the caliper back over the pads and disc, ensuring the sliding pins are correctly aligned. Refit and tighten both 13mm guide pin bolts. Refit the wheel. Return to the driver's seat, turn the ignition on and use the diagnostic tool to run "Close rear brake calipers - perform this function after brake pad replacement". Confirm and allow the motor to run to completion. Check that no fault codes are stored.
Download our complete repair guide collection
PDF guides covering servicing, fault codes, buying used cars and more. Written by a qualified mechanic - no ads, no internet needed.
Why Tiguan Rear Brakes Wear Out (and Why It Is Often the Rears First)
Something surprises a lot of Tiguan owners: the rear pads frequently need doing before the fronts. The culprit is the electronics. Auto Hold and the hill-start assist clamp the rear calipers every time you pause in traffic, the stability control trims the car's line using the rear brakes, and the electric parking brake adds its own drag if a motor gets lazy. Add the fact that rear pads are physically smaller and the result is rear sets lasting 25,000–35,000 miles on a Tiguan that uses Auto Hold daily - sometimes less than the fronts manage.
The rear discs are smaller and thinner than the fronts too, with less material in reserve, so they tend to need replacing with every second pad set at best - and corrosion gets the discs of low-mileage Tiguans before wear does.
VW Dealer vs DIY Cost
| Who does it | Typical price | What you get |
|---|---|---|
| VW main dealer | £280–£420 | Genuine parts, dealer labour, EPB handled on the factory tool |
| Independent garage | £200–£350 | Rear discs and pads fitted, EPB service mode included |
| DIY | £60–£100 | OE-brand discs and pads, plus a one-off £30–£60 OBD tool for the EPB |
Typical UK prices for the rear axle. The OBD tool is not optional on this job - the parking brake motors must be wound into service mode electronically before the pistons can be pushed back.
Once you own the tool it pays for itself on this single job and works across the whole VW group. The UK brake cost guide shows what the EPB premium adds at garages.
Genuine VW vs Aftermarket Parts
The Tiguan's rear brake components are made for VW by ATE and TRW, and both brands sell the same discs and pads in their own boxes at £60–£100 the axle against roughly double for the VW-stamped versions. Quality here is a straight match; buy the OE brand and spend the difference on the OBD tool if you do not own one yet.
One caution specific to EPB rear calipers: if a piston or motor turns out to be faulty when you open the job up, buy a complete quality caliper (TRW, ATE) rather than a marketplace repair kit - the spindle mechanism inside an EPB caliper is not a place for £12 gambles.
Common Mistakes on an EPB Rear Brake Job
- Forcing the pistons back without service mode. The number one EPB mistake. The piston sits on a motor-driven spindle - clamp it back like a normal caliper and you can strip the mechanism, turning a pad change into a £250 caliper.
- Disconnecting the battery mid-job. With the EPB in service mode, keep the electrical system alive until you have run the close-and-calibrate step. A dead battery halfway leaves the brake stuck open.
- Skipping the calibration afterwards. The tool must run the EPB basic setting when the new pads are in, or the first hill park is an unpleasant surprise.
- Not cleaning the hub face. Small rear discs show run-out as a pulsing handbrake and MOT imbalance - wire-brush the hub before the new disc goes on.
- Greasing the pad faces instead of the contact points. A smear on the backplate lugs and slider surfaces only. Friction faces stay surgically clean.
- Ignoring a lazy EPB motor. If one side winds back slowly or noisily in service mode, investigate now - a dying motor discovered during a pad change is far cheaper than one discovered on a hill.
Related Faults to Check While the Rear Is Apart
With the rear wheels off, check the classic Tiguan rear-end wear points: the handbrake motors themselves (listen to each one cycle - they should sound identical), the rear wheel bearings, and the flexible hoses where they loop to the caliper. Look at the ABS reluctor rings for rust jacking, because a corroded ring throws traction control faults that get misdiagnosed as sensor failures.
This job shares its electronic procedure with every EPB car in the VW group - our VW electric handbrake pads guide covers the generic process if you also look after a Golf or Passat. And if the symptom that brought you here is a grinding or binding rear wheel rather than routine wear, run it through the symptom finder first - a seized EPB motor mimics worn pads convincingly.
Standard Job - EPB Tool Is the Key
Once you have a diagnostic tool that supports the EPB function, rear brakes on the VW Tiguan are a perfectly achievable DIY job. The M14 spline bit and a thorough carrier clean are the other key details most guides miss. Do the job properly and this axle will not need attention for another three to five years.