The cam belt and water pump change on the Skoda Superb 2.0 TDI is a major service item that should never be overlooked. A snapped cam belt on this engine will cause catastrophic and irreparable engine damage. The water pump is driven by the cam belt, so it always makes sense to replace both at the same time - doing so adds minimal cost but avoids having to strip everything down again if the pump fails later.
This is a complex job requiring the correct locking tools and a methodical approach. The engine mount needs to be dropped to access the lower pulley, and the top end requires significant stripdown to access the cam belt covers.
When to Change the Cam Belt
- Reached the manufacturer's service interval (typically every 4 years or 40,000 miles on the 2.0 TDI)
- No record of previous cam belt change in service history
- Belt showing visible cracking, fraying or contamination
- Water pump showing signs of weeping or bearing noise
- Tensioner or idler pulleys feeling rough or noisy when spun by hand
Tools & Parts You'll Need
DIY Car Service Guide
- Full service at home: oil, filters, plugs, fluids
- Which jobs are safe to DIY and which are not
- What a garage charges for each item, so you know the saving
Instant PDF download · works on phone, tablet or PC · 7-day money-back guarantee
Step-by-Step Guide
Strip Down the Top End
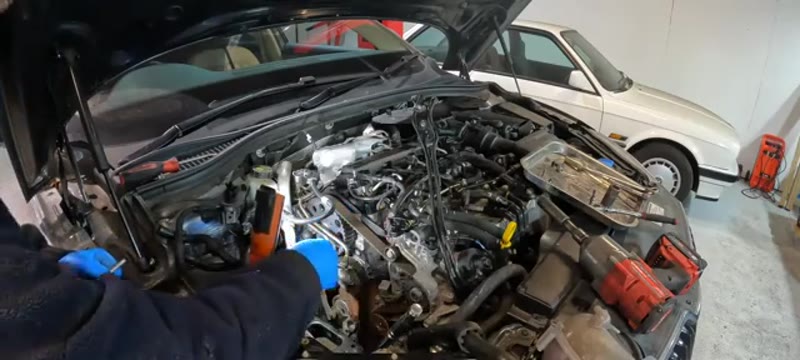
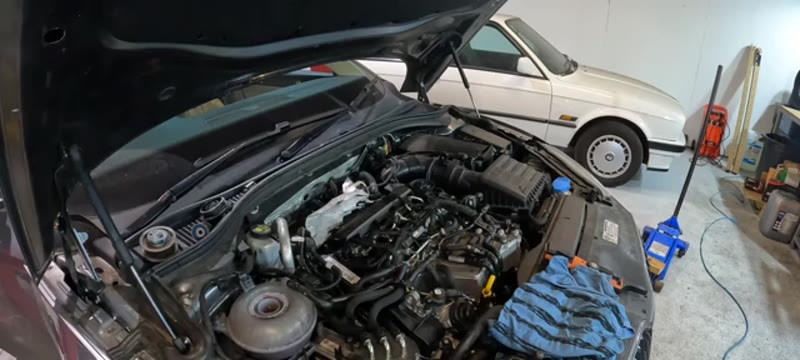
Remove the top engine cover. Then remove the fuel filter housing (two 10mm bolts), the coolant header tank, all coolant and fuel pipework running across the top of the engine, and the pipes held by T30 Torx bolts along the front of the cam cover. Release the pipe bracket by pulling the tab upward and sliding it off. With everything cleared, pull the cam belt top cover off to expose the upper half of the belt.
Raise the Car & Remove Wheel, Arch Liner & Under Tray
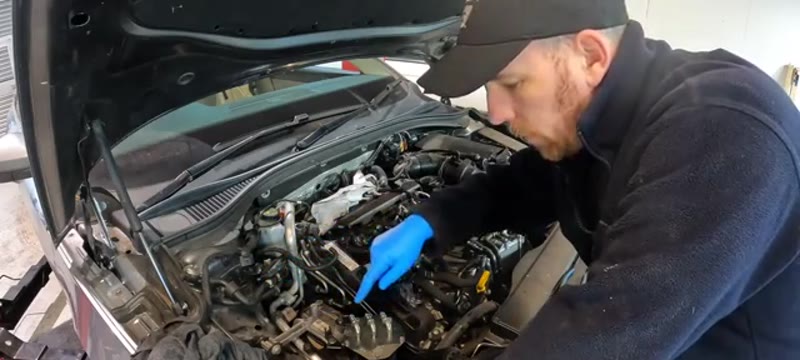
Put the car on a lift. Remove the front wheel on the belt side and take out the inner wheel arch liner completely - this gives excellent access and lighting to the lower pulley area. Remove any under trays. Drain the coolant at this point ready for the water pump replacement.
Spin Engine to TDC & Install Locking Tools
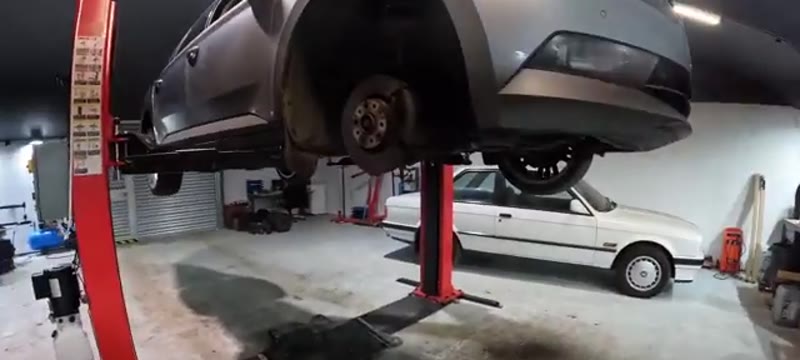
Before removing anything of importance, rotate the engine to TDC (Top Dead Centre). Install the cam locking tools - these are "lollipop" shaped pins that slide into the half moon cutouts on the camshafts and locate into holes in the cylinder head, preventing them from turning. Install the fuel pump locking pin the same way. Fit the crank locking tool to the lower pulley, marrying up the arrows on the tool with the arrows on the crank pulley. The engine is now fully locked in time.
Remove the Auxiliary Belt & Lower Pulley
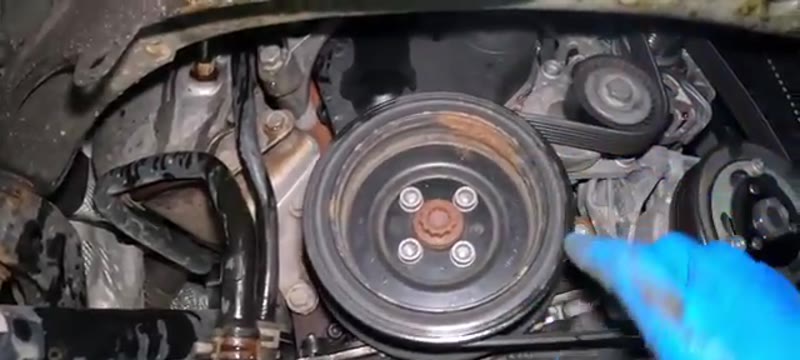
Release the auxiliary belt tensioner and slip the belt off. Remove the four bolts holding the lower pulley and take it off. This exposes the lower cam belt cover and the bottom crank area.
Drop the Engine Mount
To access the lower belt area fully you need to remove the engine mount. There are two 18mm bolts attaching it to the engine block, 16mm bolts either side of the mount itself, and a 13mm bolt going up to the inner wing. Remove all of these and lift the mount clear in one piece. Then remove the remaining inner mount section bolted into the block - note the two top bolts are different lengths, so keep them separate for reassembly. Lower the engine slightly on a pole jack to gain clearance for the last bolt.
Remove the Tensioner, Idler Pulleys & Old Belt
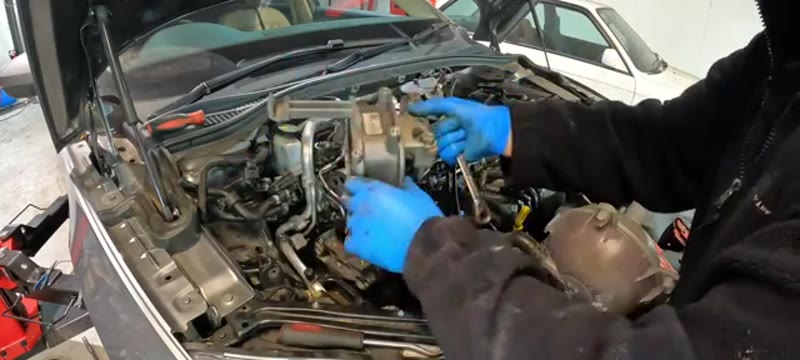
Use a 15mm spanner to crack off the tensioner - you'll hear it spring back as the tension releases. Remove the tensioner completely. Take off the idler pulleys - removing one gives extra slack to help work the belt free. With everything loose, carefully work the old cam belt off and remove it. Inspect it - on high mileage vehicles you'll typically see cracking, glazing or fraying.
Replace the Water Pump
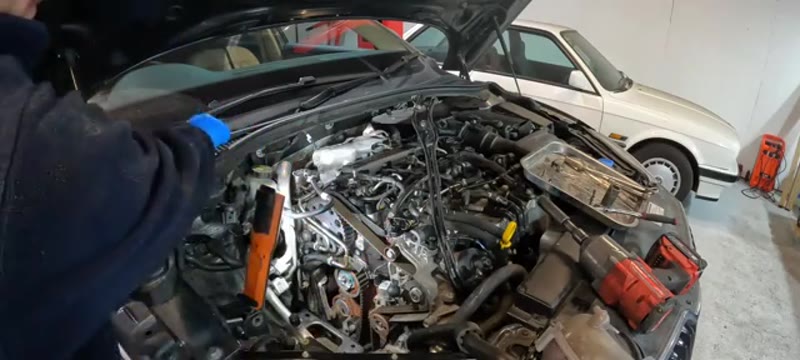
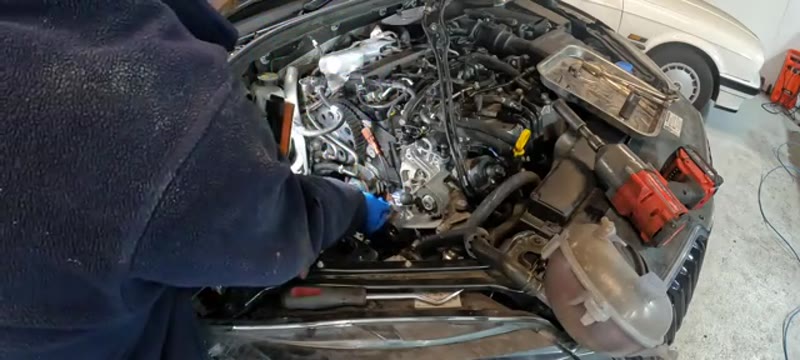
With the belt removed, the water pump is now fully accessible. Remove the three M10 bolts holding it in place and pull it out. Clean the mating surface thoroughly so the new O-ring seals correctly. Fit the new water pump, making sure it's correctly located, and tighten the three bolts evenly. Route the sensor cable back through the hole the same way it came out and plug it back in securely.
Fit New Tensioner, Idlers & Cam Belt
Fit the new lower idler pulley first and tighten to spec. Fit the new tensioner, making sure the locating lug seats correctly into the slot in the cylinder head. Fit the new upper idler. Now route the new cam belt onto all the pulleys in the correct sequence. Once the belt is on, use a 15mm tool on the tensioner to set the correct tension - turn it until the tensioner tab aligns with the reference mark, then lock it down. Tighten all idler and tensioner bolts to spec.
Verify Timing, Rebuild & First Start
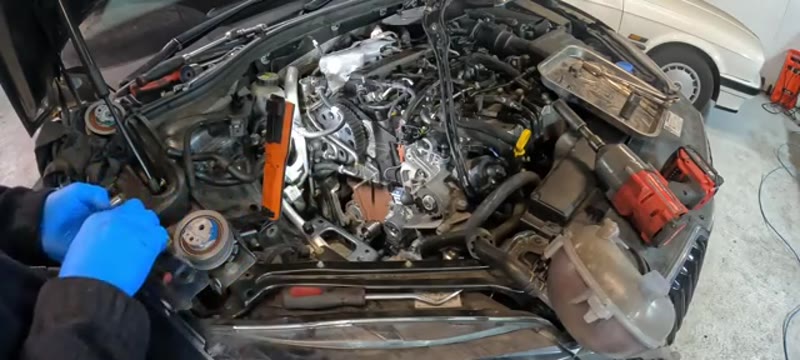
Remove all locking tools. Make a small paint mark on each cam gear for reference. Rotate the engine by hand a minimum of four full turns and refit all locking tools - they must all locate perfectly and all marks must realign. Only then is the timing confirmed correct. Refit the engine mount, lower pulley, auxiliary belt, inner arch liner, wheel and all top end components. Refill coolant, run to temperature and road test.
Key Torque Specifications
Shop Parts & Tools for This Job
As an Amazon Associate, Mr Auto Fixer earns from qualifying purchases. Prices and availability may vary.
Why the 2.0 TDI Belt Interval Is Not Negotiable
The 2.0 TDI in the Superb is an interference engine with almost no clearance between valve and piston at overlap - among the least forgiving engines in Europe when a belt lets go. A snapped belt does not give you a warning or a limp home: the engine stops dead in a few revolutions with bent valves, damaged followers and often head damage, and the repair estimate starts north of £2,000. Every pound the belt job costs is insurance against that number.
Intervals on the 2.0 TDI family vary by engine code and year - some run long, some are surprisingly short - so check the schedule for your exact engine rather than a forum average, and remember the time limit matters as much as the mileage: belt rubber ages sitting still. No receipt in the history means the belt is due now, whatever the seller said.
Skoda Dealer vs DIY Cost
| Who does it | Typical price | What you get |
|---|---|---|
| Skoda main dealer | £800–£1,100 | Genuine parts, factory tooling, digital record |
| VAG specialist / independent | £400–£700 | Belt, tensioners and pump - specialists do this engine weekly |
| DIY | £110–£170 | Complete OE-brand kit with pump, locking toolset extra (£25–£45) |
Typical UK prices for the 2.0 TDI Superb. The same engine sits in the Passat, Octavia, A4 and dozens of other VAG cars - shop around, because specialists price this job keenly.
That engine-sharing is your negotiating power: any VAG specialist has done this exact job dozens of times. Compare quotes against our UK cambelt cost guide before you book anything.
Genuine Skoda vs Aftermarket Kits
The parts in the Skoda box come off the same lines as the aftermarket: INA tensioners, Continental or Gates belts, and pumps from Graf or Hepu. A complete quality kit with the pump is £110–£170 against £250+ genuine, and the contents are mechanically identical. Two buying rules for this engine: take the kit that includes every roller and the pump (any bearing left in place is the one that fails), and choose a pump with a metal impeller where offered - the early plastic-impeller pumps on the 2.0 TDI have a documented habit of shedding blades.
Unbranded kits are an absolute no on this engine. The failure mode is not inconvenience; it is the end of the engine.
Common Mistakes on the 2.0 TDI Belt Job
- Improvising instead of using the locking set. Crank and cam lock at TDC with the proper VAG-pattern tools. On an engine this tight, one tooth out is bent valves - the £30 toolset is not optional.
- Reusing torque-to-yield bolts. The crank pulley bolt and several mount bolts are single-use. New bolts come with good kits - fit them at torque plus angle, not "tight".
- Leaving the old tensioner or any idler in place. Every rotating part on the belt run gets renewed together. A £15 idler seizing at 30,000 miles destroys the engine as surely as an old belt.
- Not respecting the tensioner window. The semi-automatic tensioner must sit exactly in its marked window when set - guessing leaves the belt slack or howling.
- Mixing coolant types on the refill. This engine wants VAG-spec G12/G13 coolant. Mixing incompatible types gels the system and blocks the brand-new pump.
- Skipping the two-turn re-check. Two full clockwise crank rotations, then re-verify every mark and pin before the covers and engine mount go back. It costs five minutes and catches the only error that matters.
Related Faults to Check While the Engine Is Stripped
The belt job takes the right-hand engine mount off and the covers with it, so inspect while you can: crank and cam seals for oil weeps (oil on a belt halves its life), the aux belt and its tensioner (renew both - they are cheap and already off), and the engine mount rubber itself, which sags on heavy diesel Superbs and causes a driveline shunt owners chase for months. Squeeze the coolant hoses near the pump; a Superb of this age is often on its original hoses.
While the car is with you for a big service day, the Superb pollen filter guide is a ten-minute add-on job. And if what actually brought you here is a noise from the belt end, run it through the symptom finder first - aux belt squeal and pump bearing rumble both imitate cambelt trouble.
Job Summary
What to expect on this repair: