
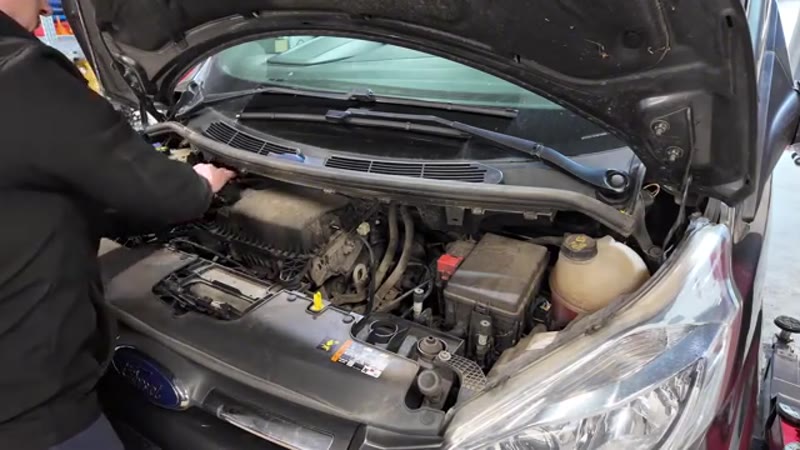
This 2017 Ford Transit Custom was recovered in with the brake pedal having gone rock hard whilst driving - effectively no power assistance to the brakes. This is a known issue on Transit Customs and is caused by failure of the vacuum pump on the engine.
The vacuum pump provides the brake servo with the suction needed to assist your foot when pressing the pedal. When it fails you can still physically stop the van but it requires enormous pedal effort - very dangerous at speed. The root cause on this one was wet belt fibres breaking down and blocking the internal pump components until they snapped.
Tools & Parts Needed
How to Test for Vacuum Pump Failure
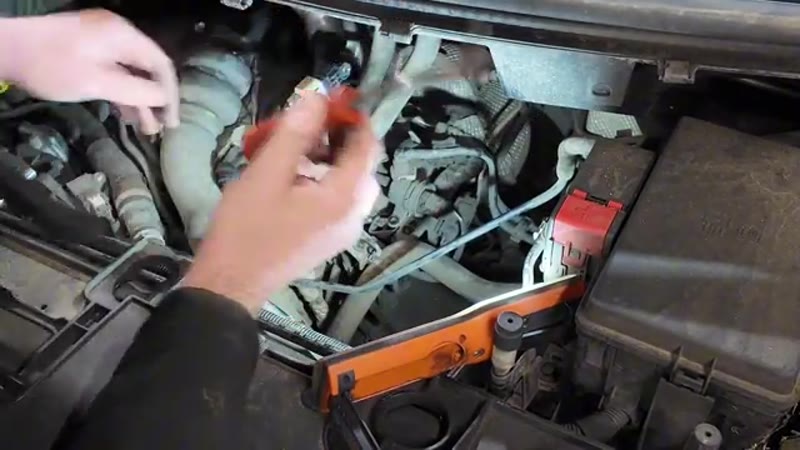
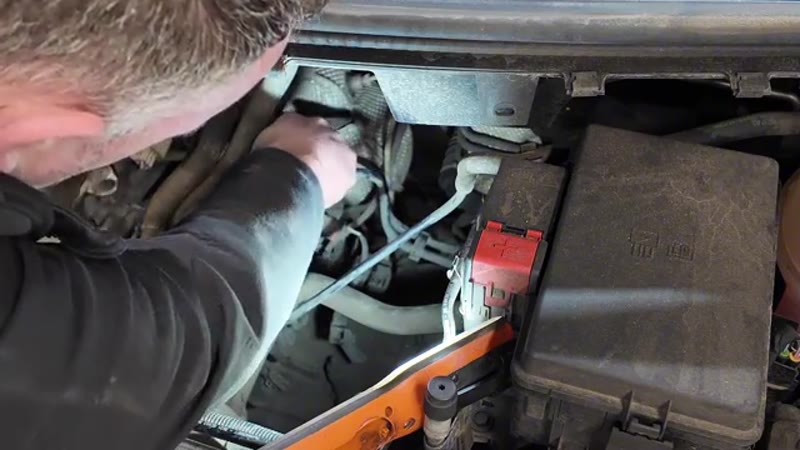
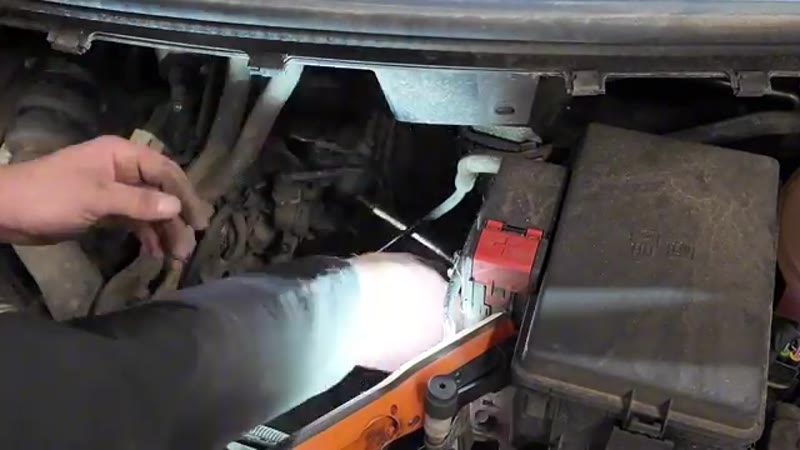
Before stripping anything: locate the servo pipe that connects to the brake servo in the engine bay. Pull the pipe off the servo end. Start the engine. Place your finger over the end of the pipe - a working vacuum pump will suck strongly against your finger. On this van there was zero suction - confirming pump failure.
Step-by-Step Guide
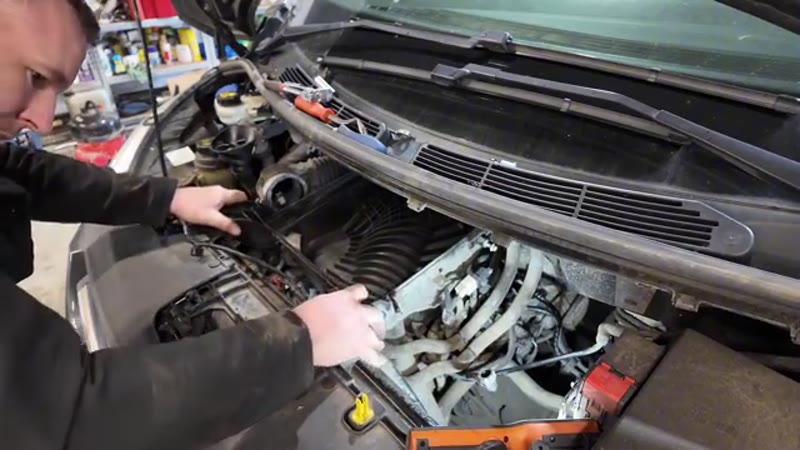
Remove the Airbox & Pipework
Undo the Jubilee clip at the top of the airbox. Unplug the airflow sensor wire and remove all the plastic clips around the top cover. Pinch and pull off the small breather pipe from the side. Lift the top cover clear and remove the air filter. Undo the single 8mm bolt holding the DPF pressure sensor on the side of the airbox and set it aside. Pull the airbox towards you - it locates onto a bar at the rear - and lift it clear.
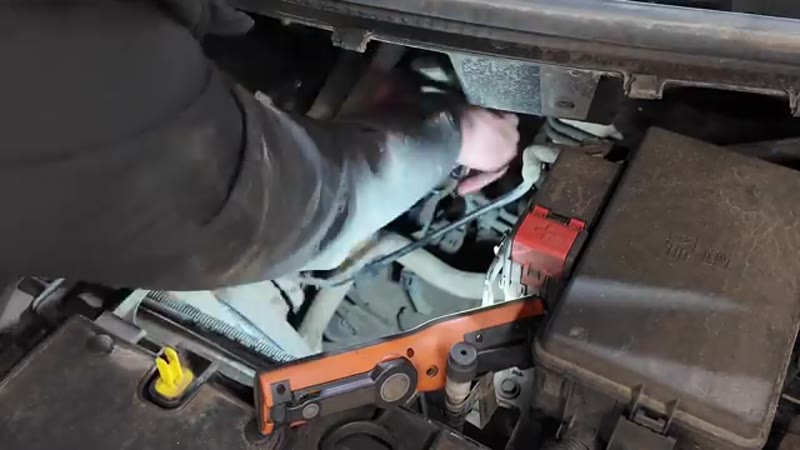
Remove the Bracket in Front of the Vacuum Pump
With the airbox out there is much better access down the right side of the engine. Disconnect the two pipes from the bracket area and set them aside. Undo the two 10mm bolts holding the main bracket on. Then undo the two 8mm bolts holding the small stepper motor assembly on top. Use a trim tool to help free the bracket. Unplug its two wiring connectors and move the whole bracket clear. The vacuum pump is now visible below, secured with three 8mm bolts and two pipes.
Disconnect the Vacuum Pump Pipes
The top pipe has a red collar - push it down and wiggle the pipe up to release it. The second pipe uses a squeeze-together type clip - pinch it and pull the pipe free. Now nothing is connected to the pump.
Undo the Three 8mm Bolts & Remove the Pump
Use a quarter-drive 8mm socket on an extension to undo all three securing bolts. Some will be out of sight - feel around with your hand. Pull the foam cover back slightly at the top if needed to access the third bolt. Once all three are out, pull the pump out from the bottom first, then slide it out towards you and up over the pipes. On the bench you can clearly see the wet belt debris that destroyed the internal rotor.
Fit the New Vacuum Pump & Gasket
Put your finger into the cam drive hole to feel the orientation of the cam lobe so you know how to align the pump drive. Feed the new pump in over the pipes the same way it came out. Wiggle it until the drive locates correctly and the pump sits flush against the head. Once flush, start all three 8mm bolts by hand, then tighten evenly so the gasket is clamped down uniformly. Refit the pipes.
Rebuild & Test Vacuum
Refit the bracket and all pipes in reverse order. Refit the airbox, airflow sensor, DPF pressure sensor, air filter and top cover. Start the engine and go back to the brake servo pipe. Hold your finger over the open end - you should immediately feel strong suction. Push the pipe back onto the servo and test the brake pedal. It should feel light and well-assisted with normal pedal travel. Take a test drive to confirm.
Parts & Tools for This Job
ⓘ As an Amazon Associate, Mr Auto Fixer earns from qualifying purchases. Prices and availability may vary.
Want this guide offline - and 15 more like it?
Our PDF guide collection covers servicing, fault codes, buying a used car and more. Written by a qualified mechanic. Download once, use forever - no ads, no internet needed.
Why the Vacuum Pump Matters More Than Its Name Suggests
A diesel has no throttle vacuum, so the Custom drives a mechanical pump off the camshaft to generate the vacuum its brake servo needs - which means this obscure component is really a brake component. When the pump's vanes wear or its seal fails, the pedal goes progressively wooden: normal-feeling brakes at a standstill, but real effort needed to stop a loaded van from speed. Drivers adapt to the creeping stiffness without noticing, which is what makes a failing pump dangerous - the failure is gradual right up until the morning the pedal needs both feet. On the Custom the pump is a known wear item from 100,000 miles, often announcing itself with a rattle or ticking from the pump area before the pedal changes.
This is also one of the few jobs on the van with a genuine do-not-drive rule: a van with a hard pedal and no servo assistance is not road-legal and not safe loaded. Diagnose and fix before the next job, not after.
Garage vs DIY Cost
| Who does it | Typical price | What you get |
|---|---|---|
| Ford Transit centre | £350–£550 | Genuine pump, dealer labour |
| Independent garage | £200–£400 | Quality pump fitted |
| DIY | £80–£160 | The pump itself - and a 3-5 hour job with awkward access |
Typical UK prices for the Custom. Be honest about the access before starting: this is an advanced job, and half-done brakes are not a place to discover that mid-week.
Genuine Ford vs Aftermarket Pumps
Pierburg and Wabco make these pumps for the OE lines, and their own-brand units at £80–£160 are the same engineering as the Ford-boxed pump at £200-plus. On a braking-related part, hold the same line as with hydraulics: OE brands only, no £40 marketplace pumps - a cheap pump's vanes shedding into the vacuum line is how you buy this job twice, the second time with a brake servo full of debris. Replace the pump's gasket and O-rings with the new unit, and inspect the vacuum hose to the servo while it is off; a perished hose gives the same soft assistance the pump was blamed for.
Common Mistakes on the Vacuum Pump Job
- Condemning the pump without the simple test. Engine running, pull the servo hose and feel for strong suction. No suction, pump guilty. Good suction with a hard pedal - the servo or hose is your fault, and it is a different repair.
- Letting the old gasket fall into the timing area. The pump drives off the cam; debris dropped into its mounting hole goes somewhere expensive. Rag the opening the moment the pump is off.
- Misaligning the drive coupling. The pump's drive must engage the camshaft slot properly before the bolts pull it home - drawing it in on the bolts cracks the casting.
- Reusing the crushed O-ring. The new pump seals with a new ring. The old one weeps oil down the block for months and gets misdiagnosed as a rear main leak.
- Skipping the brake test procedure. Before driving: engine off, pump the pedal hard five times, hold pressure, start the engine - the pedal should sink slightly as vacuum builds. No sink, no assistance, no driving.
Related Brake-Assist Faults on the Custom
The vacuum system has only three parts, and they fail in cost order: the hose (£15, perishes and collapses), the pump (this guide), and the servo itself (£150–£300, diagnosed by good vacuum but a still-hard pedal). A hiss from behind the pedal when braking is a servo diaphragm or hose leak, not the pump. And a pedal that is fine cold but hardens after long motorway runs points at a hose collapsing when hot - the cheapest fix on the list. The symptom finder separates the three cleanly, and the Custom maintenance guide maps when this and the van's other big jobs tend to arrive.