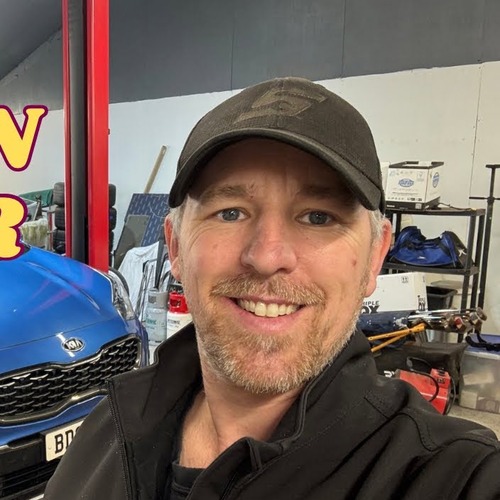
This 2017 Ford Fiesta 1.0 EcoBoost came in for a clutch master cylinder replacement. The clutch master cylinder on this generation Fiesta is integrated into the clutch pedal assembly and mounted on the bulkhead - accessible only after removing the scuttle panel, wipers and dropping into the engine bay to reach the hydraulic pipes, as well as removing the steering column briefly inside the car to get at the pedal mounting bolts.
It is a fairly involved job requiring work in both the engine bay and the interior, but entirely doable with patience and the right approach. Once the new cylinder is in, the clutch must be bled through the slave cylinder before the car can be driven.
Tools & Parts Needed
Shop Parts & Tools for This Job
As an Amazon Associate, Mr Auto Fixer earns from qualifying purchases. Prices and availability may vary.
Ford Fiesta Owner's Bible (Mk7 & Mk8)
- Mk7 and Mk8 specific faults, service intervals and torque figures
- The known weak points and what they cost to put right
- Written around the Fiesta, not a generic car guide
Instant PDF download · works on phone, tablet or PC · 7-day money-back guarantee
Step-by-Step Guide
Remove the Wipers & Scuttle Panel
Pull off the plastic caps at the wiper arm bases and undo the two 16mm nuts. Press the arm down onto the spindle firmly and ping it upward to release it - don’t lose the washers. Remove the scuttle panel by popping all the clips along its length and carefully lifting it away, pulling out the rubber seals from either side of the windscreen as you go. This reveals the inner scuttle section.
Remove the Inner Scuttle Section
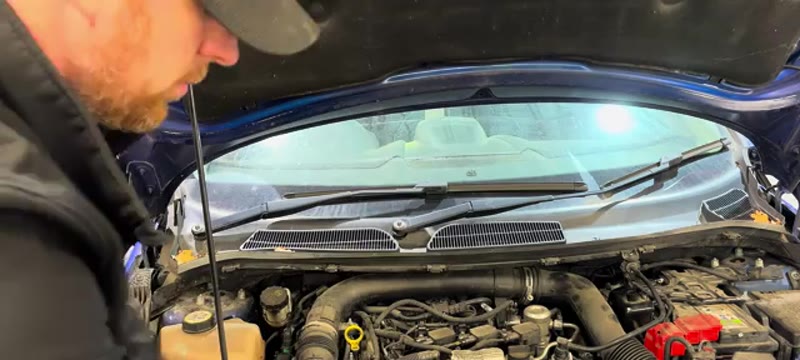
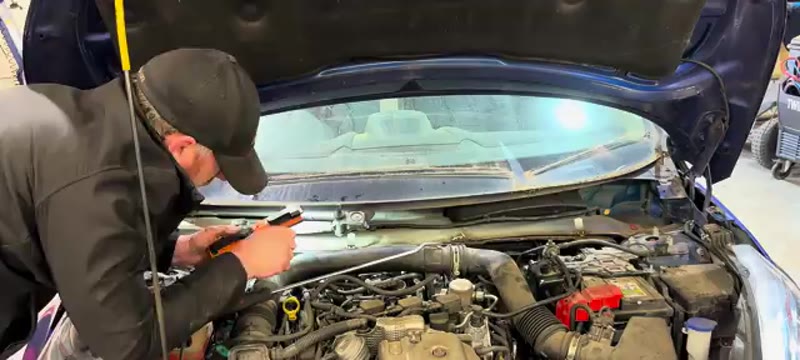
Remove one 10mm bolt each side of the inner section. You will find you need headlight access to reach the outer 10mm bolt on each side - undo the two T30 Torx screws on top of each headlight, release the clip from the top of the bumper, and pop it up for access. Once all bolts are out the inner section lifts clear. Keep the small metal clips that sit under it - they are easy to lose.
Disconnect the Hydraulic Pipes on the Bulkhead
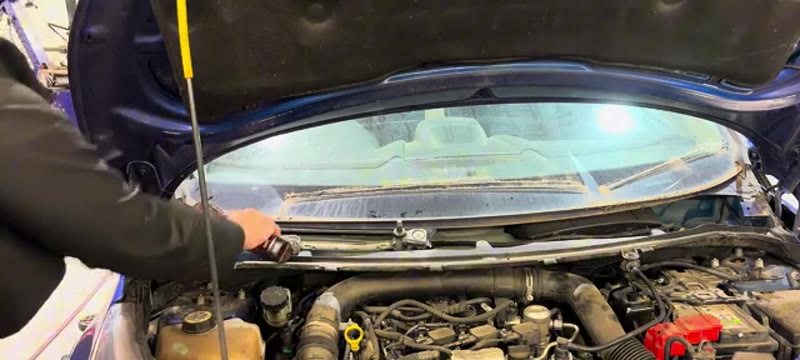
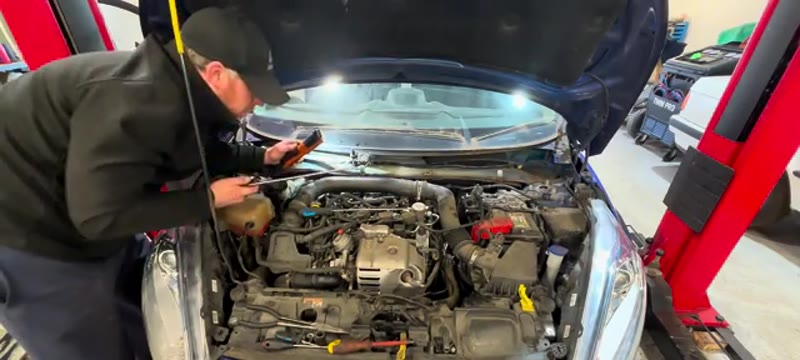
With better access now available, locate the two hydraulic clutch pipes on the bulkhead. The upper pipe (feed from the reservoir) releases by pushing the tab back firmly with a long bar and pulling the pipe out. The lower pipe (to the slave cylinder) requires pushing back a small C-clip with a long pick to release it. Both are fiddly but accessible with the right tools. Have a cloth ready as fluid will drip.
Remove the Steering Column (Interior)
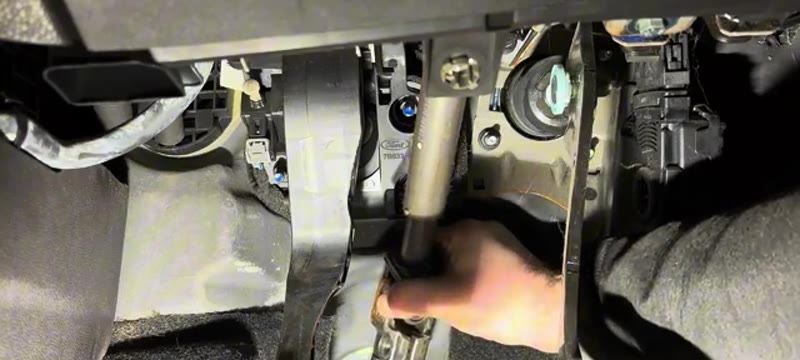
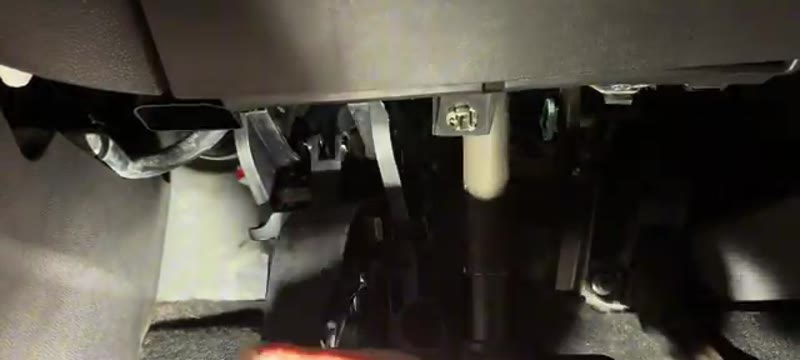
Inside the car, pull the steering column lower cover off to expose the 10mm bolt that clamps the column. Undo this bolt all the way and slide the column upward to create clearance for accessing the 13mm pedal mounting bolts behind it.
Disconnect the Clutch Pedal Sensor & Remove the Pedal Assembly
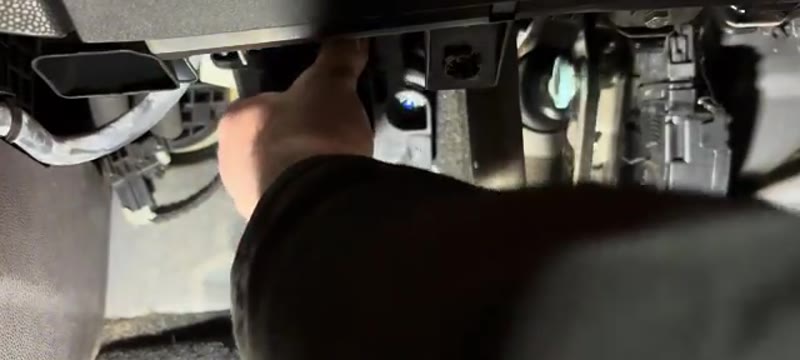
The clutch pedal sensor is a small unit on the side of the pedal - pop it out and set it to one side. Undo the three 13mm bolts that mount the pedal assembly to the bulkhead. With all three out, wiggle the pedal away from the studs. The clutch pedal sensor wiring runs up the side of the pedal to a plug above - reach up, unplug it, and the whole assembly comes out in one.
Separate the Master Cylinder from the Pedal (Bench)
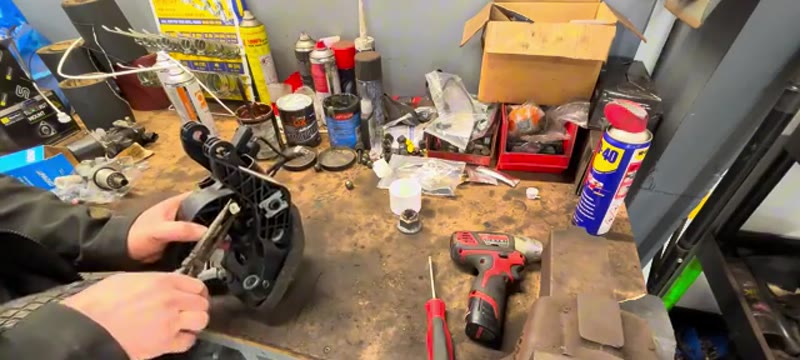
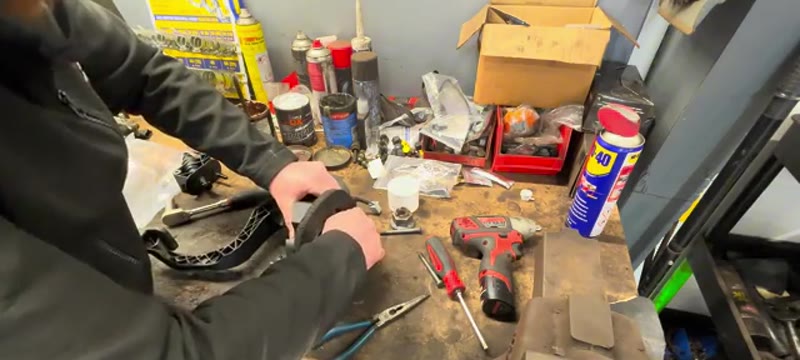
On the bench, use long nose pliers to access the white plastic retaining pin at the back of the pedal-to-cylinder connection. Squeeze it together and pull it free - this releases the cylinder push rod from the pedal arm. Then undo the two T30 Torx bolts (with corresponding 13mm nuts on the back) that mount the master cylinder body to the pedal bracket. Unplug the wiring connector from the cylinder. The master cylinder is now completely separated from the pedal assembly.
Transfer Any Fittings & Fit the New Cylinder
Transfer the foam pad from the old cylinder to the new one if needed. Plug the wiring connector into the new cylinder. Offer the new unit up to the pedal bracket, line up the mounting holes and fit the T30 bolts and 13mm nuts. Push the push rod through the pedal arm hole until the white pin clicks and locks it in position.
Refit Pedal Assembly & Steering Column
Carry the pedal assembly back into the car. Before pushing it onto the bulkhead studs, plug in the wiring connector above. Slide the assembly onto the studs and refit all three 13mm bolts. Refit the clutch pedal sensor. Slide the steering column back down and refit the 10mm clamp bolt. Refit the steering column cover.
Reconnect Pipes & Rebuild Scuttle
Back in the engine bay, reconnect the two hydraulic pipes to the new master cylinder - they push in and click to lock. Refit the inner scuttle section and both headlights. Refit the scuttle panel, pressing the rubber seals back into place along the windscreen. Refit the wipers.
Bleed the Clutch & Test
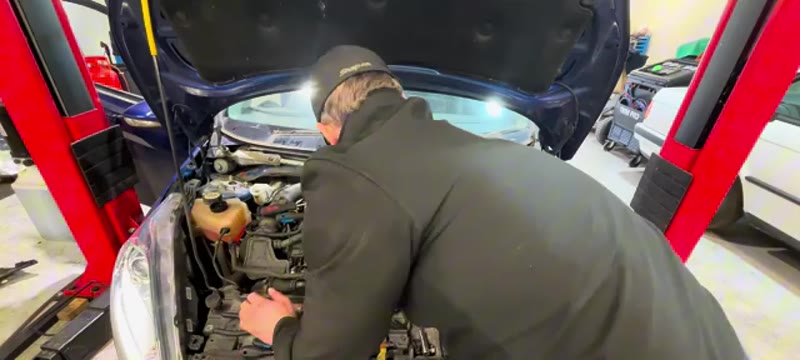
Locate the slave cylinder bleed nipple underneath the car (near the gearbox). Attach a bleed bottle and pipe to the nipple. Unscrew the nipple half a turn. Keep the clutch fluid reservoir topped up and allow it to gravity bleed until only clean fluid with no bubbles flows out. You can pump the pedal to speed this up. Once clean, tighten the bleed nipple and test the clutch pedal - it should feel firm and light with a normal biting point.
Why the Fiesta Clutch Master Cylinder Fails
The clutch master cylinder is one of the Mk7 Fiesta's genuine weak points, and failures from 50,000 miles onwards are common enough that most Ford specialists recognise the symptoms on the phone. Inside the cylinder, rubber seals sweep a machined bore thousands of times a week, and on this car the cylinder also lives in an awkward, heat-soaked spot against the bulkhead. As the seals wear, pressure bleeds past them: the pedal starts sticking low on fast shifts, the biting point sinks over weeks, and eventually gears - especially first and reverse - grind their way in because the clutch never fully releases.
The fluid tells the story early. The clutch shares the brake reservoir, and if the fluid has turned black, the master cylinder's seals are wearing and depositing rubber into the system. Black fluid plus a sinking pedal is this fault, nine times out of ten.
Ford Dealer vs DIY Cost
| Who does it | Typical price | What you get |
|---|---|---|
| Ford main dealer | £700–£1,100 | Genuine cylinder and the labour-heavy pedal-box access at dealer rates |
| Independent garage | £500–£900 | Same job, quality parts - the price is labour, not the part |
| DIY | £40–£90 | The cylinder plus fresh DOT 4 fluid - and a long, awkward day |
Typical UK prices for the 1.0 EcoBoost Fiesta. The part is cheap; every pound of the garage price is the bulkhead access and the bleed.
That £450–£1,000 gap is why capable DIYers take this on despite the contortions - but be honest about the difficulty before you start. This is an advanced job, and our clutch cost guide is worth reading in case the problem turns out to live at the gearbox end instead.
Genuine Ford vs Aftermarket Cylinders
The OE cylinder comes from FTE, and FTE's own-box part at £40–£70 is the identical unit to the Ford-boxed one at over £100. LuK and Valeo also list quality cylinders for this application. Given how miserable the access is, the golden rule is: never fit a cheap cylinder to this car. An £18 marketplace unit that fails in a year costs you the whole day's labour again - the £30 you save is the worst-value £30 in the Fiesta parts catalogue.
Buy fresh DOT 4 fluid at the same time and plan to flush the shared reservoir - fitting a new cylinder and feeding it the old black fluid sends the new seals down the same road.
Common Mistakes on This Job
- Condemning the master cylinder when it is the slave. The concentric slave sits inside the bellhousing and produces similar symptoms. The black-fluid check and pedal behaviour in this guide separate them - diagnose before a day of bulkhead yoga.
- Breaking the pedal-box clips. The plastic retainers up under the dash are brittle and awkward. Work them by feel with a pick, not force - replacements mean a trip to Ford.
- Kinking the hydraulic line. The plastic supply and pressure lines take a set over the years. Ease them off warm and route the new connections without tight bends or the pedal will feel spongy forever.
- Rushing the bleed. Air hides in the high point of this system. Follow the gravity-then-pressure sequence in the guide patiently; most "faulty new cylinder" complaints are just an incomplete bleed.
- Leaving the old fluid in the reservoir. Syringe the reservoir clean before connecting the new cylinder - the debris from the failed seals is exactly what you are protecting the new part from.
- Not road-testing through the full temperature range. A marginal bleed feels fine cold and drops the pedal when hot. Test again after a proper run before calling it finished.
Related Faults with Similar Symptoms
Three other faults mimic a failing clutch master on these Fiestas. The concentric slave cylinder (inside the gearbox) gives the same sinking pedal but usually leaks fluid invisibly - watch for the reservoir dropping with no external wet patch. A worn clutch itself slips under load rather than refusing to disengage - opposite symptom, different £600 conversation, covered in our clutch replacement cost guide. And on high-mileage cars the pedal return spring and pivot wear enough to feel like hydraulic failure - worth a torch under the dash before you order anything.
While you own the car, keep the shared brake/clutch fluid fresh every two years - it is the single cheapest thing you can do to make the new cylinder last. If your symptoms do not quite line up, the symptom finder will arbitrate.