This Ford Transit Custom came in with a banging noise on idle and a high clutch pedal. On investigation the dual mass flywheel had broken up internally - chunks of material were visible inside the unit - and the clutch itself was worn and contaminated with debris. Both the clutch kit and dual mass flywheel needed replacing together.
This is a major job requiring the gearbox to be fully removed. It's time-consuming but very methodical - if you work through it systematically it goes back together well. A quality clutch alignment tool is essential for refitting.
Classic Symptoms of Clutch & DMF Failure
- Banging, rattling or knocking noise on idle - especially when cold
- High clutch biting point or clutch pedal feels different
- Clutch slipping under load
- Difficulty selecting gears or gearbox jumping out of gear
- Vibration through the clutch pedal
- Worn or contaminated clutch friction plate
Tools & Parts You'll Need
Ford Transit Custom Owner's Bible
- Transit Custom specific faults, intervals and torque figures
- The wet belt and vacuum pump jobs covered properly
- Written for the van, by someone who works on them
Instant PDF download · works on phone, tablet or PC · 7-day money-back guarantee
Step-by-Step Guide
Top End Stripdown - Air Box, Turbo Pipe & Gear Cables
Open the bonnet and remove the air box (lift back, undo MAF sensor and cold air feed pipe). Remove the turbo intercooler pipe that runs around to the turbo and the breather hose clip. This gives clear access to the top of the bell housing. Disconnect the two gear cables using a small pry bar - pop them off their mounting points. Remove the three bell housing bolts across the top of the casing.
Slave Cylinder & Gearbox Mount
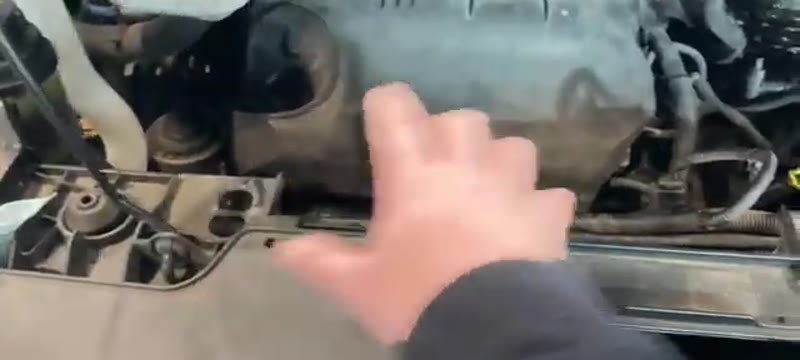
Locate the slave cylinder on the side of the bell housing and clamp off the hydraulic pipe before disconnecting it - this prevents losing all the clutch fluid. Remove the gearbox mount: two 21mm bolts on top and two 15mm bolts either side. The vehicle is now ready to go up in the air for the underside work.
Underside - Starter Motor, Drive Shafts & Drain Gearbox Oil
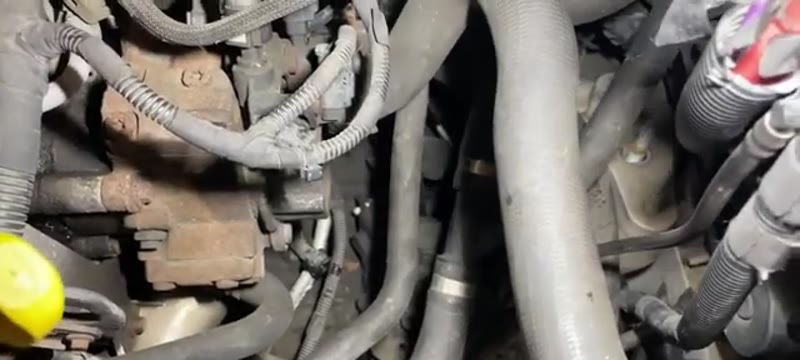
Raise the vehicle fully. Disconnect the starter motor (two 13mm bolts) and all associated wiring including the 8mm bracket bolt. Disconnect the reverse light switch. Drain the gearbox oil - the drain plug is on the bottom of the gearbox casing. Remove both drive shafts: undo the centre bearing carrier (two 13mm bolts) and pull each shaft free from the gearbox. Plug the gearbox apertures with clean rags to prevent contamination.
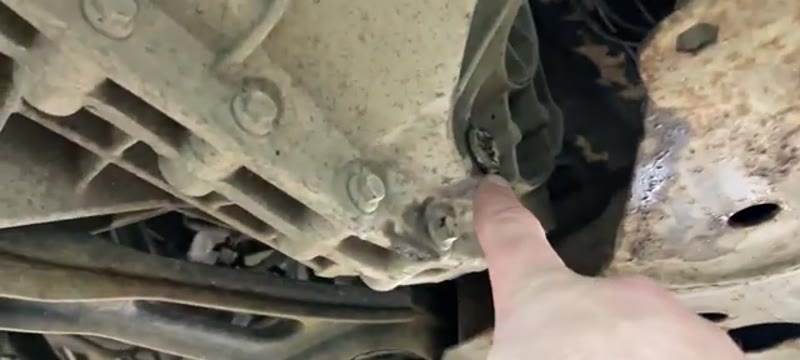
Lower Arms, Brace Bar & Remaining Bell Housing Bolts
Disconnect both front lower arms using a 24mm socket. Remove the underside brace bar. Work around the back of the gearbox disconnecting any remaining wiring, cable brackets and the remaining bell housing bolts. Support the engine on a pole jack from above before the next step.
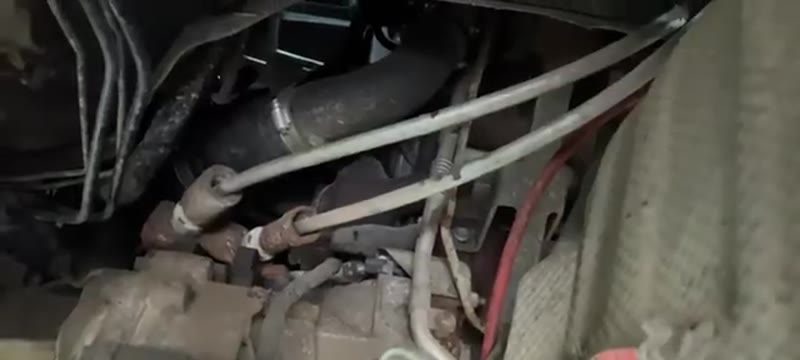
Remove the Gearbox Mount & Lower the Gearbox
With the engine supported on the pole jack, remove the remaining 15mm bolts holding the gearbox mount to the gearbox. Support the gearbox on a transmission jack. Remove all remaining bell housing bolts. Lower the transmission jack slowly, tilting and twisting the gearbox as needed to clear the engine bay. The gearbox is heavy and awkward - take your time and have an assistant if possible.
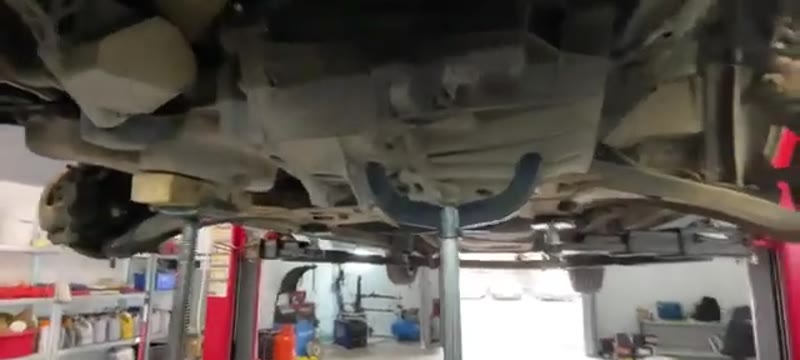
Inspect & Remove the Clutch and Dual Mass Flywheel
With the gearbox out, inspect the clutch cover, friction plate and release bearing. Clean up any dust carefully - use a damp cloth rather than blowing it with air. Inspect the dual mass flywheel for excessive rock or broken internal components. On this Transit the DMF had completely broken up internally - large chunks of material were visible. Remove the clutch cover bolts and pull the clutch assembly free. Remove the DMF bolts and lift the flywheel off - note it may have spun over its bolt holes and need repositioning before the bolts will come out.
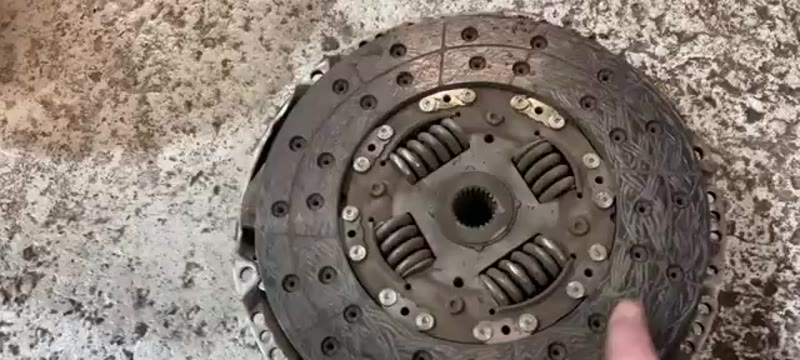
Fit New DMF, Clutch Kit & Slave Cylinder
Clean the crankshaft flange thoroughly. Fit the new dual mass flywheel using new bolts - always use new flywheel bolts, never reuse the old ones. Torque to the manufacturer's specification. Fit the new clutch friction plate and pressure plate assembly - use a clutch alignment tool to centre the plate perfectly before tightening the cover bolts. Fit the new slave cylinder into the bell housing.
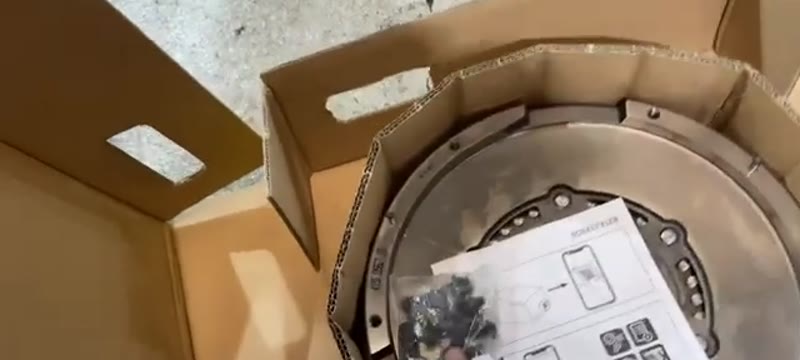
Refit the Gearbox
Raise the gearbox back up on the transmission jack. Hook the transmission jack leg into the gearbox casing to allow you to tilt and angle the box as you raise it. Line up the input shaft with the clutch centre - thanks to the alignment tool this should slide straight in. Start the lower bell housing bolts first to pull the gearbox home, then work around adding all remaining bolts. Refit the gearbox mount and all engine bay components in reverse order.
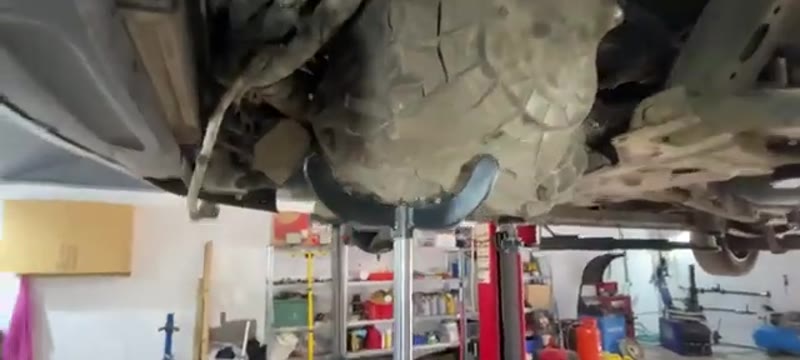
Refit Drive Shafts, Fill Gearbox Oil & Bleed Clutch
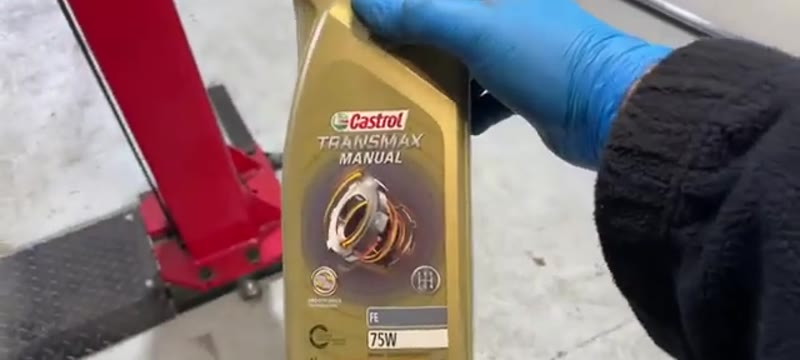
Refit both drive shafts and the centre bearing carrier. Reconnect the starter motor and all wiring. Refit lower arms, brace bar and all underside components. Fill the gearbox with the correct oil - this Transit Custom takes 2.15 litres of Castrol Transmax Manual 75W. Connect a pressure bleeder to the clutch master cylinder reservoir and bleed the clutch system until a firm pedal is achieved with no air in the system.
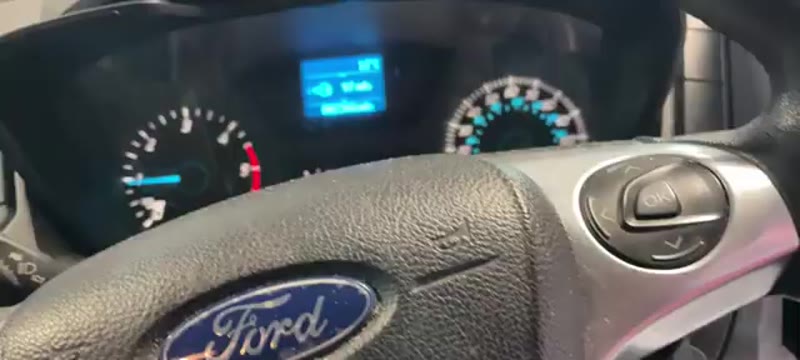
First Start, Clutch Test & Road Test
Lower the vehicle and refit the wheels. Start the engine and test the clutch pedal - it should feel firm and progressive with a good biting point. Select reverse and drive to confirm the gearbox is selecting cleanly. Road test, paying attention to clutch feel, any noises on idle and smooth gear selection throughout the rev range. Re-check the gearbox oil level after the road test.
Parts & Tools for This Job
ⓘ As an Amazon Associate, Mr Auto Fixer earns from qualifying purchases. Prices and availability may vary.
Why the Clutch and DMF Wear Out on a Transit Custom
The dual mass flywheel is the part most Custom owners have never heard of until the quote arrives. It sits between the diesel engine and the clutch, using internal springs to soak up the combustion pulses a four-cylinder diesel hammers out - and those springs are a wear item. On a Transit Custom worked normally, clutch and DMF are good for 80,000–120,000 miles; heavy towing, constant full loads or a remapped engine can halve that. Stop-start urban delivery work is harder on the clutch itself, while motorway vans usually see the DMF's springs give up first.
The telltales are distinct: a DMF on the way out rattles at idle and clonks on takeup, while a worn clutch slips - revs rise without road speed under load. By the time either is obvious, plan the job rather than the breakdown, because a DMF that breaks up can take the gearbox casing with it.
Dealer vs DIY Cost on a Clutch and DMF
| Who does it | Typical price | What you get |
|---|---|---|
| Ford Transit centre | £900–£1,400 | Genuine parts, dealer labour, van tied up by appointment |
| Independent garage | £500–£900 | Quality LuK or Sachs kit with DMF, fitted |
| DIY | £350–£500 | The full parts kit - and a serious weekend with the gearbox out |
Typical UK prices. This is a 6-10 hour job needing a transmission jack and a second pair of hands - the DIY saving is real but so is the commitment.
Whichever route you take, the van being off the road is part of the cost for a working vehicle - which is why catching the rattle early and booking the job beats waiting for the recovery truck. Full pricing context is in our UK clutch cost guide.
Genuine Ford vs Aftermarket - and the One Rule About Kits
LuK and Sachs make the clutch and DMF hardware for Ford, so their complete kits at £350–£500 are the factory components in different boxes - there is no quality argument for paying the genuine premium. The rule that matters is completeness: buy the kit with clutch, DMF and a new concentric slave cylinder together. Reusing the old slave to save £60, with the gearbox already out, is the most regretted decision in Transit ownership - when it fails six months later the whole 6-10 hour job repeats for a £60 part.
Avoid the solid flywheel conversion kits sold as a cheap DMF alternative for daily-driven vans - they transmit the diesel's vibration straight into the driveline, and the van will rattle and boom its way through the rest of its life.
Common Mistakes on a Clutch and DMF Job
- Replacing the clutch but keeping the worn DMF. A new clutch clamped to a tired flywheel judders from day one, and the labour to go back in costs more than the DMF did.
- Skipping the concentric slave cylinder. It is behind the clutch, it is £60, and it fails at the worst time. Always, always with the kit.
- No alignment tool. The friction plate must be centred or the gearbox input shaft will not enter. Quality kits include the tool - use it, do not eyeball it.
- Hanging the gearbox off the input shaft. Letting the box dangle on the shaft mid-removal bends the new friction plate's splines. Support it on the jack the whole way in and out.
- Ignoring the crank oil seal. Inspect it with everything stripped. A £15 seal weeping oil onto a brand-new clutch is a heartbreaking way to repeat the job.
- Wrong gearbox oil on refill. The Custom wants Castrol Transmax Manual 75W (about £30 a litre) - generic EP oil makes the shift baulky, especially cold.
Related Faults to Check While the Gearbox Is Out
You will never have better access, so inspect the lot: the crank rear oil seal and the gearbox input shaft seal for weeps, the gearbox mounts for cracking (a common cause of "clutch clonk" that is not the clutch), the starter ring gear teeth, and the driveshaft inner joints and seals where they meet the box. Ten minutes with a torch here prevents the classic Transit sequel: a new clutch followed a month later by a gearbox-out oil leak.
For the rest of the van's known jobs, our Transit Custom maintenance guide maps the full schedule, and if the symptom that brought you here was noise rather than slip, run it past the symptom finder - gearbox bearing noise and DMF rattle get confused in both directions.
Job Summary
What to expect on this repair: