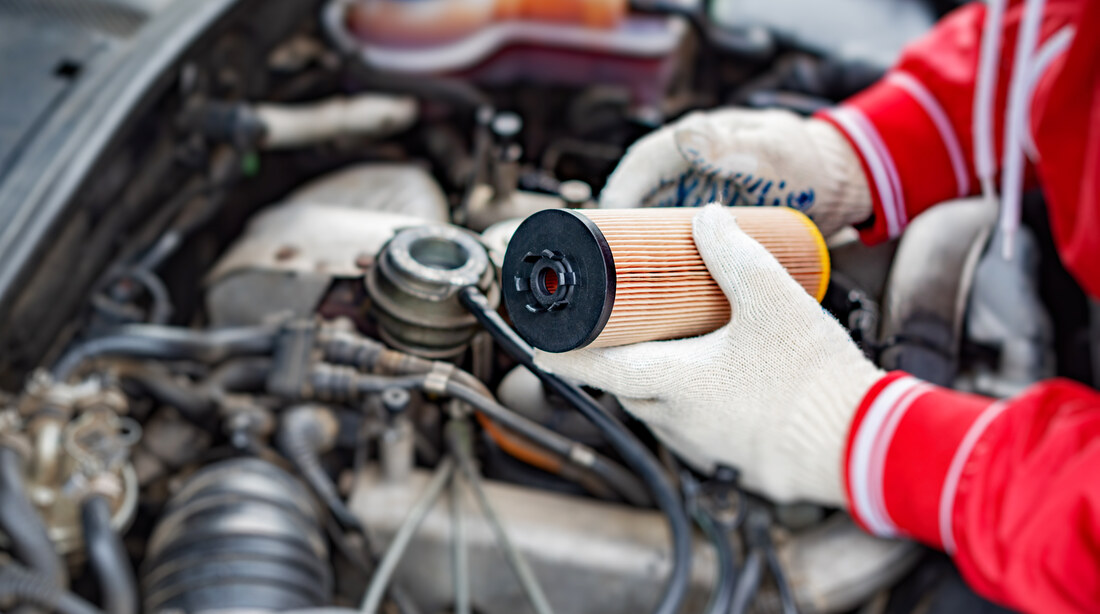
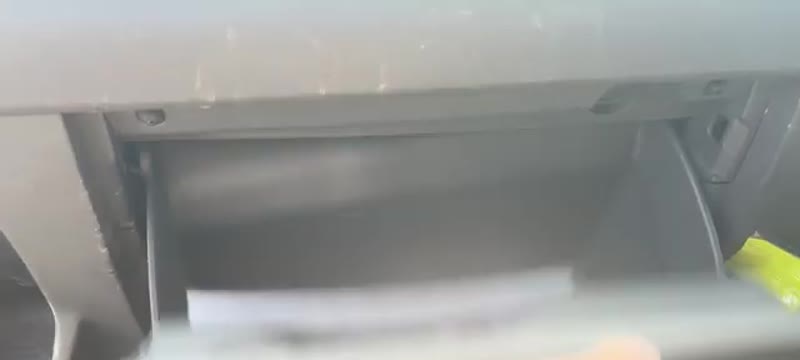
The pollen filter on the 2021 Ford Transit is one of the easiest service jobs on the vehicle. It is accessed through the glove box which simply unclips on one side and drops down - no tools required.
This applies to the Transit Tipper and most 2021 Transit variants. Replace annually as part of the standard service.
When You Need This Job
Musty or stale smell from cabin vents
Reduced airflow from heater and air conditioning
Increased dust inside the cabin
Due as part of annual service
Do the whole service yourself
DIY Car Service Guide
Full service at home: oil, filters, plugs, fluids
Which jobs are safe to DIY and which are not
What a garage charges for each item, so you know the saving
Instant PDF download · works on phone, tablet or PC · 7-day money-back guarantee
DIY vs Garage Cost - UK 2026
An independent UK garage will typically charge £30-£60 for pollen filter replacement, including parts and labour - that's usually 30 minutes of booked time even though the job itself takes around ten. A main dealer will be £55-£110 because they fit a genuine-branded part and book longer for the same work. The DIY part cost is where the saving really shows: an own-brand UK factor filter is £8-£14, a quality Bosch, Mann or Mahle is £14-£28, and a genuine OE-branded part is £25-£45. The labour on a DIY pollen filter is essentially nothing - ten minutes of careful pinching and pulling with either no tools or a single plastic trim removal tool. Honest verdict: this is the single best beginner DIY job in the UK car-maintenance world. A first-timer can do it without any mechanical experience, the worst-case scenario is having to refit it the right way round, and a quality Mann or Bosch part performs identically to original equipment for half the price.
Tools You'll Need
No tools required
Step-by-Step Guide
01
Open the glove box
Open the passenger side glove box fully.
02
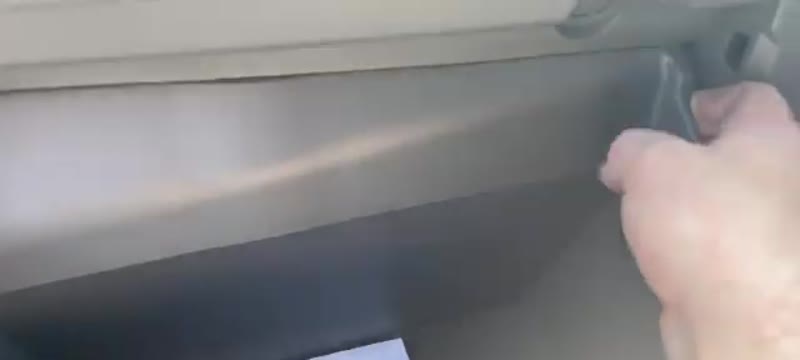
Unclip one side to drop the glove box down
Pull one side of the glove box outward - it is held by a plastic clip and may feel stiff on first attempt. Once one side releases the whole glove box hinges down giving access to the filter housing.
03
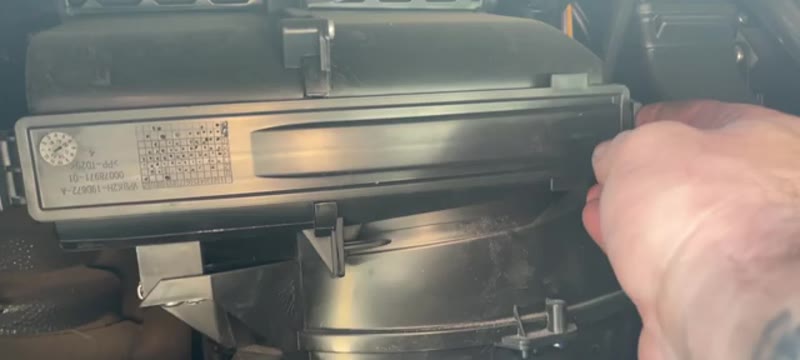
Locate and release the filter housing tab
With the glove box down you can see the pollen filter housing. There is a small tab on one side - press it in and pull the door towards you. It will hinge open.
04
Note the airflow direction arrow
Before removing the old filter note the direction of the airflow arrow printed on it. The new filter must go in with the same arrow direction - on this model it points downward.
05
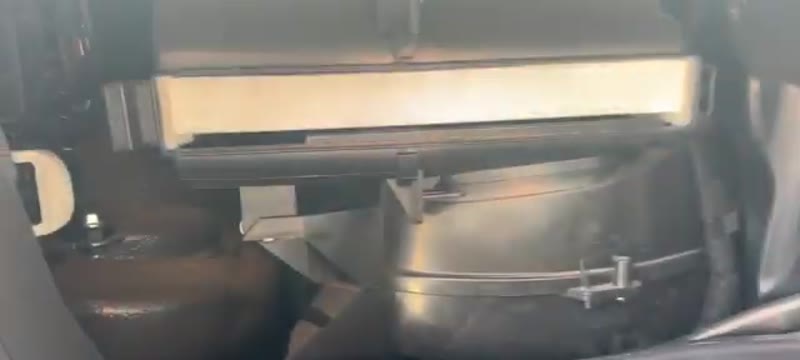
Fit the new filter
Slide the new filter in ensuring the airflow arrow matches the old filter orientation. It should slide in cleanly.
06
Close the housing door and refit the glove box
Push the housing door closed until it clips shut. Lift the glove box back up and press the side clip back into position. Close normally.
Same across multiple Transit generations
This glove box drop-down procedure is very similar across several Transit model years - not just 2021.
Replace every 12 months
Pollen filters are frequently skipped at service time. A blocked filter reduces heater and air con effectiveness significantly.
The mistake I see most often is fitting the new filter the wrong way round. Every cabin filter has an airflow direction arrow printed on its edge - it must point in the same direction as the old one came out. On most cars this is downwards into the heater box. If you cannot find the arrow on the new filter, lay the old one beside it: the dirty face is where the air comes in from outside, the clean face is where it goes into the cabin. Fit the new one the same orientation and you cannot get it wrong. The second-most-common mistake is pinching the foam seal between the housing and the cover during reassembly - this lets dirty air bypass the filter completely and your new filter does nothing. Pay attention as you close the housing cover, make sure the seal sits flat all the way round. On the post-2018 facelift Transit, the filter housing cover has a single press clip that snaps easily - push it with the flat of your thumb, not a screwdriver. Some owners try to lift the cover before fully clearing the glove box buffer stops - the cover then jams against the dashboard. Cheap unbranded filters under £8 can be slightly off-dimension and may not seat fully - stick with Bosch, Mann or Mahle for guaranteed fit. Lay the old filter and the new one side by side, fit it the same way round, click the cover home, and you are done.
Why a Van's Cabin Filter Matters More Than a Car's
Think about the hours. A Transit driver spends a working day - eight, ten hours - breathing whatever comes through that filter, in exactly the environments that load it fastest: depots, loading bays, town traffic, and motorway convoys of other diesels. A car's filter serves the school run; a working Transit's filter is occupational health equipment. It also fights a losing battle faster - site dust and brake dust from urban multi-drop work can brown a Transit filter in eight months that would last a private car a year and a half. On a van, annual replacement is the minimum, and six-monthly is rational for site-based work.
Upgrading to Carbon - Worth It on a Working Van
The standard particulate filter stops dust and pollen; the activated carbon version also absorbs diesel fumes and odours, and a Transit spends its life nose-to-tail with other diesels. For the £6–£10 premium, the carbon element is the best air-quality-per-pound upgrade a van driver can buy. Brand-wise the story is the usual one: Mann, Mahle and Bosch make the OE part and sell it in their own boxes at £14–£28 against £30-plus for the Ford-branded version - same element, different print.
Related Faults on the Transit's Ventilation
A smell that survives the new filter is mould on the evaporator - an evaporator cleaner aerosol through the intake fixes it, and on a van cab it is worth doing annually. Weak airflow with a clean filter points to the blower motor, which works harder and dies younger in vans than cars. And check the scuttle under the windscreen for packed leaves - a blocked scuttle feeds debris to the filter and rainwater to the cab floor.
Yes - on the 2021 Transit the glove box unclips on one side and drops down, and the filter is right there. No tools. For a working van this is a five-minute job in the yard, and with the miles vans do, it is worth doing every year without fail.
£20–£50 at a garage versus £10–£20 for the filter. On a van that is working for a living, the bigger saving is the downtime - this is quicker to do yourself than to book in.
Five to ten minutes, genuinely. Unclip the glove box, swap the filter with the airflow arrow matching the old one, clip it back. Done.
On a working Transit, do it at every service without thinking about it - vans live on dusty sites and busy roads, and the filter loads fast. For a lightly used van, once a year covers it.
No, provided you choose a quality aftermarket brand like Mann, Bosch, or Mahle. These are the same companies Ford uses for original equipment supply on other models. The filter spec is straightforward - a particulate or carbon paper element with a foam seal around the edge - and there is no electronic interface to misread. A 14-pound Bosch filter performs identically to a 40-pound Ford-branded part. Avoid no-brand listings under 8 pounds: these are usually a few millimetres off-dimension and will not seat against the housing seal, allowing dirty air to bypass the filter.
Free from Mr Auto Fixer
Get my used car inspection checklist – free
The same checklist I use when a mate asks me to look over a car before they buy it. I will email you the printable PDF, plus new guides as I write them. No spam, unsubscribe any time.
Done – check your inbox, the checklist is on its way.
Something went wrong. Please try again in a moment.
20+ Years ExperienceMOT TesterProfessional UK Mechanic
All guides on this site are written from real, hands-on experience - not copy-pasted from a manual. If I haven't done the job myself, it doesn't go on the site.