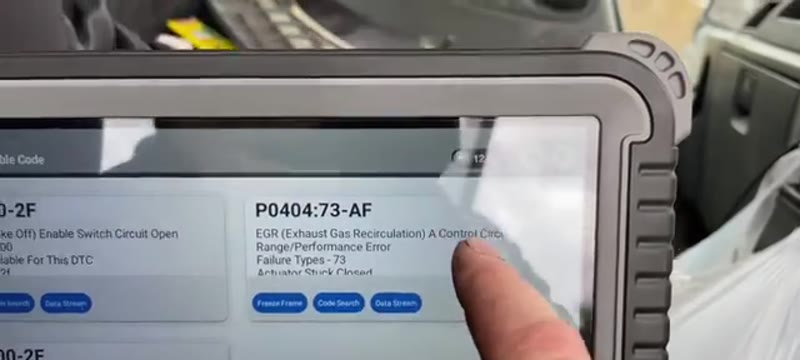
This Ford Transit 2.4 came in with the engine management light on and an EGR valve fault - specifically the valve was stuck closed. On the Transit 2.4 diesel this is a common fault, and in most cases the valve is beyond cleaning and simply needs replacing with a new unit.
The job looks more daunting than it is. The trickiest part is accessing one bolt hidden behind the inlet manifold, but with the right technique and a quarter drive socket with a bit of sticky putty, it's very manageable.
Classic Symptoms to Watch For
- Engine management light on
- EGR valve actuator stuck closed fault code
- Possible rough running or hesitation
- Possible black smoke under acceleration
- Fault code returns after clearing
Tools You'll Need
Diesel Car Owner's Troubleshooting Guide
- DPF, EGR, glow plugs and injectors explained properly
- How to clear a blocked DPF without a new one
- The diesel faults that turn into four-figure bills if ignored
Instant PDF download · works on phone, tablet or PC · 7-day money-back guarantee
Step-by-Step Guide
Remove the Air Box
Start by removing the air box which sits directly above the EGR valve. It's held on with just two 10mm bolts - take those out and lift it clear. This immediately gives you a clear view of the EGR valve below and enough working space to get started.
Disconnect the Electrical Connector
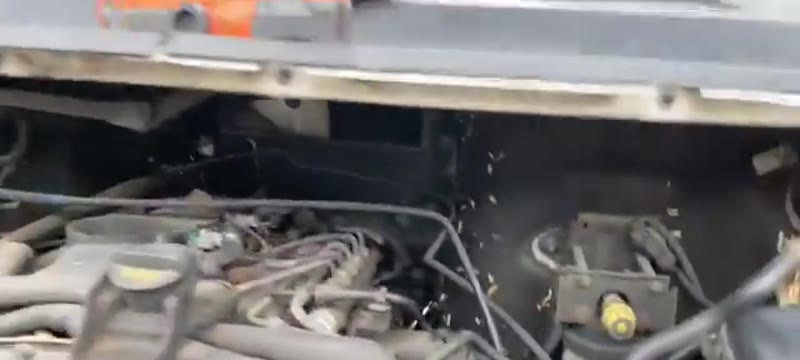
Before touching any bolts, disconnect the electrical connector from the EGR valve. It simply unclips - press the tab and pull. Set the connector out of the way so it doesn't get in the way during removal.
Remove the Tricky Hidden Bolt First
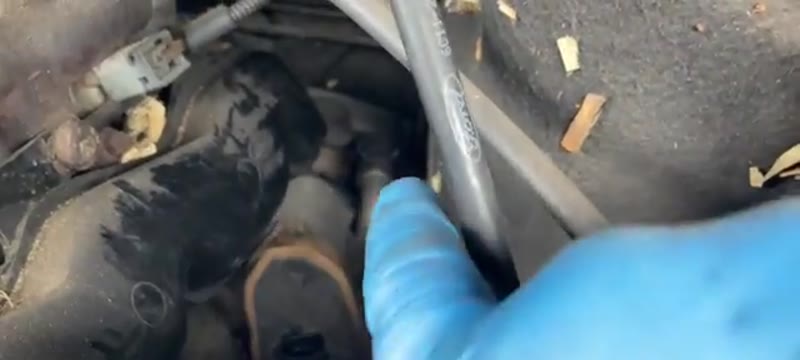
The most awkward bolt on this job is the one to the left at the back, hidden behind the inlet manifold. Tackle this one first while you have the most patience. Use a quarter drive ratchet with a socket and extension to reach behind the EGR valve and get onto the bolt head - on this Transit it was a 10mm rather than the usual 8mm so check before you start.
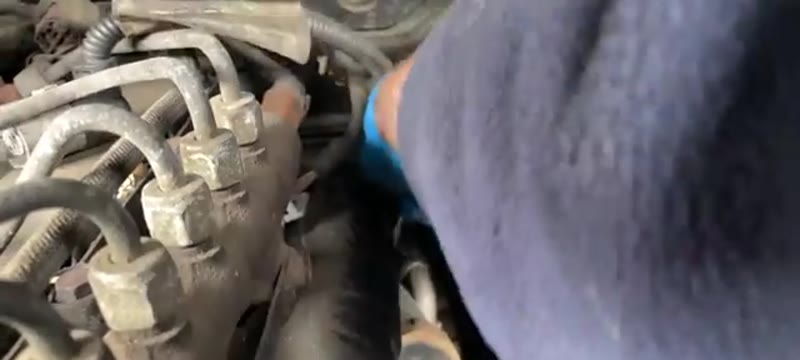
Remove the Remaining Top Bolts
With the hidden bolt out, remove the remaining top bolts. One of the 10mm bolts at the top rear is actually easier to reach from above using a spanner rather than a socket - crack it free from up top before going underneath for the rest.
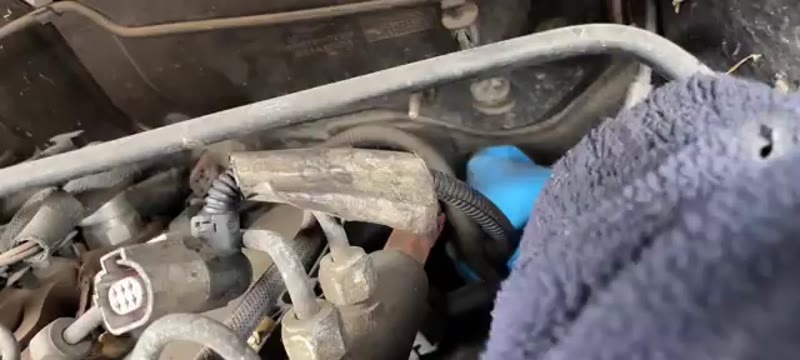
Remove the Remaining Bolts from Underneath
Go underneath the vehicle and remove the final bolts - an 8mm for the lower section and a 10mm for the rear. With all four bolts now removed the EGR valve is loose in position but still held by the two coolant hoses.
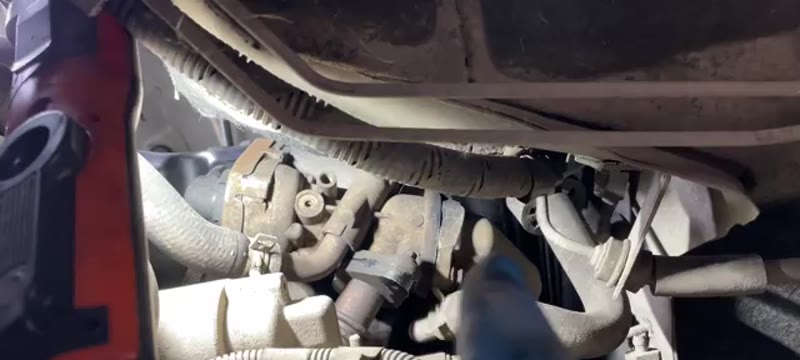
Disconnect the Coolant Hoses & Remove the Valve
Leave the coolant hoses until last - you don't want to be lying underneath the vehicle covered in coolant while still trying to undo bolts. With all bolts out, release the spring clips on both coolant hoses (one at the top, one underneath) and pull them free. Take note of their orientation before removal so you can match them up correctly on the new valve. Lift the EGR valve out from the top.
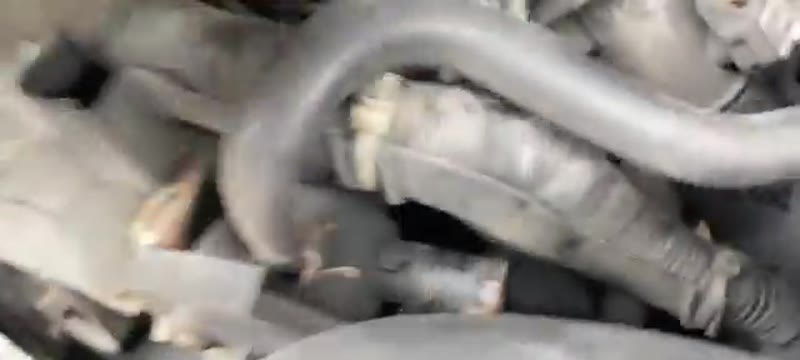
Compare Old & New - Transfer the Coolant Pipe
Place the old and new EGR valves side by side on the bench and confirm they match. Transfer the coolant pipe from the old unit onto the new one, making sure it's oriented correctly to match how it sat in the engine bay. Check the new unit comes with two new gaskets - if not, source them separately before refitting.
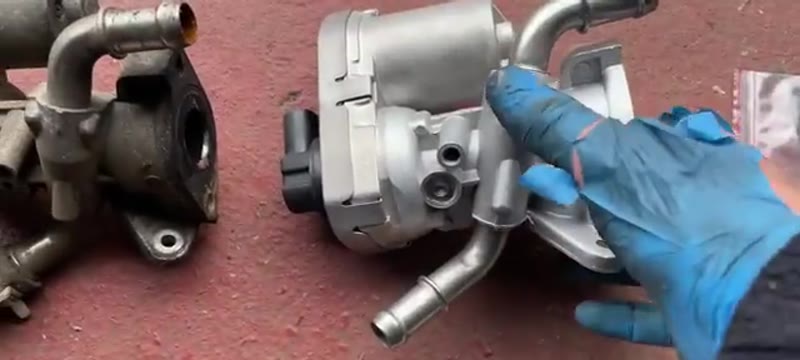
Refit the New EGR Valve
Refitting is the trickiest part of this job because you're trying to juggle the valve, gaskets and bolts with only two hands. The key technique is to start with the bottom 10mm bolt first - put the bolt in, hang one gasket off it, then offer the valve up and start the bolt loosely. You can then slide the second gasket up into position. Use a long pick tool to manipulate the gaskets into place in the tight spots. Once both lower bolts are loosely started and holding everything roughly in position, the upper bolts become much easier to start.
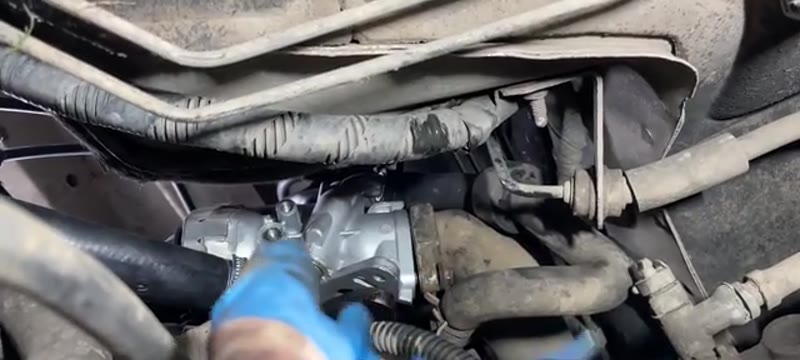
Tighten All Bolts, Reconnect Hoses & Plug In
Once all four bolts are loosely started and the gaskets are correctly positioned, tighten them all down evenly to ensure a good seal. Reconnect both coolant hoses and make sure the spring clips are fully seated. Plug the electrical connector back in. Top up the coolant to the correct level.
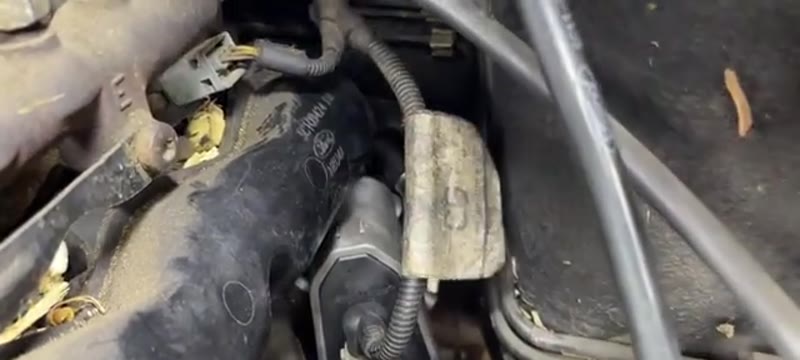
Clear Fault Codes & Test
Connect your diagnostic tool and clear all fault codes. Start the engine and let it run - the EML light should not return. Go back into the live data and confirm the EGR valve is operating correctly. Road test and re-scan to confirm the fault is fully resolved.
Parts & Tools for This Job
ⓘ As an Amazon Associate, Mr Auto Fixer earns from qualifying purchases. Prices and availability may vary.
Why the 2.4 Transit's EGR Valve Clogs
The EGR valve recirculates a measured dose of exhaust back into the intake to cut emissions - which means it spends its whole life handling hot, sooty gas mixed with oil vapour from the crankcase breather. That mixture bakes into a black tar that builds up layer by layer until the valve sticks: stuck open, the van hesitates, smokes and idles rough; stuck closed, the light comes on and the MOT emissions test gets interesting. On a 2.4 TDCi doing urban work - short runs, lots of idling, low engine temperatures - the valve can coke up in 60,000–80,000 miles. Motorway vans last much longer, because sustained heat keeps the passages cleaner.
The classic confirmation is fault code P0401 (EGR insufficient flow) alongside the symptoms - if your code reader shows it, this guide is the fix.
Garage vs DIY Cost
| Who does it | Typical price | What you get |
|---|---|---|
| Ford Transit centre | £300–£500 | Genuine valve and dealer labour |
| Independent garage | £200–£400 | Quality valve fitted |
| DIY | £80–£180 | The valve and gaskets - roughly half the garage bill saved |
Typical UK prices for the MK6 2.4 diesel. Access is decent on this engine; the labour is unbolting, cleaning mating faces and not dropping things.
Clean or Replace - and Whose Valve to Buy
A valve that is merely coked but mechanically sound can be cleaned - carb cleaner, patience, and a soft brush - and on a mildly stuck valve that is a £10 fix worth trying first. But a valve that has been sticking for months usually has worn seats or a lazy actuator diaphragm, and cleaning buys weeks, not years. When replacing, the OE names are Valeo, Pierburg and Wahler at £80–£180. The £35 marketplace valve is the classic false economy on EGRs: poor seat machining means it never quite seals, the fault code returns within months, and you do the labour again.
Common Mistakes on the EGR Job
- Snapping seized manifold bolts cold. These bolts live in exhaust heat and corrosion. Penetrating oil the night before and steady pressure - a sheared stud multiplies the job.
- Leaving the old gasket surface dirty. Every trace of old gasket and carbon comes off the mating faces, or the new valve leaks exhaust from day one.
- Letting carbon fall into the open manifold. Stuff a clean rag into the port while scraping - chunks of carbon down the intake become a top-end rattle.
- Not clearing the fault code afterwards. The ECU needs the code cleared (and on some vans an adaption reset) to fully restore running - a £20 code reader finishes the job.
- Blaming the EGR for everything. Limp mode with strong smoke can also be a split intercooler hose or a tired turbo. Confirm the code before spending - P0401 points here, boost codes point elsewhere.
Related Faults on the 2.4 TDCi
The EGR shares its symptoms with the rest of the intake circle: split boost hoses (sudden power loss, whistling), a lazy turbo actuator (gradual power loss), and a blocked intake manifold on vans that have run a leaking EGR for years - if the valve you remove is heavily coked, the manifold behind it is too, and cleaning both doubles the improvement. Persistent white smoke after the swap is a different conversation (injectors or head), not an EGR issue.
The diesel problems guide covers the wider soot-management picture for vans on urban duty, and the symptom finder separates EGR, turbo and hose faults by symptom. If the same van's charging system is next on the list, the Transit alternator guide is the companion job.
Job Summary
What to expect on this repair: