Yes - it is all fastener-finding and careful unclipping, with nothing safety-critical involved. A beginner with a trim tool, a Torx set and somewhere clean to lay the bumper will manage. A helper for the bumper lift saves the paintwork.
Overview
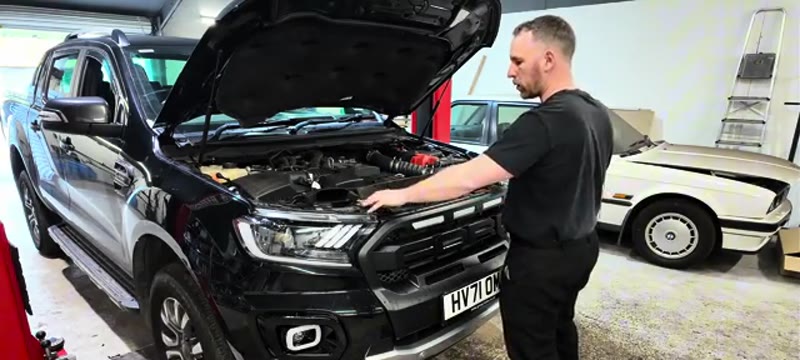
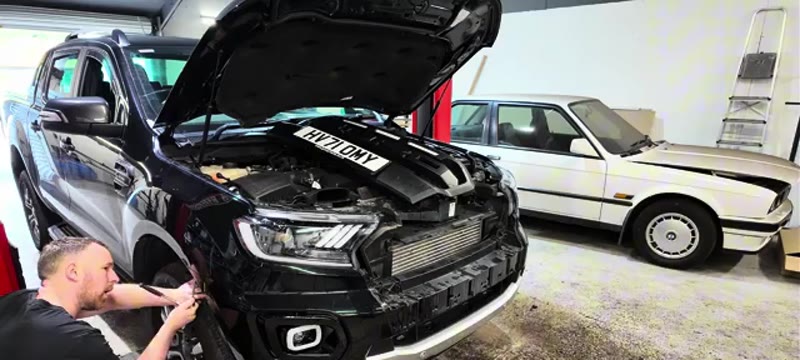
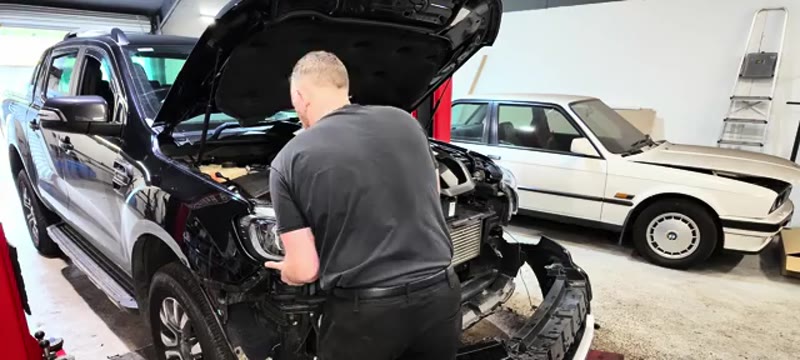
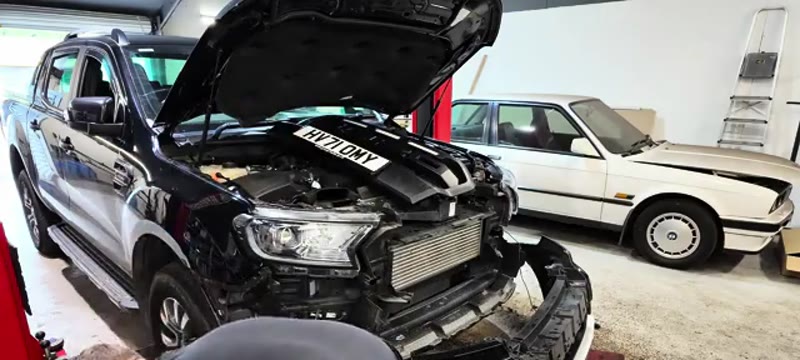
Replacing the headlights on the 2021 Ford Ranger Wildtrack requires the front bumper to be removed first to access the lower headlight mounting bolt. While this sounds involved it is a very systematic process - follow the correct sequence and the bumper comes off cleanly.
This guide covers the full procedure: bumper removal, headlight replacement and full refitting. Always test the headlights before refitting the bumper.
When You Need This Job
Headlight unit cracked or damaged
Failed headlight requiring full unit replacement
Upgrading to LED headlights
Headlight misalignment after accident damage
⚠ Test headlights before refitting the bumperIt is much easier to trace any wiring issue before the bumper goes back on. Always power up and test both headlights before starting the reassembly.
Tools You'll Need
10mm socket with long extension
8mm socket
T30 Torx socket with long extension
Trim removal / panel popper tool
Torque wrench
Step-by-Step Guide
01
Remove the top air intake panel
The plastic top panel is held by push clips and two T30 Torx bolts. Remove and lift off.
02
Remove the grille
Two 10mm bolts hold the top of the grille. Remove these. The grille is on push clips - squeeze each clip from behind to release. The grille has LEDs so do not pull it away - rest it on the bonnet.
03
Remove the plastic headlight surrounds
One 8mm bolt per side. Remove these - the surrounds will be loose enough to work behind for the bumper bolts.
04
Remove both inner wheel arch liners
Each liner has three push clips, one T30 Torx and one 8mm bolt in the upper corner. Remove all and pull the liner back.
05
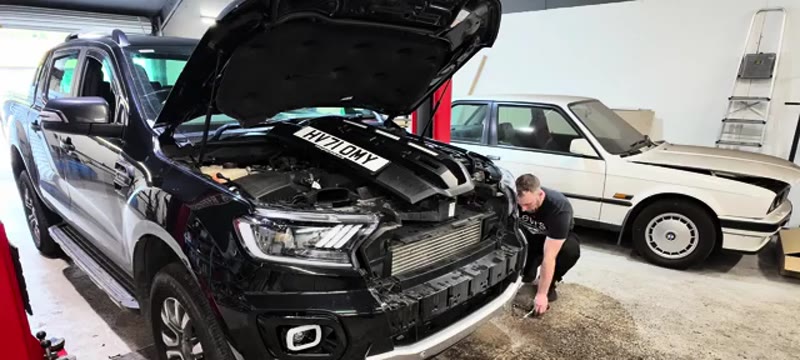
Remove the 8mm corner bumper bolts
With each liner pulled back there is an 8mm bolt in the upper corner where bumper meets wing. Remove both sides.
06
Remove the four 10mm bolts under the bumper
Four 10mm bolts support the lower bumper section underneath. Remove all four.
07
Remove extra push clips and top bumper bolts
One more push clip per side under the surround area. Then use a 10mm on a long extension to reach the two top bumper bolts behind each headlight.
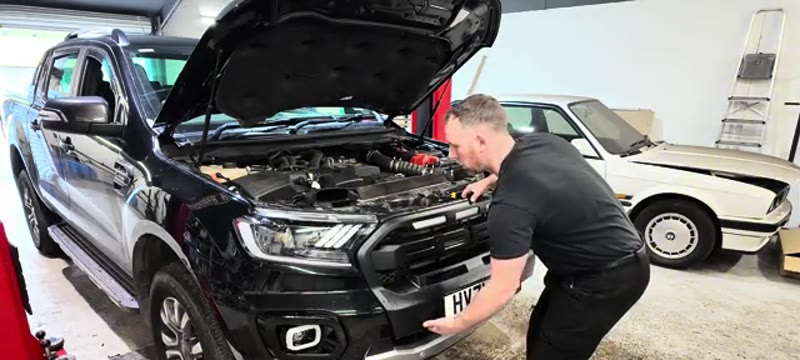
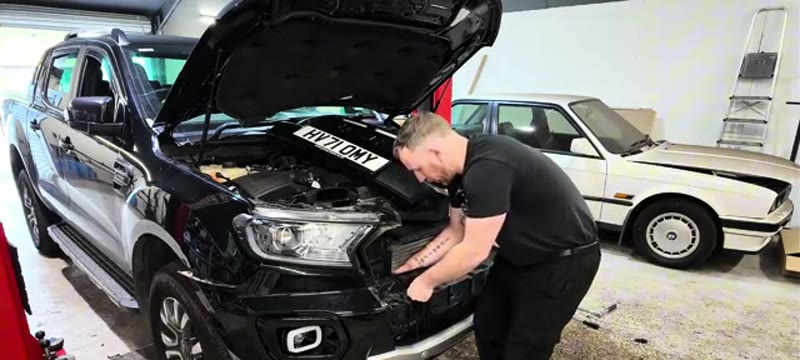
08
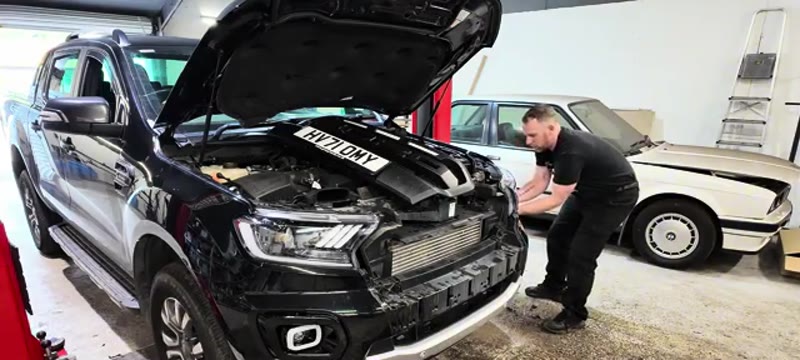
Pull the bumper free
Put your hand behind the bumper and pull firmly - you are popping the side clips. Do one side then the other. Remove the two final front centre push clips last so the bumper does not fall.
09
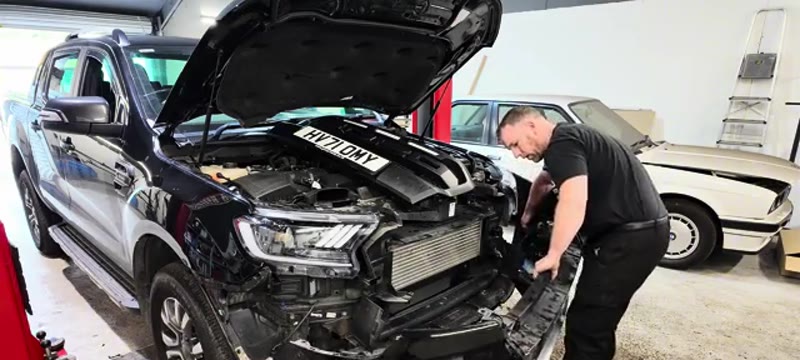
Disconnect fog lights and parking sensors
Unplug the fog light connectors each side and the large parking sensor connector. Rest the bumper nearby if LED cables are present.
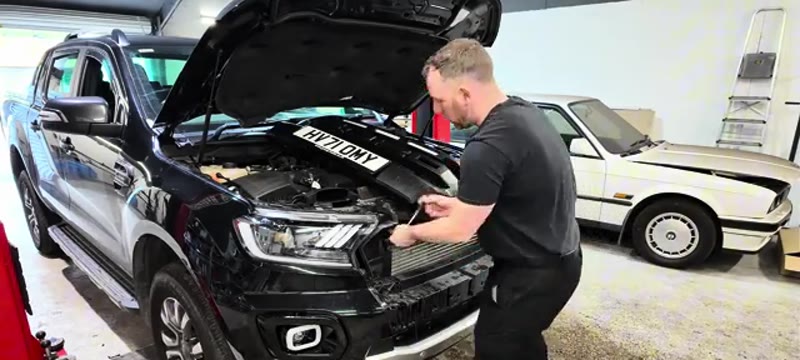
10
Remove the headlight
T30 Torx on a long extension for the lower bolt. Two 10mm bolts and a push clip at the top. With all fixings out pull the headlight forward enough to reach the connectors. Disconnect all and remove.
11
Fit the new headlight
Plug in all connectors - listen for the click. Push the headlight into position ensuring the plastic locating dowel on the wing side locates before tightening any bolts. Refit all bolts.
12
Test both headlights
Press lock/unlock on the key fob to check both headlights illuminate before fitting the bumper.
13
Refit bumper and all trim
Plug in fog lights and parking sensors first. Line up the bumper locating tabs, push clips in and tap the sides into position. Refit all bolts in reverse order - top bolts, under bolts, corner bolts, arch liners, surrounds, grille, top panel.
Group bolts by area
Keep arch liner bolts, bumper bolts and headlight bolts in separate piles as you remove them - saves confusion when refitting.
Plastic dowel alignment is critical
The headlight has a plastic dowel on the wing side. Ensure this locates in its hole before tightening any bolts or the headlight will not sit flush with the wing.
Our PDF guide collection covers servicing, fault codes, buying a used car and more. Written by a qualified mechanic. Download once, use forever - no ads, no internet needed.
Rangers earn their headlight and bumper work honestly: stone strikes on rural lanes and site tracks craze lenses and crack bumper corners, low-speed yard nudges that a car would shrug off catch the Ranger's proud front overhang, and on a working truck the front end simply meets more of the world than most vehicles. There is also the condensation problem - a stone-chipped or badly seated headlight unit lets moisture in, the inside of the lens fogs, and the light output quietly drops until an MOT tester measures it. Because the Ranger's headlights come out through the bumper's territory, the two jobs share this one guide: once you can get the bumper off, both repairs are open to you.
Dealer vs DIY Cost
Who does it
Typical price
What you get
Ford dealer
£150–£250 labour + parts
Genuine unit fitted and aimed
Independent / bodyshop
£60–£120 labour + parts
Same fitting work; paint extra if the bumper needs it
DIY
Parts only: £20–£400
From a £20 bumper clip session to a £400 headlight unit
Typical UK prices for the 2021 Ranger. The parts spread is the story here: halogen units are £80–£150, LED units £250–£400, bumpers £100–£250 unpainted.
Genuine, Pattern or Used Parts - the Honest Ranking
For headlights the ranking matters: a genuine or OE-certified unit (look for the E-mark) guarantees beam pattern and MOT compliance; quality pattern units from TYC or Depo at half the genuine price are generally fine but check the E-mark before paying; and a used genuine unit from a breaker (£60–£150) is often the best value on a 2021 truck - late enough that breaker stock is young. The £45 marketplace special with no E-mark can throw a beam pattern that fails MOT and blinds oncoming traffic, whatever its five-star reviews say. Bumpers are simpler: pattern quality is fine, but budget for paint - a colour-coded marketplace bumper rarely matches Ford's metallic in daylight.
Common Mistakes on the Bumper and Headlight Job
Fighting hidden fasteners. The bumper has bolts up in the wheel arches and underneath that stay hidden until something cracks. Follow the guide's fastener map - every broken tab is a rattle you keep.
Forgetting the connectors behind the bumper. Fog lights, parking sensors and on some trims the radar module unplug before the bumper walks away - a bumper swinging on its sensor loom writes off the loom.
Skipping beam alignment afterwards. A new unit bolted in is not an aimed unit. Two minutes against a wall (or a garage's beam-setter for £10-£20) keeps you legal and un-flashed at night.
Ignoring the ADAS question. If your trim has front radar or camera-based driver aids, moving the bumper or its brackets can need a calibration check - ask before assuming, because an uncalibrated radar quietly degrades the emergency braking.
Reusing crushed clips. Bumper clips are single-use by nature. A bag of the correct clips costs £8 and is the difference between a factory-tight bumper and one that slowly grows gaps.
Related Front-End Faults on the Ranger
While the front end is open, check what the impact that brought you here may also have touched: the headlight brackets and slam panel for cracks, the AC condenser and intercooler sitting exposed behind the grille (stone strikes reach them too), and the washer jets and their hoses along the bumper top. Condensation returning inside a new headlight means a vent cap or seal missed on installation, not a faulty unit. Headlight aim and condition are a top-three MOT failure category - the MOT failures guide covers what the tester checks, and the symptom finder triages any electrical gremlins the front-end work stirs up.
Quick Stats
Difficulty
Intermediate
Vehicle
Ford Ranger 2021
Time
2–3 hrs
Parts Cost
£20–£400
Common Questions
FAQ
Yes, and it is less scary than bumper-off sounds - the Ranger's bumper is held by a known set of fasteners and comes away cleanly in a set sequence. It is a methodical job, not a difficult one. A second pair of hands makes the bumper lift easier and saves scratched paint.
£60–£120 in labour at a garage, on top of the headlight unit itself. Doing it yourself, the unit is your only cost - and on a Wildtrak that is the expensive bit, so check breakers and online for a genuine take-off unit before paying dealer money.
30–60 minutes for bumper off, headlight swapped and bumper back on once you have read the sequence. First time, allow the full hour - most of it is finding and releasing the fasteners in order rather than anything technical.
An 8mm and 10mm socket with a long extension, a T30 Torx, a trim popper tool and a torque wrench for refitting. The long extension matters - several of the Ranger's fasteners sit deep in the front end.
20+ Years ExperienceMOT TesterProfessional UK Mechanic
All guides on this site are written from real, hands-on experience - not copy-pasted from a manual. If I haven't done the job myself, it doesn't go on the site.