
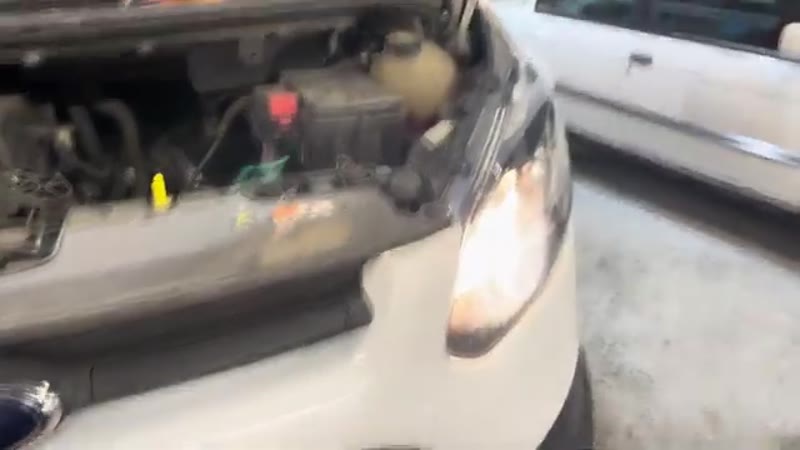
On the Ford Transit Custom the headlight bulb can't be accessed from behind the headlight unit without removing it first - there simply isn't enough room behind the headlight to get your hand in. The good news is the headlight only has two T30 Torx bolts and one electrical connector holding it in, so the whole removal takes less than five minutes.
The dipped beam bulb on this Transit Custom is a standard H7 (LLB477 55W) - readily available from any motor factor or parts supplier in the UK.
Bulb Specification - Ford Transit Custom
Headlight Bulb Types and Legal Requirements
A failed headlight bulb is an MOT failure point and is illegal under the Road Vehicles Lighting Regulations 1989. If stopped by police with a failed headlight you can receive a fixed penalty notice. Beyond legality, driving with one headlight significantly reduces your forward visibility and makes your vehicle harder for oncoming drivers to judge correctly in darkness or poor weather.
On the Ford Transit Custom, the headlight system uses a standard H7 halogen bulb for the dipped beam and typically an H1 or H15 for main beam depending on the exact variant and year - always check your model's specific requirements before ordering. The Transit Custom uses a combination light unit that houses both dipped and main beam in the same housing. When replacing, always check both bulbs - if one has failed, the other is likely on borrowed time.
Halogen vs Upgraded Bulbs
Standard OEM replacement halogen bulbs are the simplest and most cost-effective option, typically costing £5–£15 per bulb. Upgraded halogen bulbs (such as Osram Night Breaker or Philips RacingVision) offer up to 150% more light output than standard bulbs at a modest price premium, and are a legal road-use option unlike HID conversions. LED headlight conversion bulbs are also available for the Transit Custom, but these are only legal on UK roads if they come with an E-mark or are sold as a genuine Type Approval upgrade kit - aftermarket LED conversions without this certification are illegal for road use and will fail an MOT.
What You'll Need
Step-by-Step Guide
Locate & Remove the Two T30 Torx Bolts
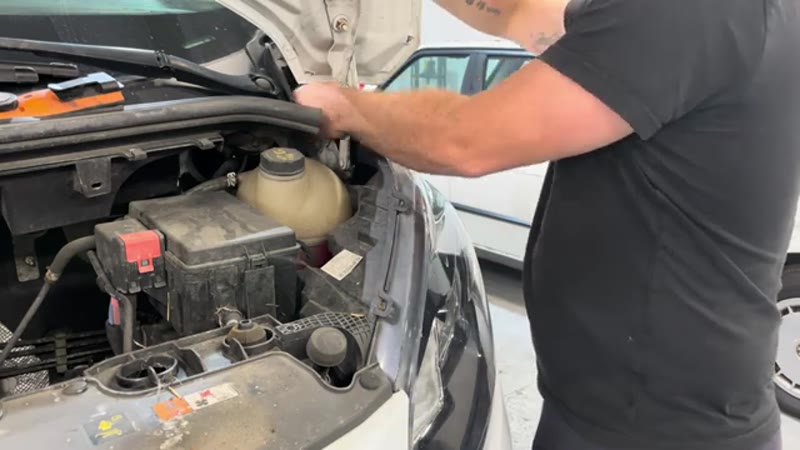
Open the bonnet. The headlight unit is held in by two T30 Torx bolts - one at the top of the headlight unit and one towards the inner edge. Remove both. There is also a small plastic clip at the top of the headlight which you can simply lift up and release.
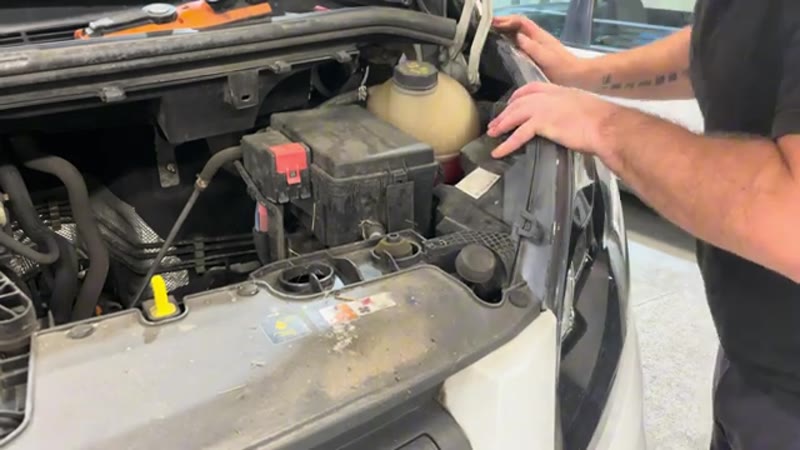
Wiggle the Headlight Free & Disconnect the Plug
With both bolts out, carefully wiggle the headlight unit forward and out towards you - be gentle as there's a rubber gasket on the side that you want to keep intact. Once it's pulled forward enough to access the back, unclip the electrical connector. The headlight unit is now completely free and can be taken to the bench.

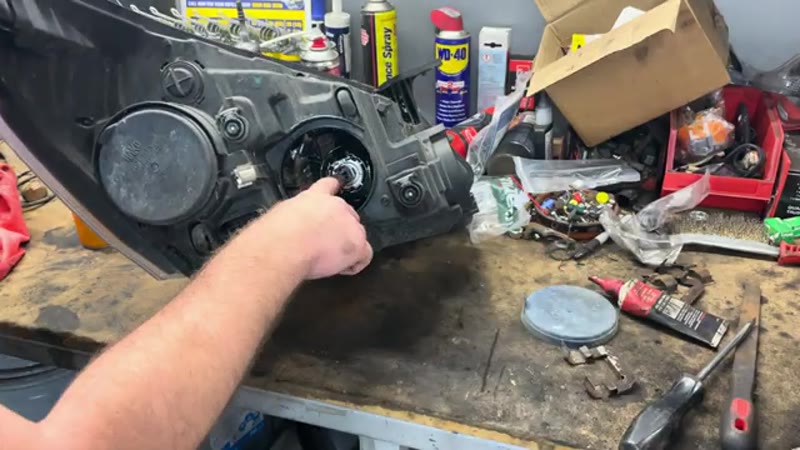
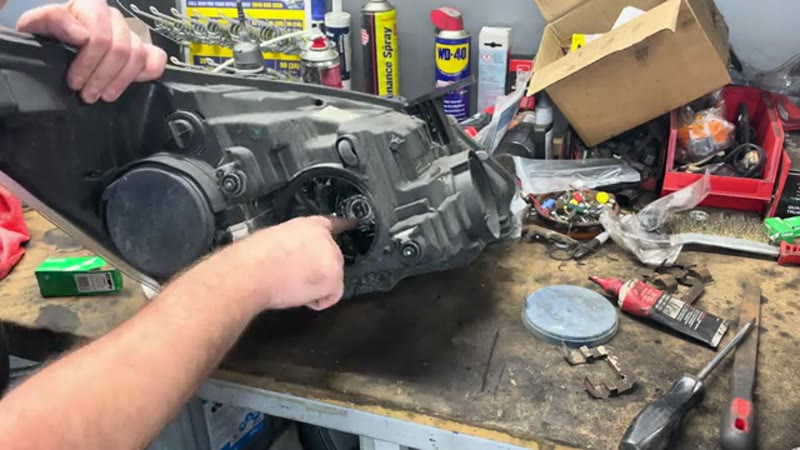
Remove the Rubber Cover & Old Bulb
On the bench, pull the rubber dust cover off the back of the headlight - it simply pulls free. You'll now see the bulb. Unclip the wiring connector from the bulb and tuck it to the side. The bulb itself is held in by a small spring clip - push the bottom of the bulb upward and it will ping out of the spring clip and can be pulled free. Dispose of the old bulb - on this Transit it was completely blown.
Fit the New H7 Bulb
Take the new H7 (LLB477 55W) bulb from its packaging. Critically - do not touch the glass of the bulb with bare fingers. Hold it by the plastic base only. Oils from your skin on the bulb glass cause hotspots that dramatically shorten the bulb's life. You'll notice a small locating tab on the top of the bulb - line this up with the corresponding slot in the headlight holder. Push the bulb firmly into position until the spring clip locks it securely in place. Reconnect the wiring connector and refit the rubber dust cover.
Refit the Headlight Unit
Back at the vehicle, plug the headlight connector back in - make sure it clicks fully home. Locate the headlight unit back into position, making sure the rubber gasket sits correctly on the side. Refit both T30 Torx bolts and tighten them up. Re-seat the plastic clip at the top.
Test the Headlight
Turn the ignition on and switch on the headlights. Both dipped beams should now be working. If the new bulb doesn't illuminate, check the connector is fully seated and that the bulb is correctly located in the spring clip. If it still doesn't work, suspect a fuse or relay rather than the bulb.
Parts & Tools for This Job
ⓘ As an Amazon Associate, Mr Auto Fixer earns from qualifying purchases. Prices and availability may vary.
Want this guide offline - and 15 more like it?
Our PDF guide collection covers servicing, fault codes, buying a used car and more. Written by a qualified mechanic. Download once, use forever - no ads, no internet needed.
Why Van Headlight Bulbs Fail So Often
An H7 halogen bulb is a tungsten filament glowing at over 2,500 degrees, and its enemy is vibration - which makes a working van the hardest posting in bulb life. A Transit Custom takes kerbs, potholes and washboard yard surfaces all day with the lights on for much of the UK year, and the result is bulb life measured in one to two years against three or more in a gently driven car. Van drivers also notice failure less: with two headlights, losing one halves your seeing distance but the road ahead still looks lit - until the second one goes, or a patrol car notices first. A one-light van is a fixed-penalty stop and an MOT failure, and lighting is the single biggest MOT failure category in the UK.
Garage vs DIY Cost
| Who does it | Typical price | What you get |
|---|---|---|
| Ford Transit centre | £40–£80 | A genuine-boxed H7 and workshop time |
| Independent garage | £30–£60 | Standard van pricing for a fifteen-minute job |
| DIY | £5–£15 | A quality H7 and fifteen minutes by the kerb - no tools on this van |
Typical UK prices for the 2017 Custom. Access on this van is honest - no bumper removal, no wheel-arch contortions - which makes paying £50 for it hard to justify.
Making Van Bulbs Last (Beyond the Brand Question)
The halogen-versus-LED question is covered above; within halogens, the choice that matters for a van is longlife versus high-output. Osram Ultra Life and Philips LongLife EcoVision trade a little brightness for double the filament life - the rational pick for a high-vibration working vehicle. The +130%/+150% performance bulbs are genuinely brighter but their delicate filaments live fast and die young, especially in a van. Whichever you pick, buy a twin pack: the second bulb has the same age as the one that just failed, and a spare in the glove box turns the next failure into a five-minute kerb-side job instead of a fine.
Common Mistakes on the Custom Bulb Change
- Touching the new bulb's glass. Skin grease creates a hot spot that shortens an H7's life dramatically. Base only, or hold it through its packaging sleeve.
- Fumbling the retaining spring blind. Feel how the spring clip releases on the old bulb before pulling it out - reassembling by feel is much easier when your fingers already know the shape.
- Ignoring a corroded connector. A green or heat-browned H7 connector causes dim light and repeat failures. Clean or replace it while it is in your hand.
- Not checking the beam afterwards. A bulb seated slightly off throws the beam high or wide - two minutes against a wall confirms the pattern before a night drive or an MOT does.
- Leaving the tired second bulb in. It has the same hours as the failed one. Do both sides now or plan on doing this again within months.
Related Lighting Faults on the Custom
A new bulb that does not light points up the circuit: check the fuse first, then the connector, then the multifunction stalk switch on high-mileage vans. Both headlights failing together is never two bulbs - that is a relay or switch fault. And if bulbs keep failing every few months on one side, the cause is vibration from a loose headlamp unit or over-voltage from a charging fault, not bad luck. The symptom finder works through each branch, the MOT failures guide shows how much lighting matters at test time, and the Custom maintenance guide keeps the rest of the van as easy as this job.
Job Summary
What to expect on this job:
Frequently Asked Questions
Do I Need to Adjust Beam Angle After Changing Bulbs?
No - replacement H7 bulbs are standardised to the same size, shape, and light output as the original. Once a new bulb is correctly seated in the headlight unit (with the locating tab aligned and the spring clip locked), the beam angle will be identical to the original bulb. The headlight lens and reflector don't change, only the light source. If you notice the beam appears to point in a different direction after replacement, check that the bulb is fully clicked into the spring clip and that the headlight unit itself is properly bolted back onto the vehicle (loose headlight bolts are the most common cause of misaligned beams).
Can I Fit LED Bulbs Instead of Halogen?
It depends on certification. Direct LED replacement bulbs marketed as H7 equivalents are widely available and relatively affordable (£20–£40), but most are not street-legal in the UK without E-marking or Type Approval. They will trigger an MOT failure and can result in a police fine if stopped. The only legal LED option is to use a genuine OEM LED headlight upgrade kit from the manufacturer (if available for your model) or an aftermarket kit that comes with full Type Approval certification. If you want better light output legally, stick with upgraded halogen bulbs like Osram Night Breaker, which offer 150% more light than standard and are road-legal.
My New Bulb Keeps Blowing - Why?
The most common cause is contamination on the glass. If you or anyone else touched the bulb's glass surface during installation, oils from skin deposits cause hotspots that dramatically shorten bulb life. Always hold replacement bulbs by the plastic base only. If a bulb was accidentally touched, clean it with methylated spirits on a lint-free cloth before installing. A second common cause is a loose electrical connection - poor contact at the bulb connector creates arcing and heat that blows bulbs prematurely. Check that the connector is fully seated with an audible click. If bulbs continue to fail after ruling out contamination and poor connection, the headlight unit's wiring or the vehicle's electrical system may have a fault - consult a technician.
Should I Replace Both Headlight Bulbs at Once?
Yes, it's best practice. Halogen bulbs age over time regardless of whether they've failed - they slowly lose brightness. If one bulb has blown, the other is typically near the end of its useful life and will fail within weeks or months. Since the headlight unit is already removed and the job takes only 30 seconds to swap the second bulb, it's far more economical and convenient to replace both at the same time. This also ensures even brightness on both sides of the vehicle and prevents a future failed bulb on the other side when you least expect it.